
The downside of this tutorial is that it does not come with a pattern. It depends on the size of the plastic ID badge holder (or a.k.a. name badge) you've got and which way the pre-punched hole is. I brought mine from local Officeworks and I prefer portrait pouches than that on the tutorial.
The upside of this tutorial is that it is not hard to work out the measurement. I use recycled card stock to make the template. I did purposely made it a bit longer, just in case my calculation is off. I also intend to make a sample to see what it would look like.
The sample, strawberry luggage tag turned out well and functional. The tag itself can be further shortened half inch and my button hole needs to be 1/4 inch larger.

This is also the first time I am trying to make a buttonhole, and no, I don't have a buttonhole foot. I did find this tutorial that teaches you to sew without the buttonhole foot and it really helped. Once the buttonhole is sewn all you need is take the seam ripper and run along the middle to slice the fabric.
For the mock-up strawberry luggage tag I used canvas, home decor type of fabric. It is durable and much thicker than the cotton quilting fabric. Perfect for this project. So this brings to my next challenge --- I want to use my lovely cotton quilting fabric but I want to give it structure. I think a layer of batting will work and it's also a good way to use up some of the leftovers from quilt making. However, if you decide to use batting you will need to sew it onto the fabric to prevent it from moving when you turn it inside out.
For this occasion I use Vilene H 630. I can't even remember why I bought it in the first place, perhaps I was thinking about making a bag? For those you haven never heard of Vilene, a.k.a. Pellon, is a type of interfacing which provides support and shape to your garment and other crafty projects. It comes with different weight or thickness depending on how much shape/structure/ stiffness you require for your project. Vilene is easy to use as all you need to do is cut it to size , cover it with a damp cloth and iron for 15 seconds.
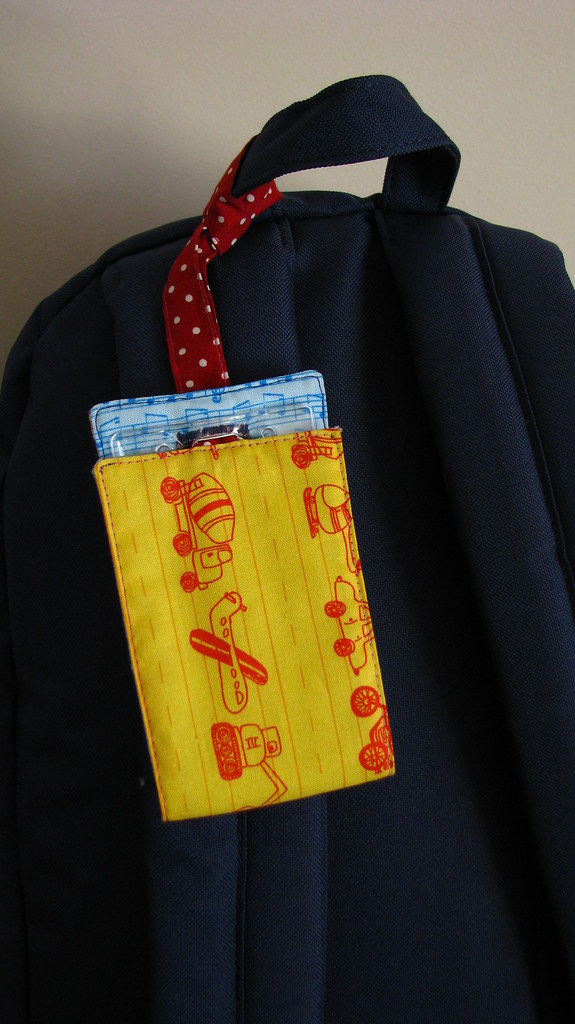
When cutting the interfacing it should be cut to actual size excluding the seam allowance to reduce the bulk around the edges. I made this one for my son for his backpack, just in time for his school excursion.
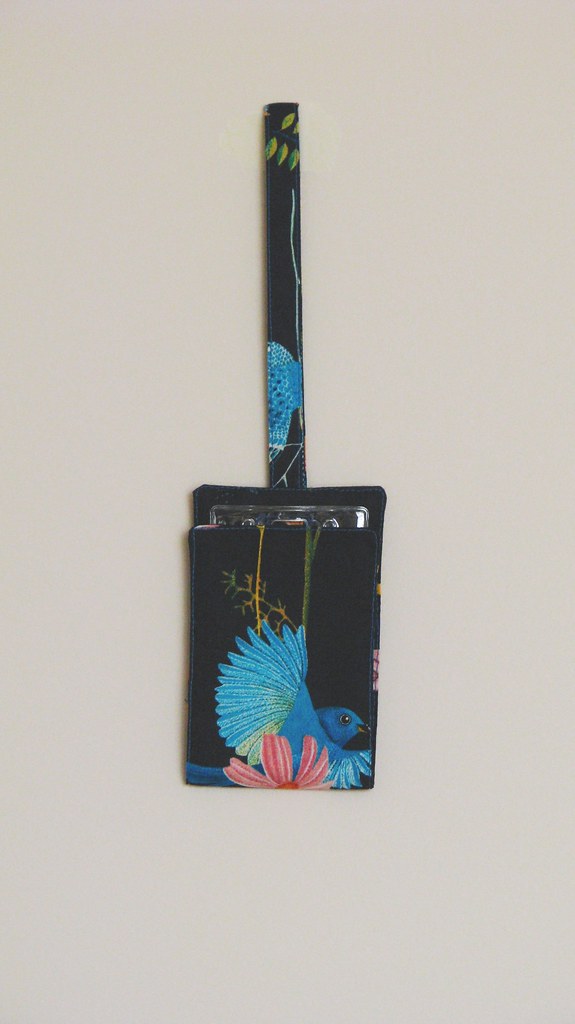
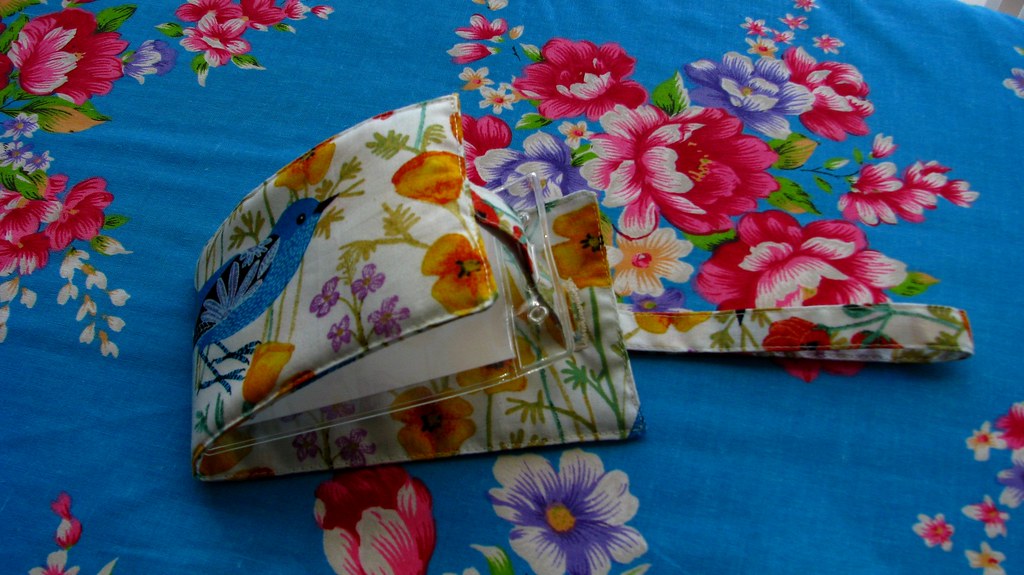
The luggage on the left and below are for my colleague. Same steps as before but I fuzzy cut the fabric to show case the beautiful birds. It is a bit more fiddly, but well worth the effort. To make the inside as nice as outside I also fuzzy cut the fabric for the interior.
The fabric collection that I use here is Alegria by Geninne from Cloud 9.

What I really like about this luggage tag is that it is really easy to make compare to the other tutorials. The way it folds the name badge inside the tag provides privacy of your details, unless you need to open it and take a look inside. Although it is only 9.5 by 3 and 3/8 inches you can still showcase the pretty fabrics for this project. Hopefully she will like it!
In the next blog entry I will make 2 matching giant paperclip bookmark to go with these luggage tags.
Cheers,
Erica
No comments:
Post a Comment