
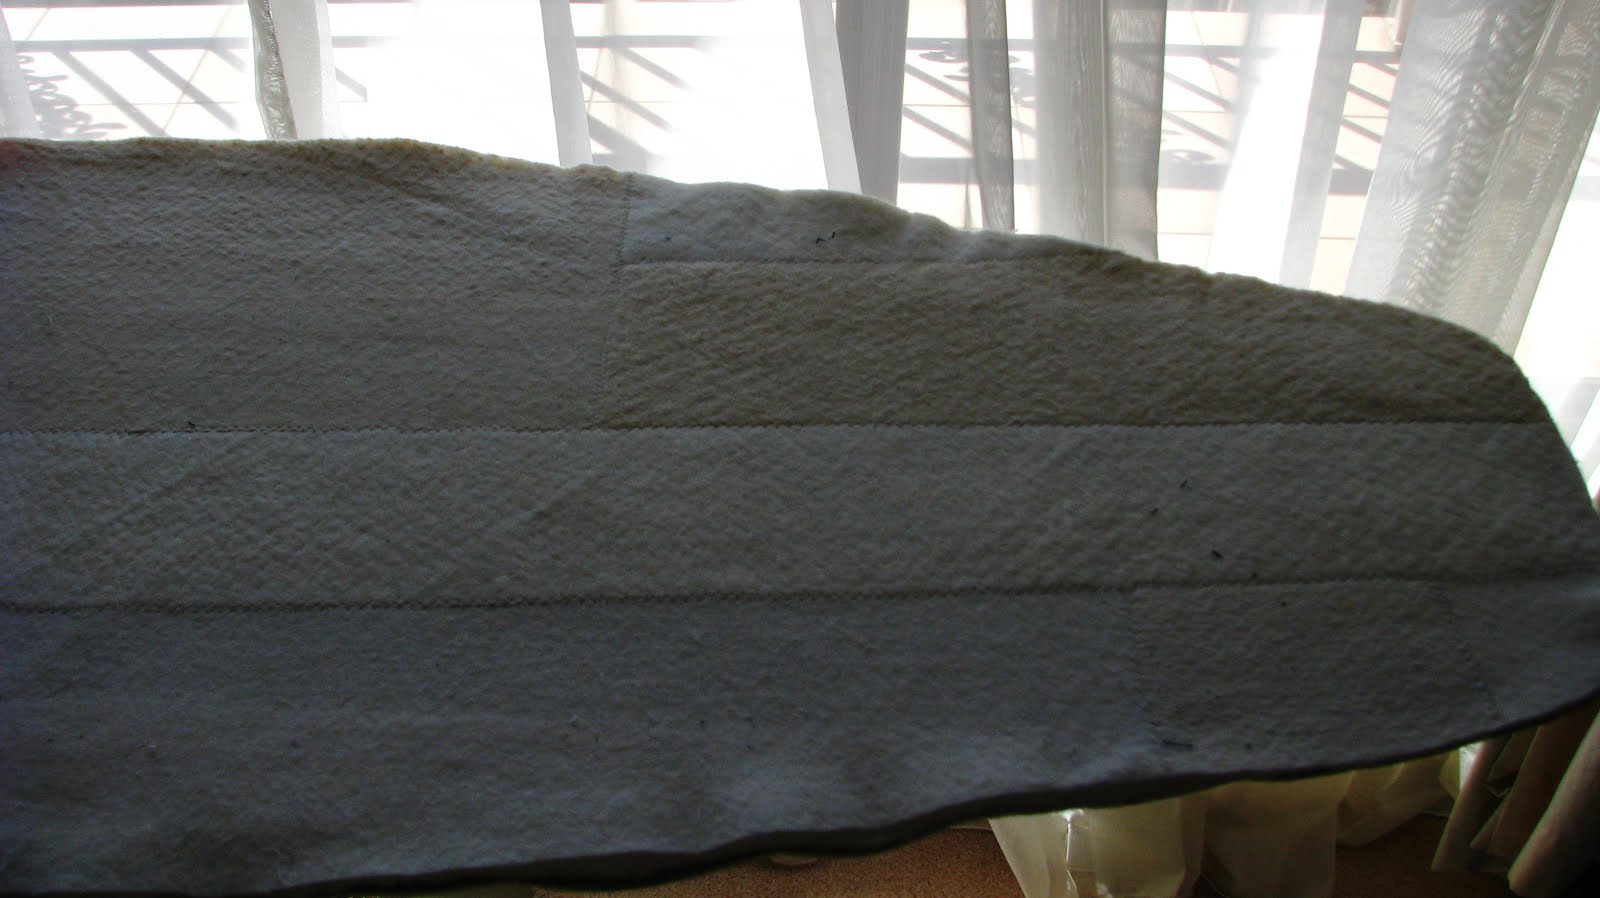
I did manage to salvage the thin foam layer as my template but this also gives me a chance to add two more layers of batting to give the ironing board the thickness I prefer. This is also a great opportunity to use up some of the left over batting from my previous projects. In no time I joined the strips of batting together using my sewing machine with zigzag stitch setting, and cut it to size.
Next I cut and place all the top layers for my ironing board: 1 cotton floral fabric, 2 layers of batting and 1 layer of original foam that I have salvaged. I have also cut and join 5 and 1/2 inches strip of matching cotton fabric which will be the 'skirting' that warps around the ironing board.

5 and 1/2 inches strip may seem really wide, but consider you will need to hem 1/4 of an inch for the edge of the fabric and (in my case) fold it again for 3/4 of an inch to make the casing for the elastic band to go through. As my ironing board is rather large, I chose 1/2 of inch wide elastic band for this project.
The tricky part is to figure out the length required for the skirting. I made the skirting strip long enough to go around the board but it ended up require an extra 11 inches when it was sewn on. To my own fault that I also did not foresee I will need to make many tiny pleats for the curved areas, and as a result I needed a much longer strip to complete the skirting. Next time I will treat this part similar to binding the quilt ---- sew the skirting on to the cover top and when the strip gets back to the beginning you can then work out where the beginning and end will meet more accurately.

And the end result --- no more of those plastic laminated fabric that melts each time you iron, plus a firm padding underneath to help me with a smooth, flat ironing finish!

Thank you for stopping by.
Cheers,
Erica