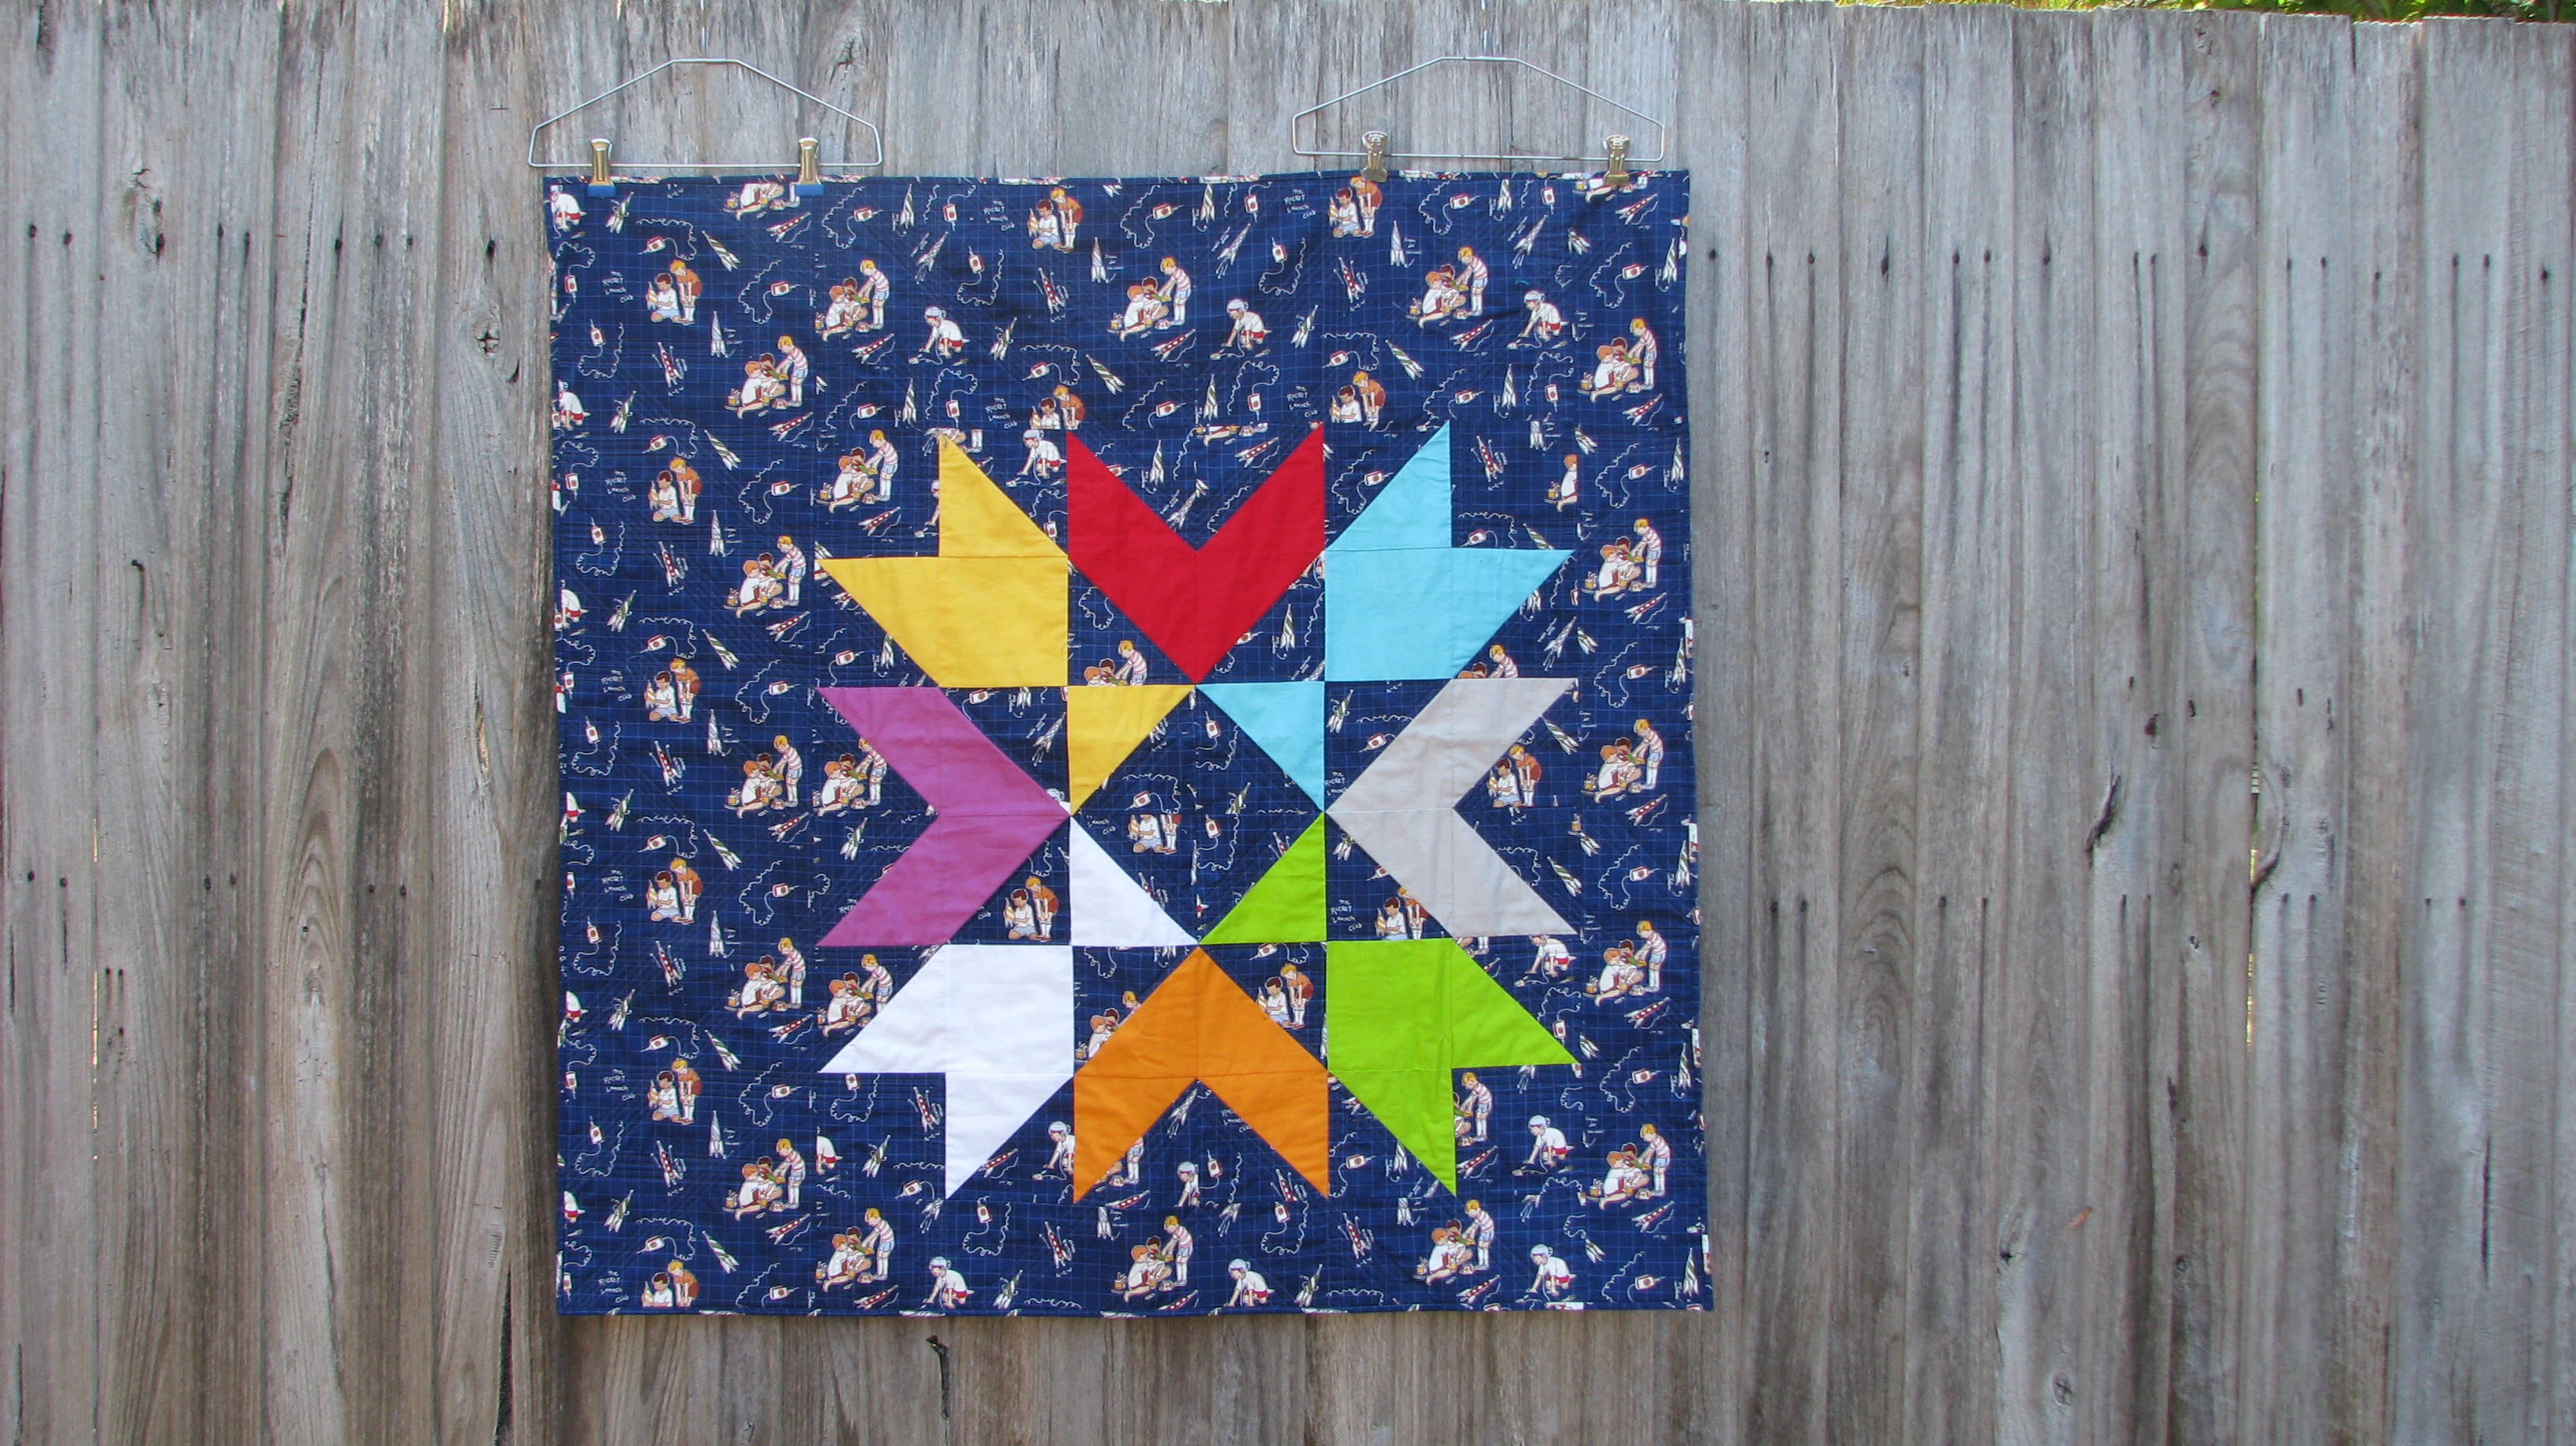
It's an old collection, but it's beautiful! Previously I used this collection and made a quilt with the intention of leaving out the pink fabrics to make it a gender neutral quilt. But this time I slice up the picks and made it double sided.


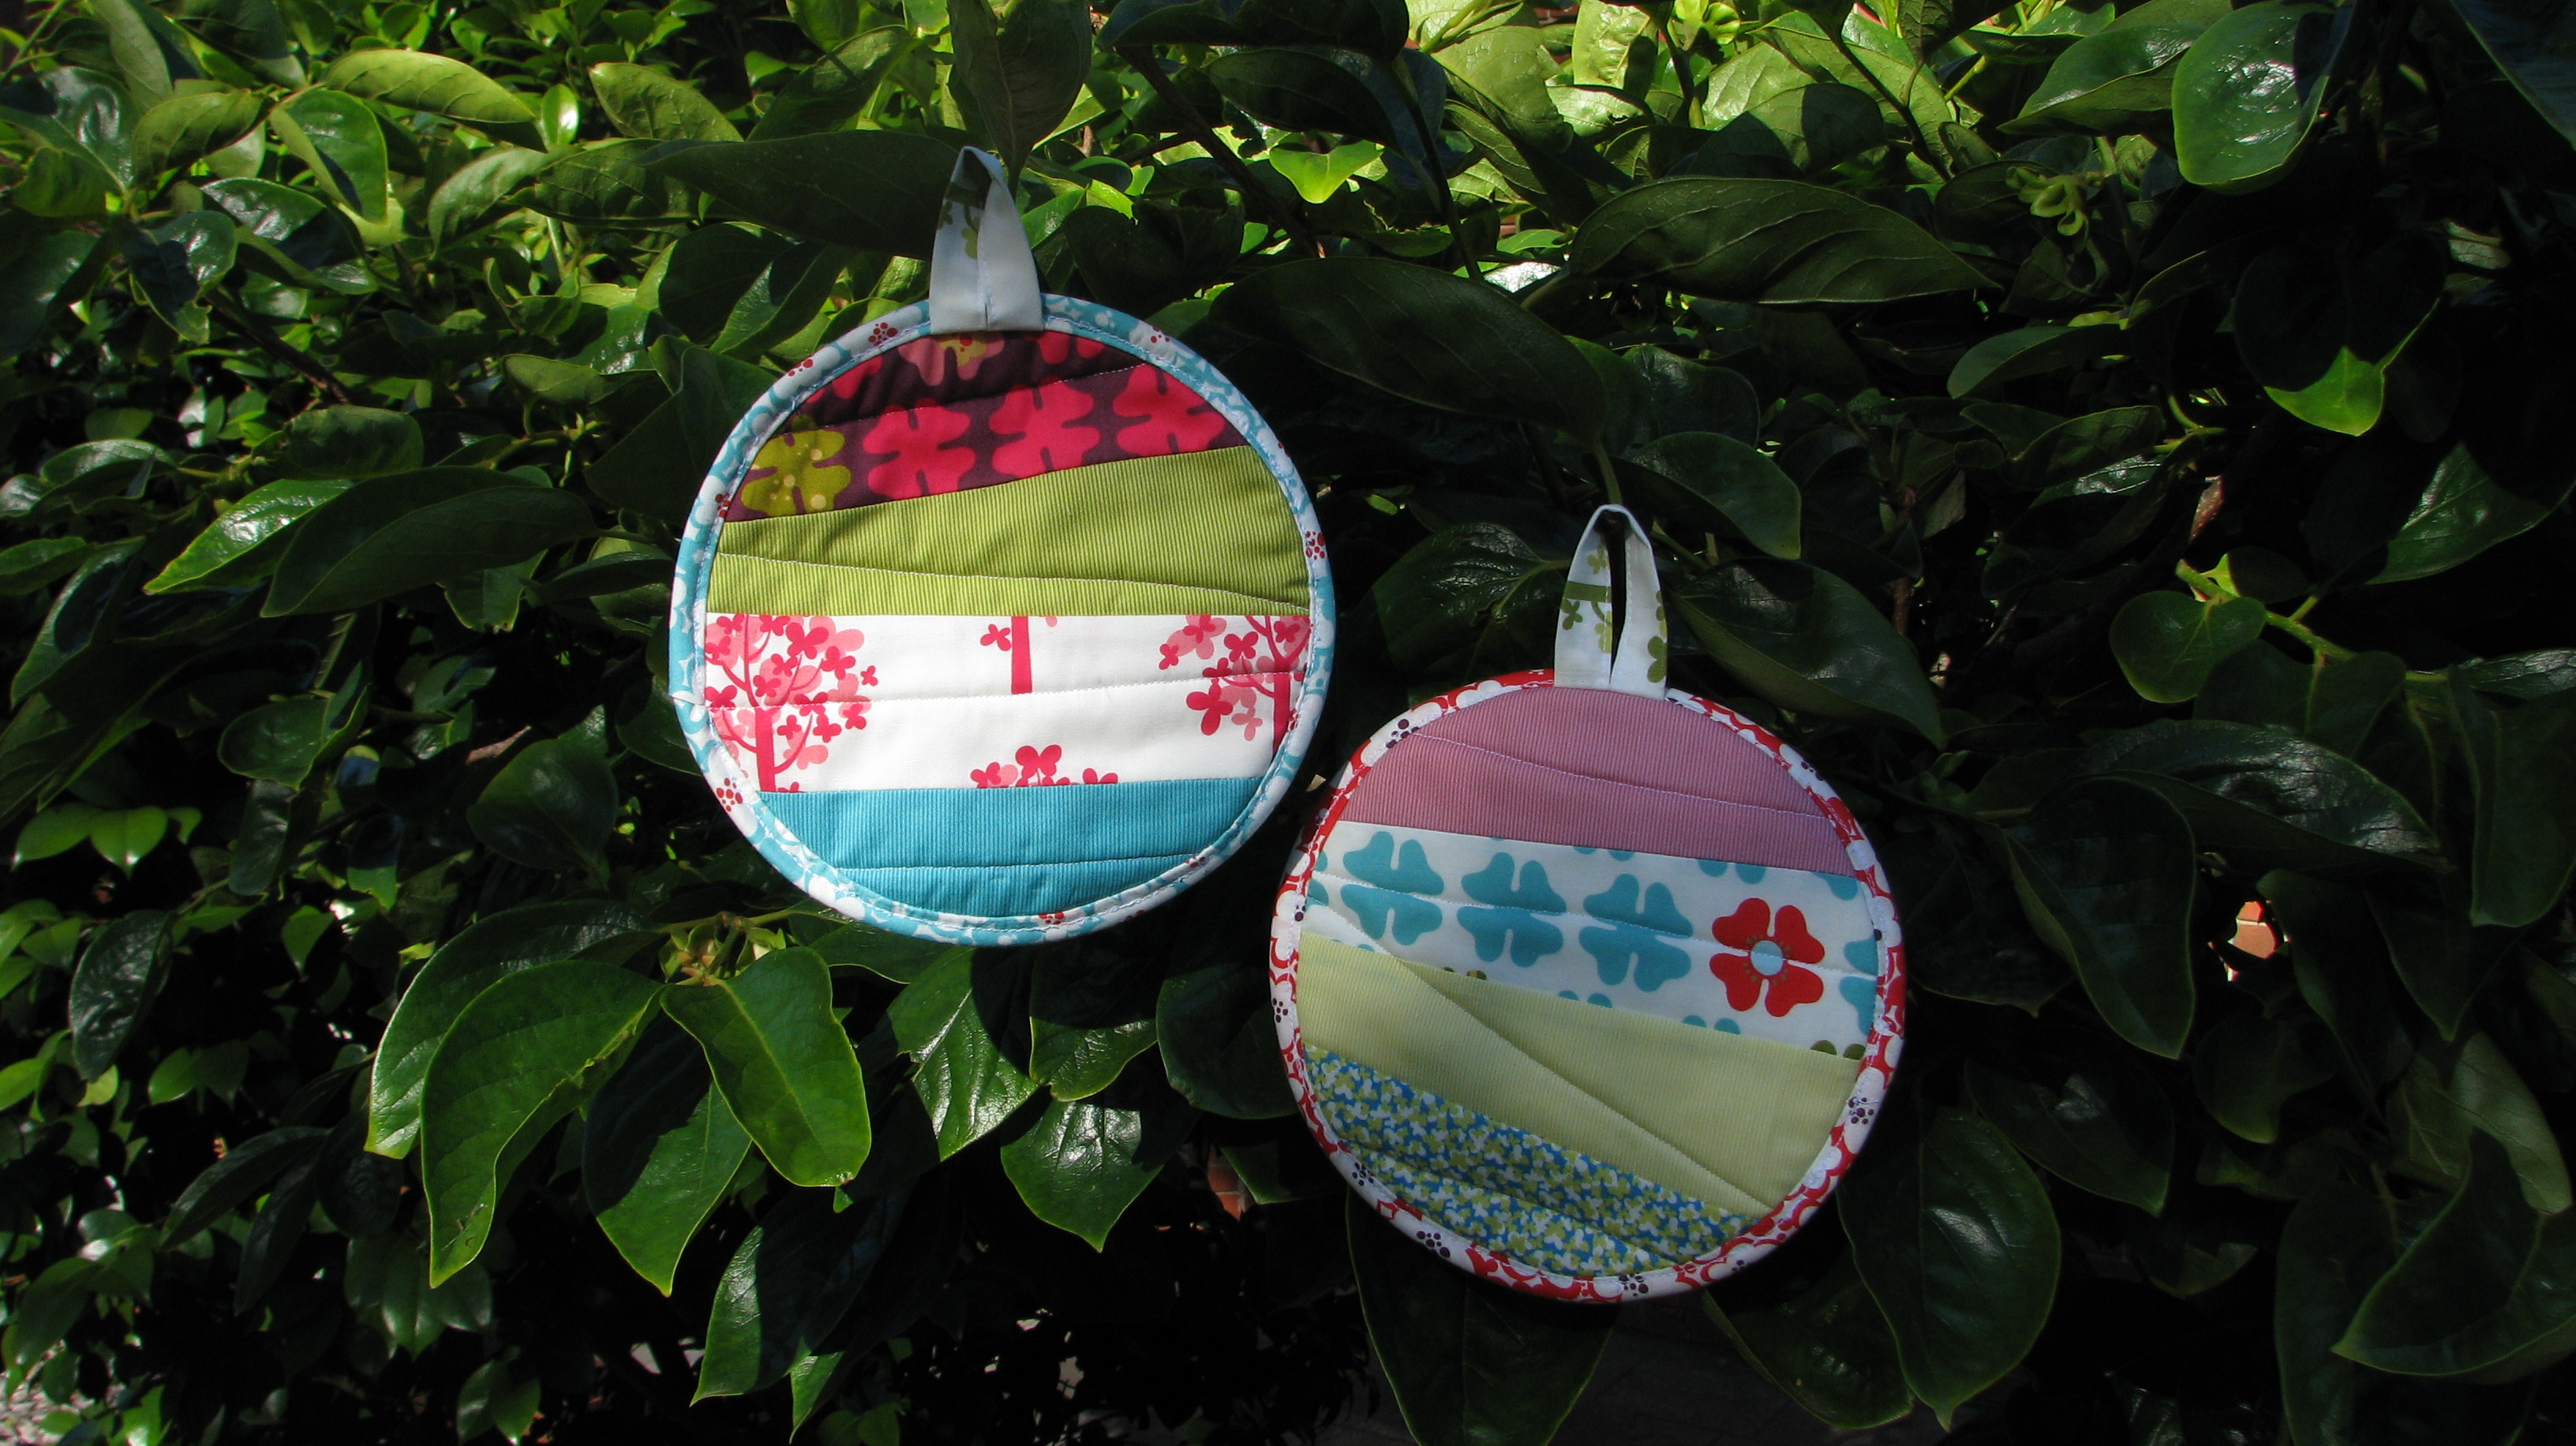
On one side I cut up my lovely fabrics into 5 inch tumblers and had a blast playing with the layout. I took the next shot upside down by accident but it's also interesting.

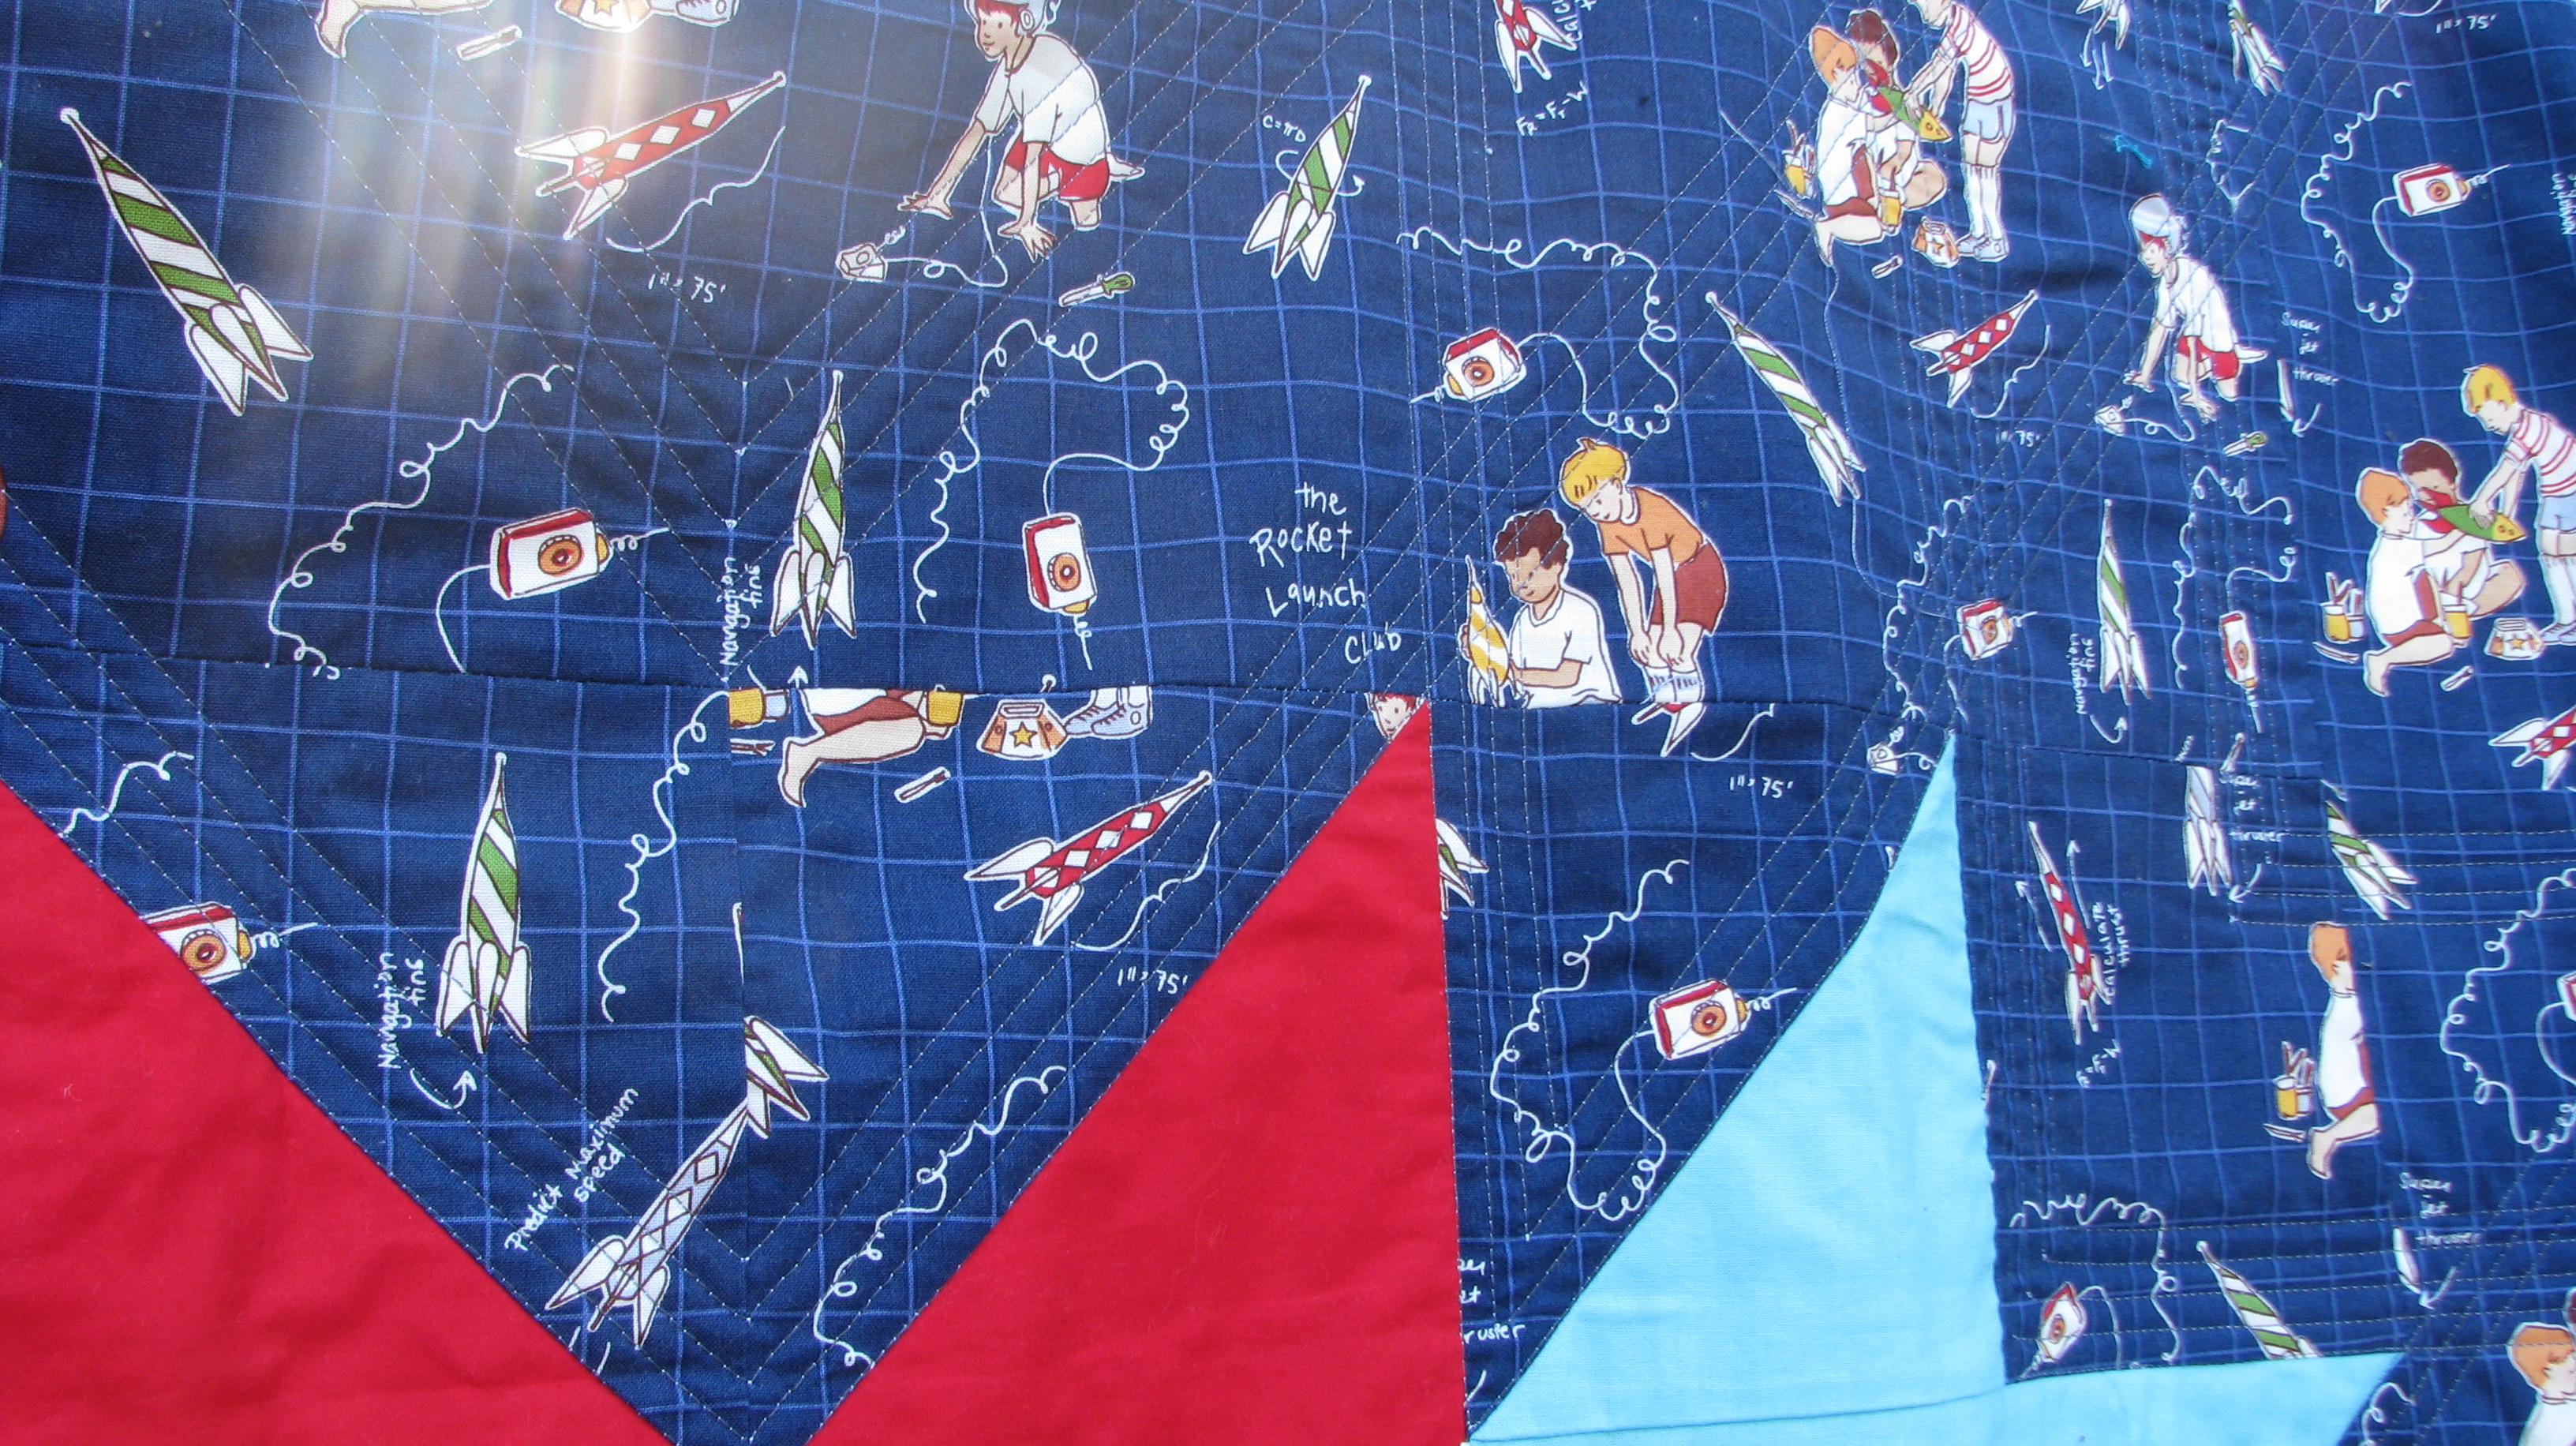
The inspiration on the other side of this quilt came from Elizabeth's (of Oh, Fransson!) charm square baby quilt pattern. It's a very simple but effective way to showcase those cute monsters print. This is a free pattern downloadable from Elizabeth. It's a great pattern to whip up as a last minute baby gift using charm pack, layer cake or any fabric that you just don't want to cut it down to small bits!


Now it's all rolled up and ready to find a nice home!
Thank you for stopping by!
Erica.
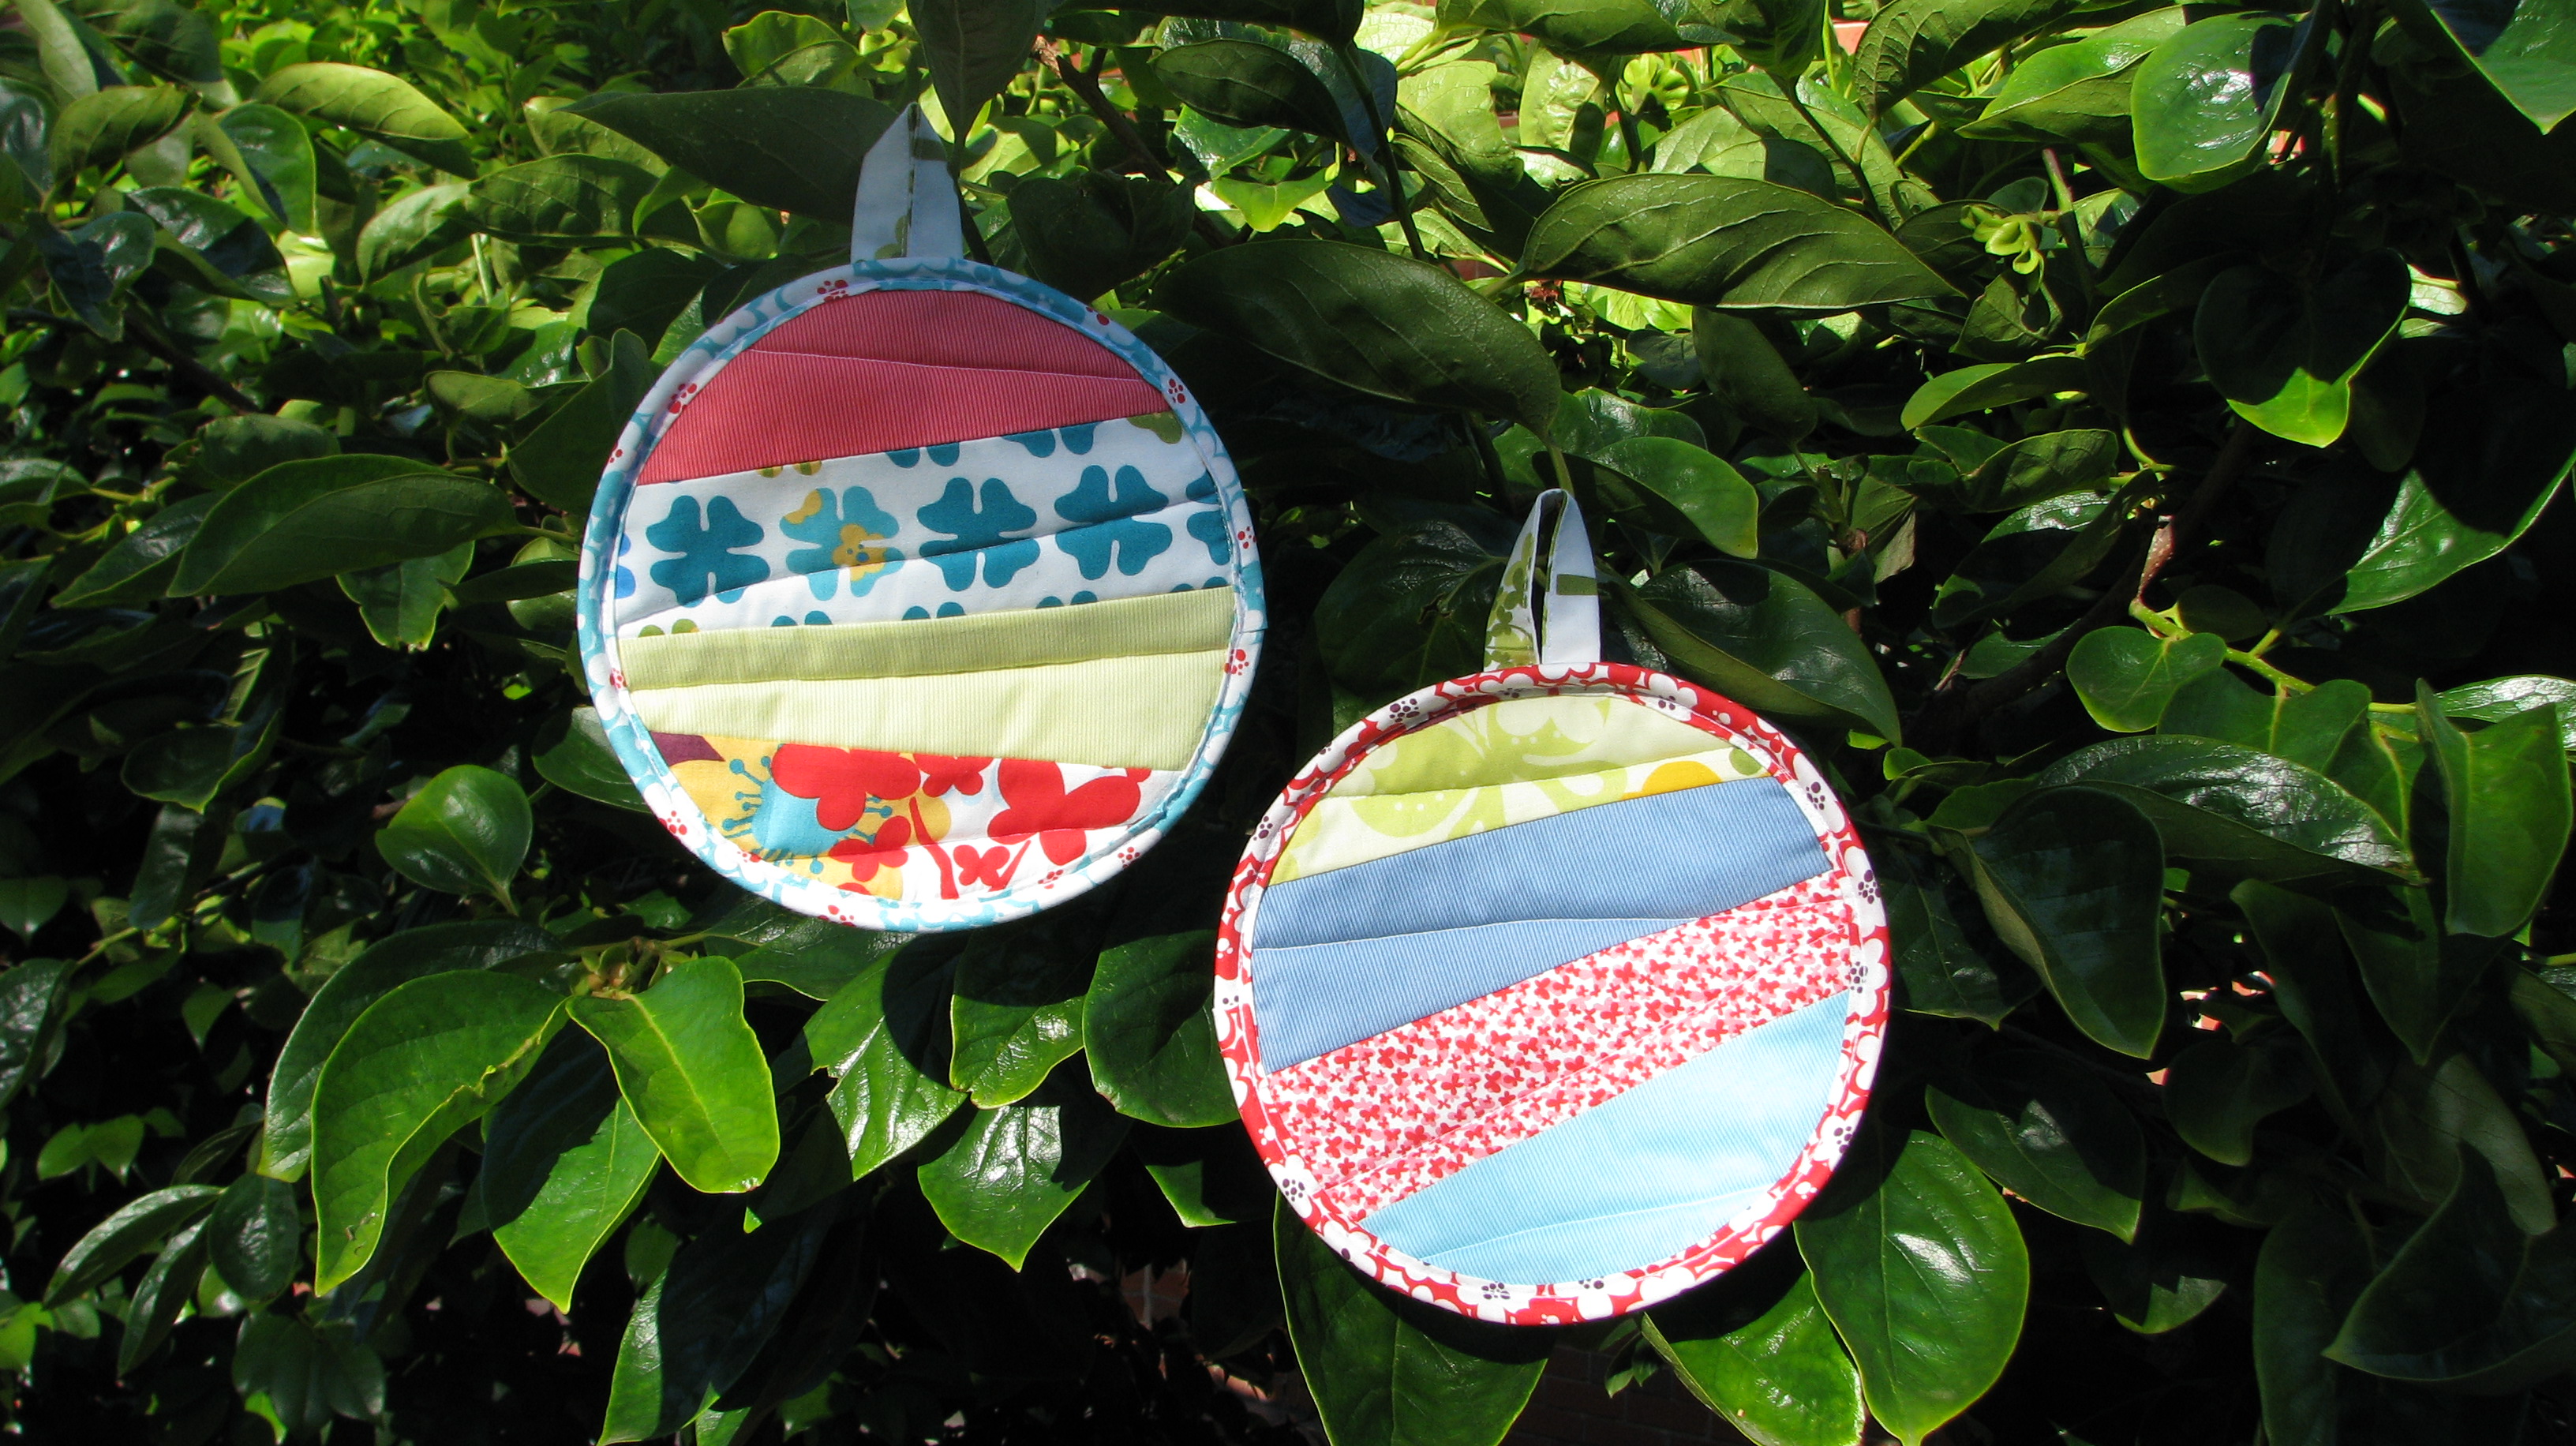
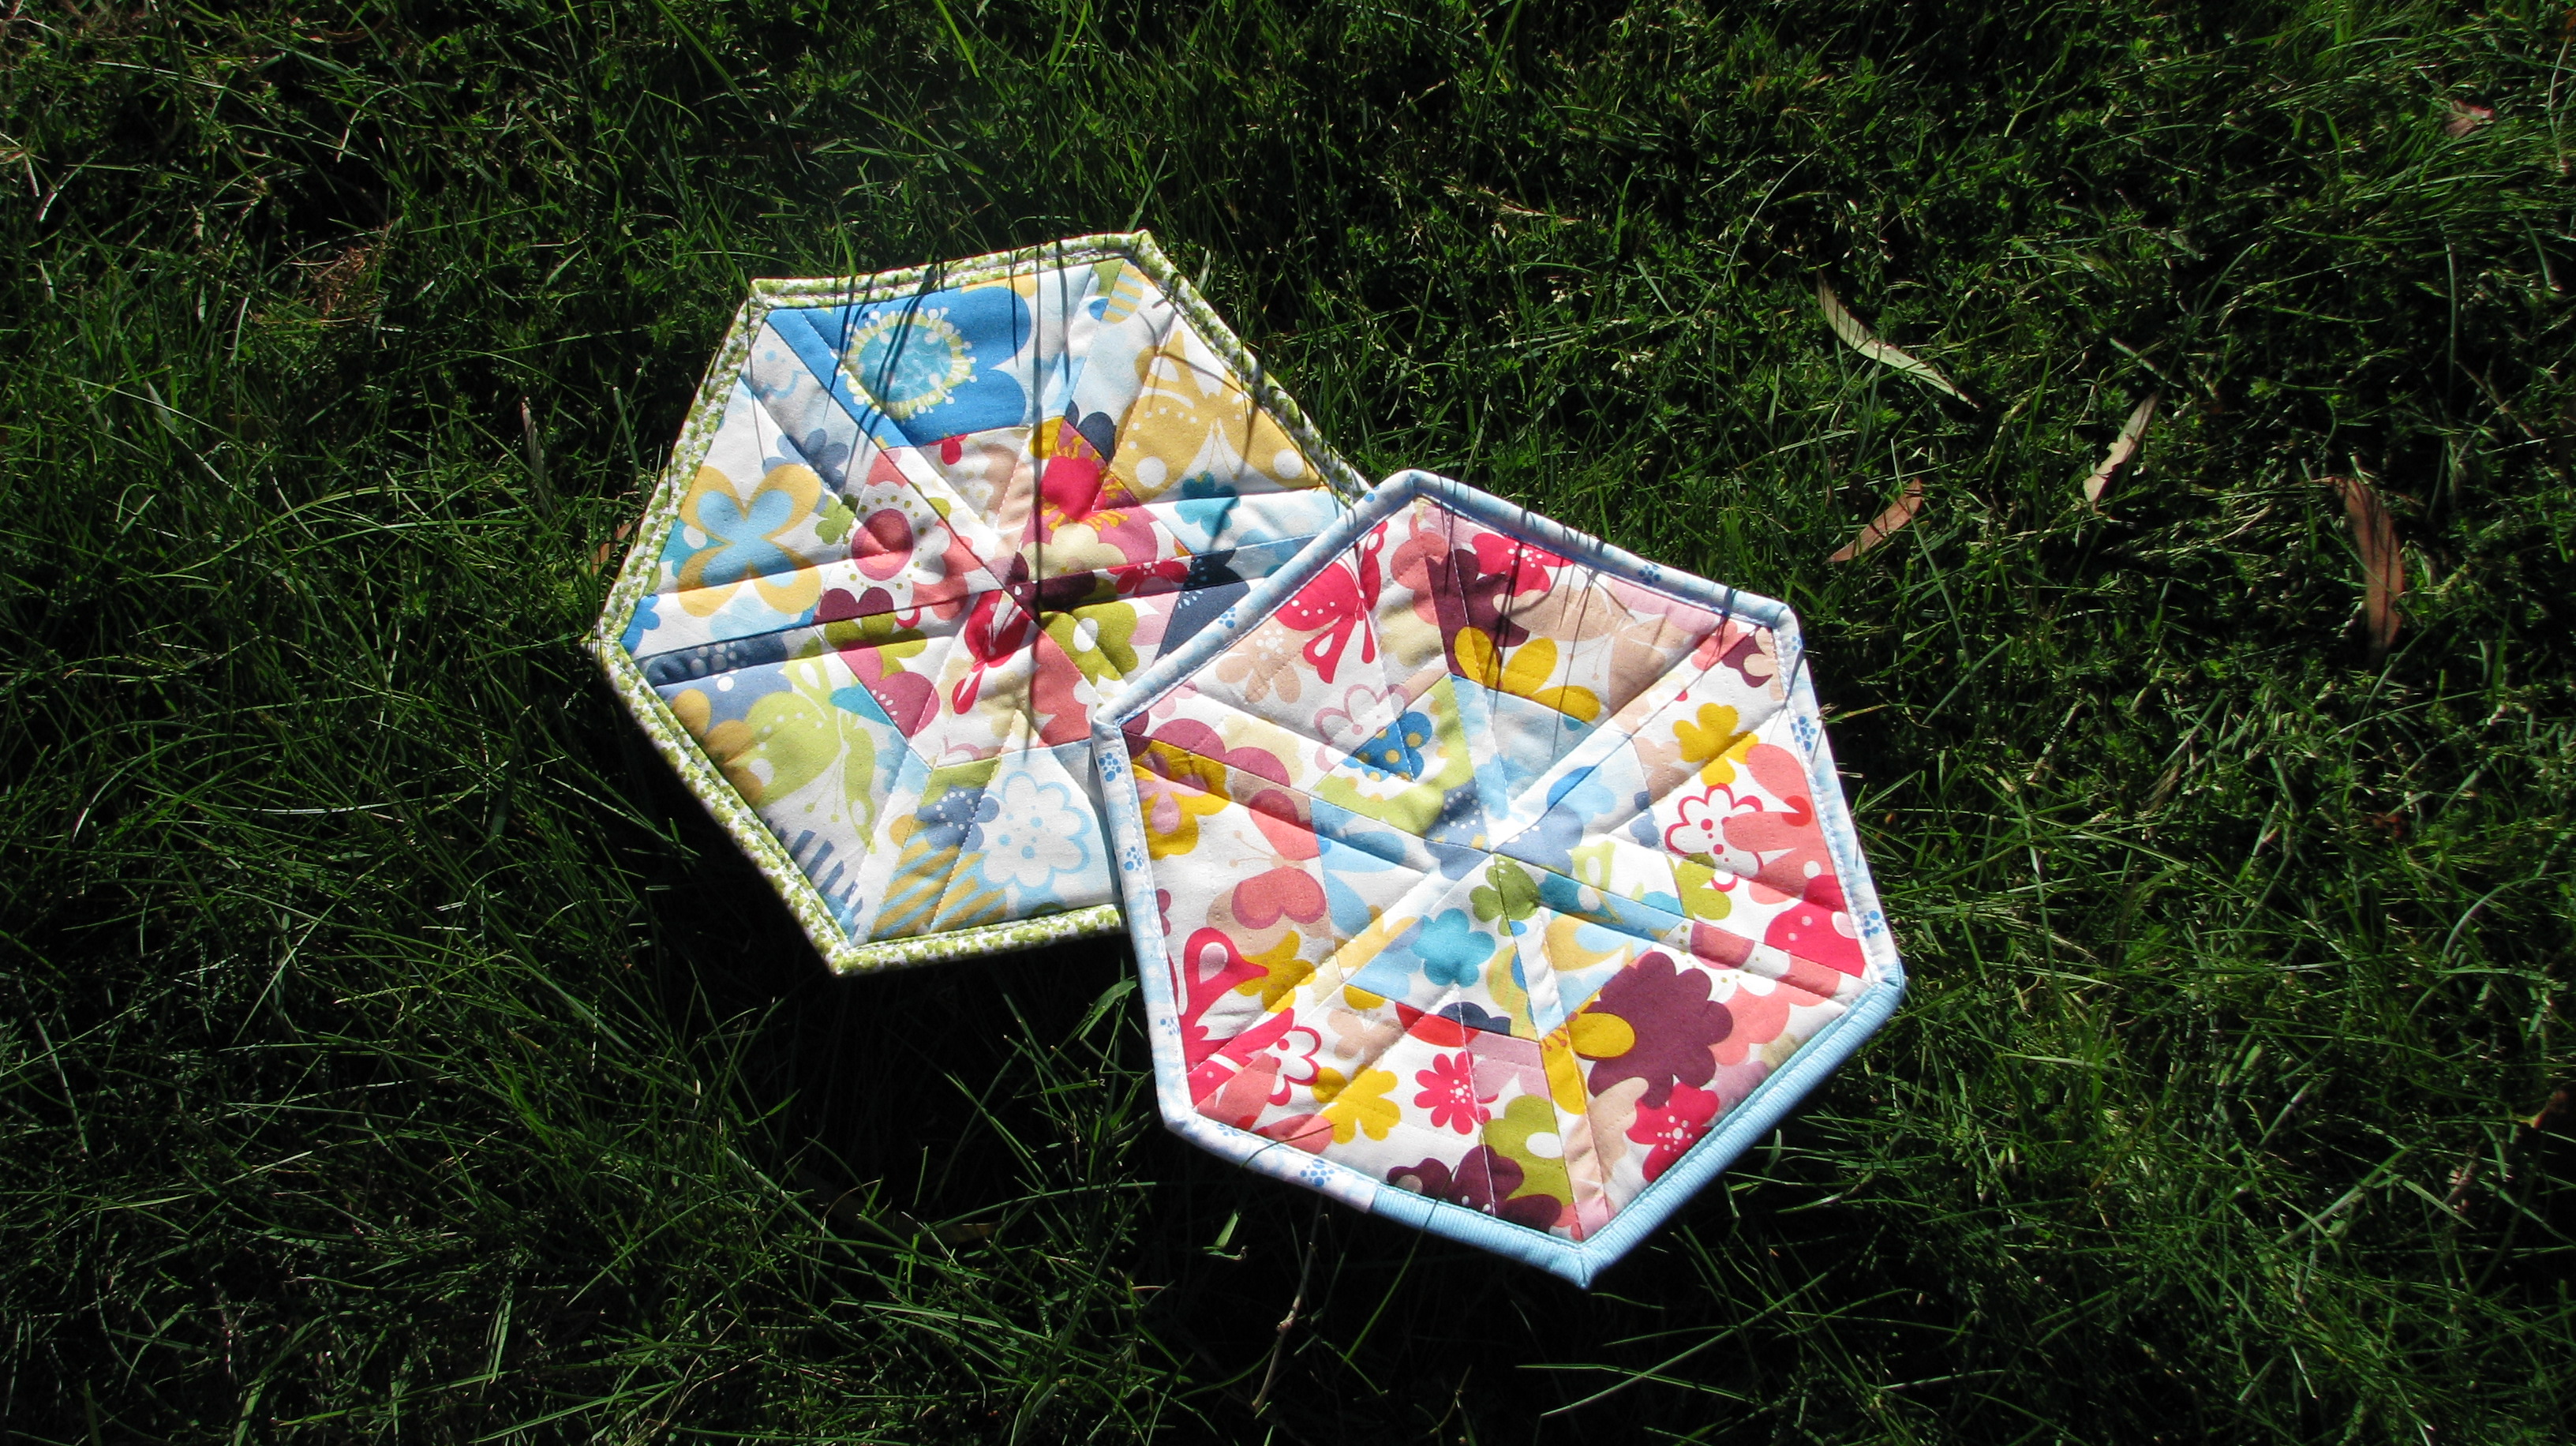
Much of the April weather in Melbourne is rain and grey sky.
I tried to snap some shots on one of the few sunny days we have and much was unsuccessful, especially the colour in this quilt is really soft with some low
volume. But we really needed the rain; it’s so nice to see the grass in my
backyard turned into green, but more so for the Australian farmers who have
been suffered from drought.
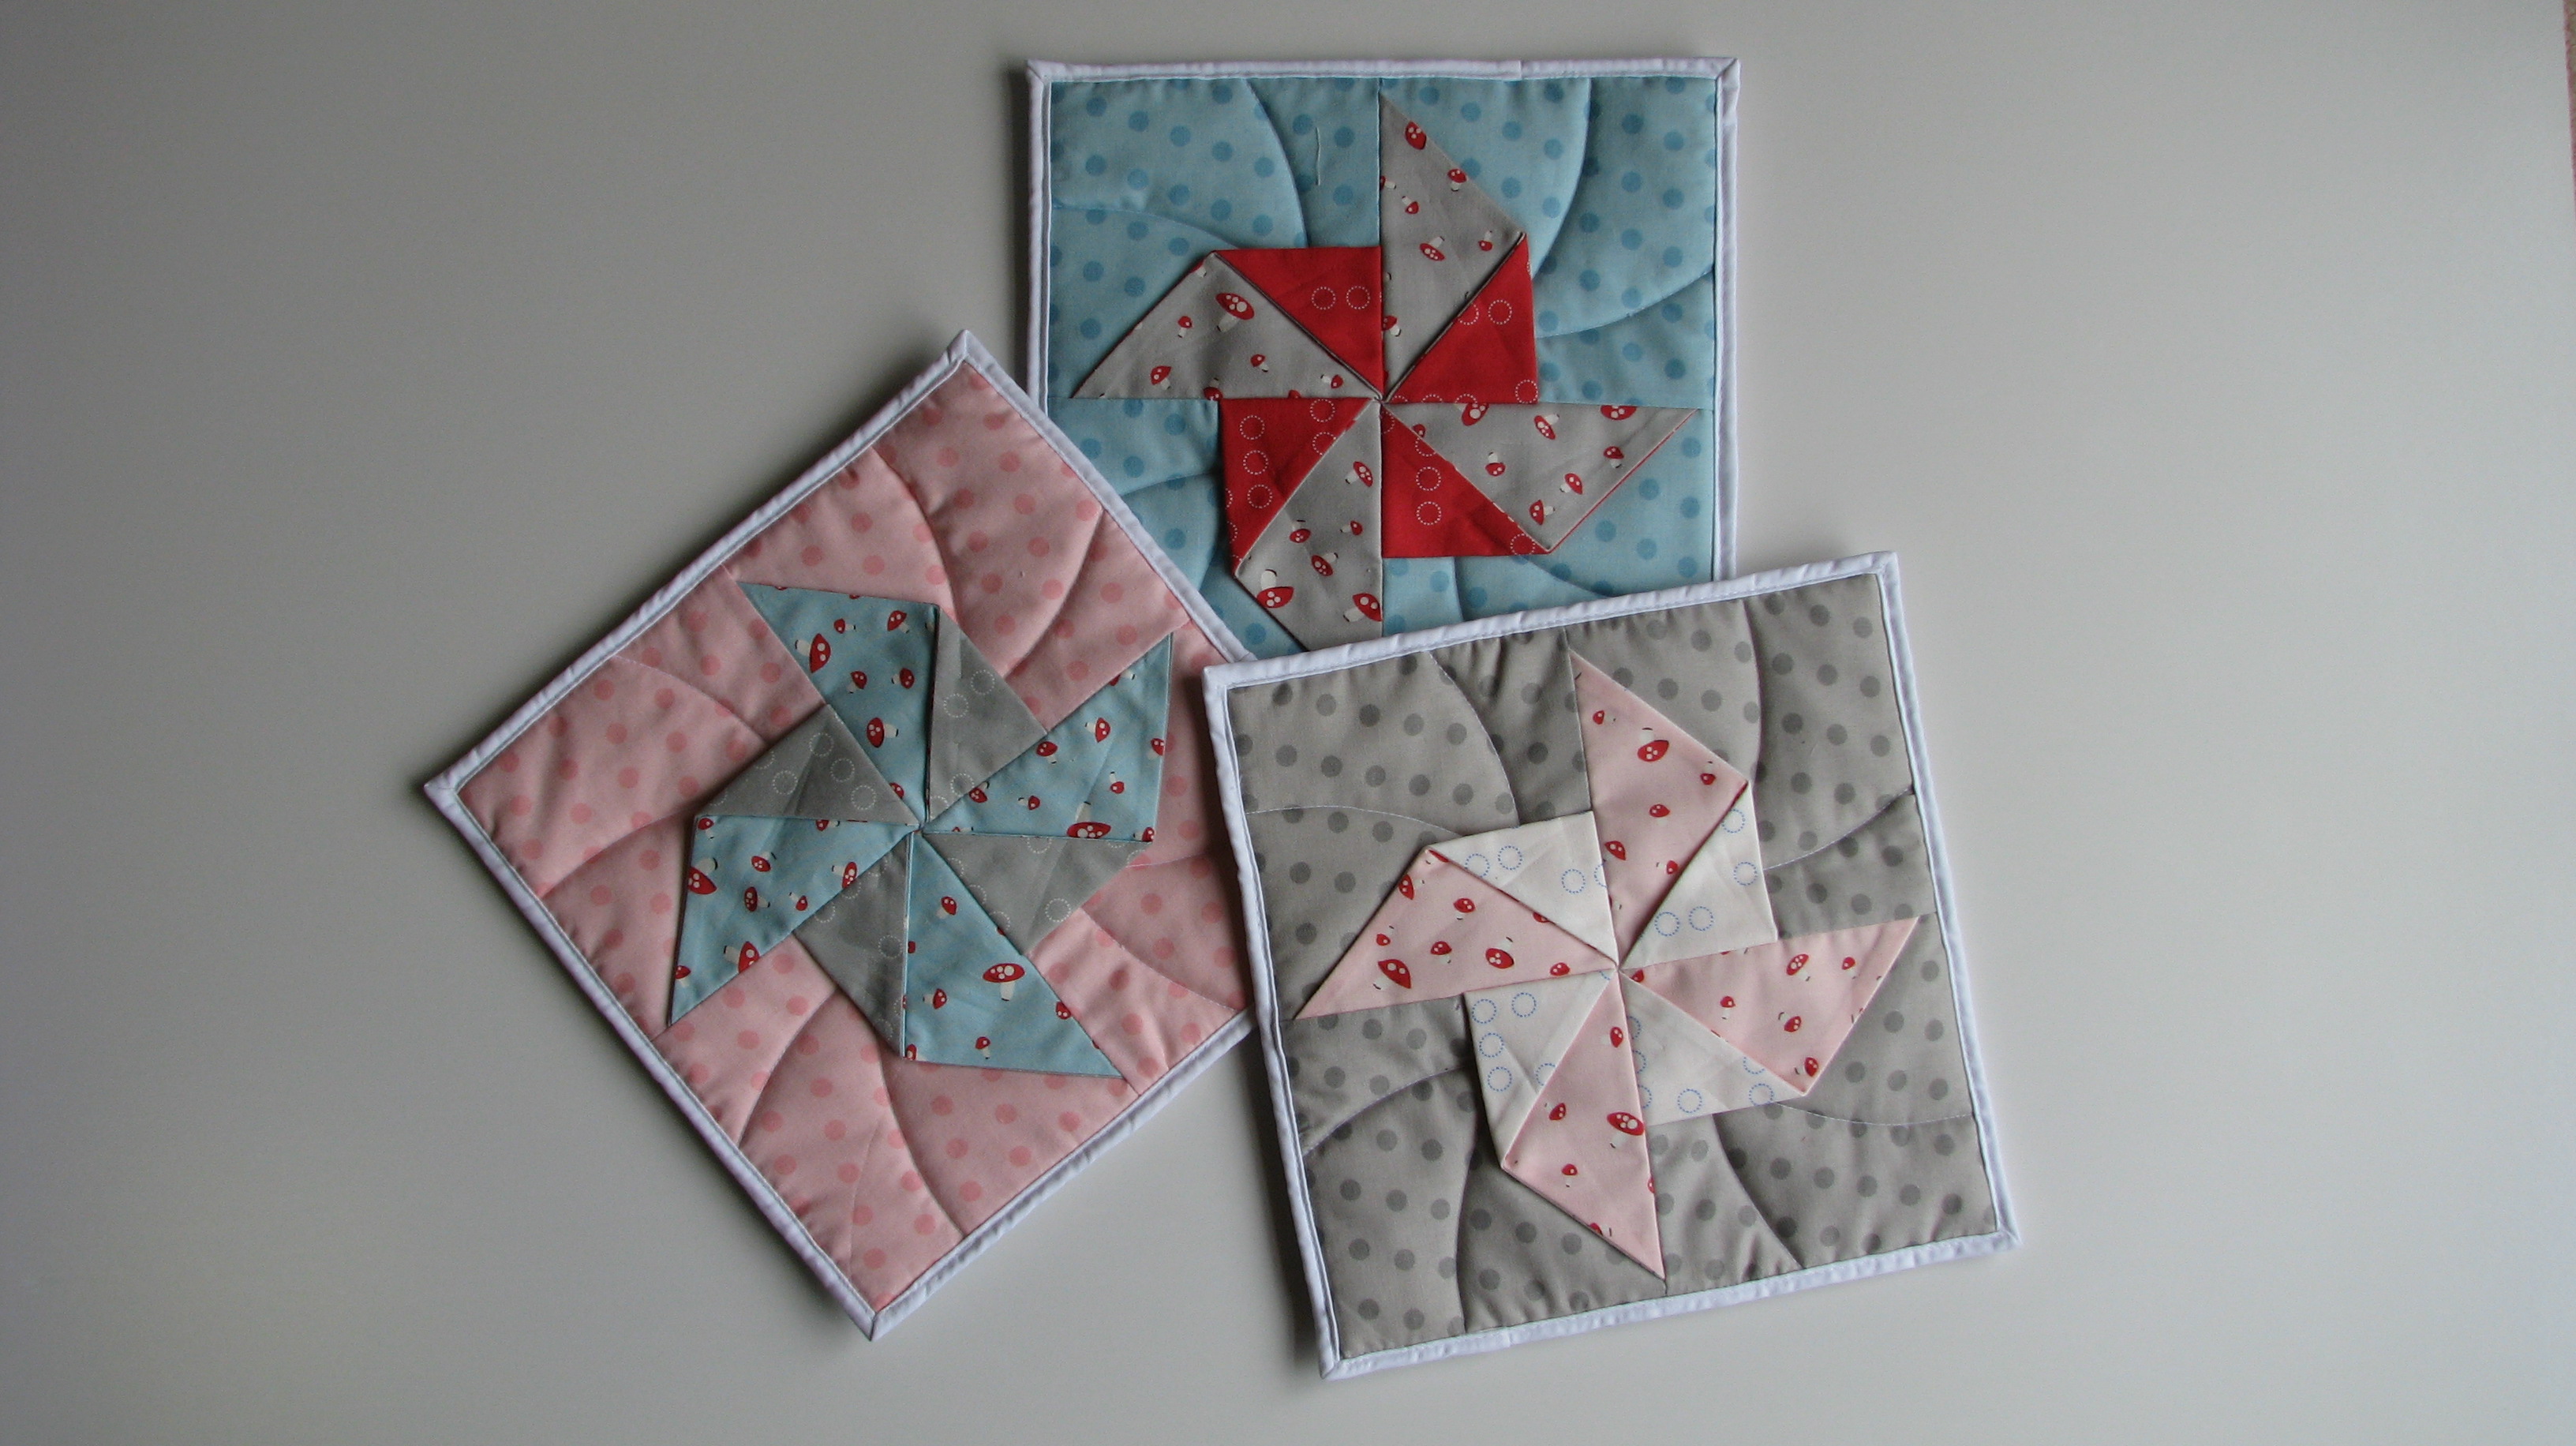
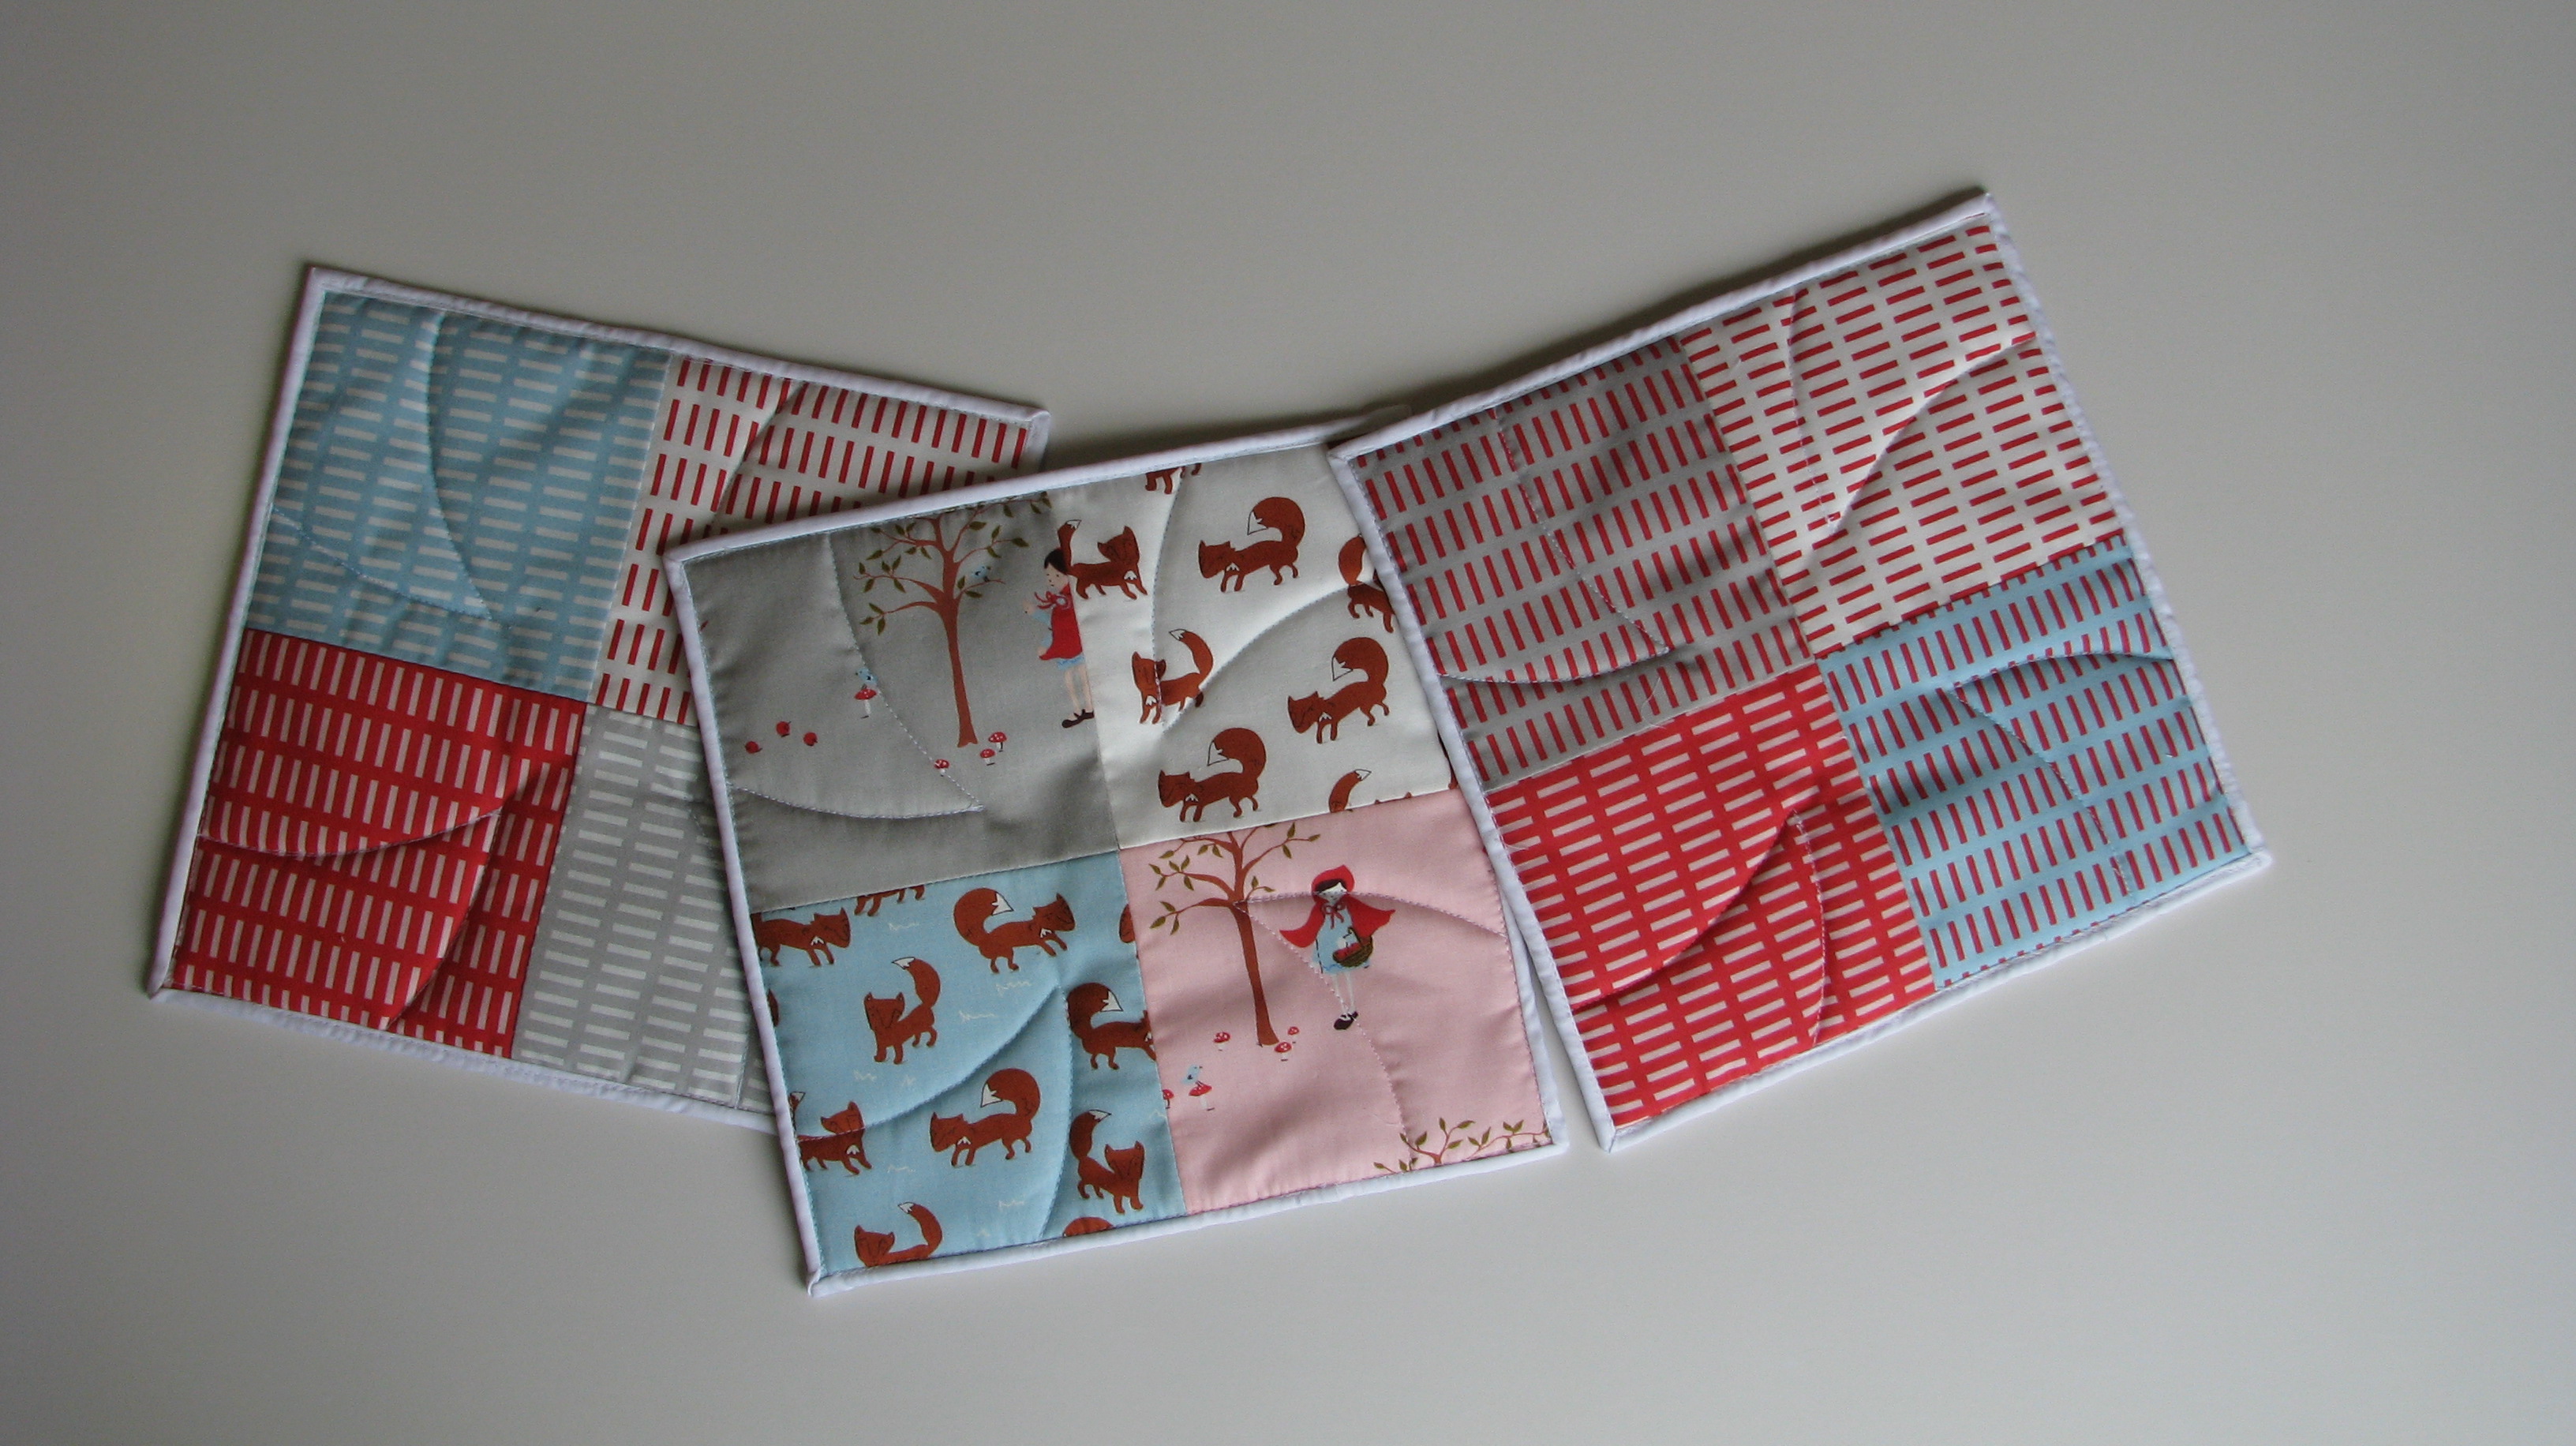
So I tried my luck indoor, with a nice ray of sun from my
window. This time it’s better and best of all you don’t have to worry about the
wind.
On one side I cut up my lovely fabrics into 5 inch tumblers and had a blast playing with the layout. I took the next shot upside down by accident but it's also interesting.
The inspiration on the other side of this quilt came from Elizabeth's (of Oh, Fransson!) charm square baby quilt pattern. It's a very simple but effective way to showcase those cute monsters print. This is a free pattern downloadable from Elizabeth. It's a great pattern to whip up as a last minute baby gift using charm pack, layer cake or any fabric that you just don't want to cut it down to small bits!
Now it's all rolled up and ready to find a nice home!
Thank you for stopping by!
Erica.