Saturday 10 December 2016

Batman vs. Bartow quilt.

I love to make "reversible" quilt. It's like a double-sided canvas and both side is screaming out for you to make it pretty and colorful. This quilt was given to my colleague who is expecting her first born just before Christmas, and I knew I want to make a batman quilt because that is what she loves. So the quest begin, searching an image that I could use and translate it into a quilt. I found this image from Pinterst which I thought was just perfect, but I do want to credit the image to the rightful owner so I dig a little further. The image came from Forma & Co, a graphic design firm, who came up with a collection called "Re-Vision: Comic Icons." In this collection, the design is minimal, "highlighting the most memorable elements so it can easily be recognized with as less element as possible." 


This quilt is experimental. I blow up the image to A1 size and from there I use tracing paper to draw all the lines and turn it into a paper piecing project. Since I have never done a paper piecing quilt before, I just go with my gut instinct and dissecting the image into workable parts, label it with numbers for steps and piecing it together. 


As for the eyes and the bat I trace it onto freezer paper first. Next I cut out the shapes and use it as a guide to cut the fabric (with added seam allowance). Fold back the seam allowance onto the freezer paper and give it a good ironing to get the outline of the eyes and the bat motif. I then hand sewn it using needle turn applique.  

I had so much fun making it! It is both exciting and scary going into unknown territory, but I think the end result is looking great.


For the back side I chose Carolyn Friedlander's Bartow quilt pattern. My colleague is a very crafty person and the colourful paint swatch like Bartow quilt fits the bill.


Since the quilt is only small, I have reduce the colourful solid strips into 4 inches instead of 5 inches.


Unfortunately I didn't take that many pictures, as I was rush to get it complete before my colleague going away on maternity leave. But I am glad to report that mum-to-be likes it. Yay!


Thank you for stopping by,
Erica.


Saturday 9 July 2016

Going away / abroad present part 2: Jumbo paperclip bookmark - A tutorial

So when my colleague is going to Europe for 2 years I wanted to make her something useful, small and light. So I think bookmark is a good idea, as people are likely bring something to read on a long flight, or catch up on a novel that they always wanted to read while travelling. I used the same fabric as the luggage tags that I made to make it a matching set.  Unfortunately I forgot to take a picture of the final product, but I made lots so there are plenty of picture to come.  


Let me start by saying making fabric buttons are easy and very addictive. I am also taking this opportunity to make some more to put in my son's party bags, since now he's in grade two they are reading chapter books so bookmarks should come in handy.


To make this jumbo sized paperclip bookmark you will need a few things:

1. Jumbo sized paperclip
2. Button front and flat backing
3. Silicone holder and pusher (pictured bottom right)
4. Button size template
5. Clear sheet of plastic 
6. Fabric
7. Scraps of batting 
8. Glue - which I will explain further on the type of glue you will need.

I have ordered my jumbo paperclip bookmark kit from this Etsy shop Everythingribbons. They do sell it as a kit that makes 3, or you can customise your order depending how many you are going to make. The owner Tracy and Michelle is very helpful and always answers my queries promptly.  The kit do come with instruction and the circle pattern. The pattern is there to help you to determine the size of the farbric required to cover the button. 

Next you need to take a clear sheet of plastic to make a template of the circle pattern. I prefer clear plastic template as it is easier when I fuzzy cutting the fabric. 

As for the glue, this is what I brought from my local hardware store Bunnings. They are both super glue but make sure you get the one for gluing metals. If you are from U.S. E6000 Permanent Craft Adhesive was suggested in numerous crafting sites. 


This project is perfect to use up some of those beautiful fabric scraps. I have made majority of my buttons from scraps. The plastic template will guide you the size and help you centre the your pattern for fuzzy cutting.    

Step 1:

Make a plastic template if you haven't done so. Place it on the desired fabric and make sure you centre the motif. Use a pencil to draw the outline of the template and cut the fabric with a sharp scissors.  


Step 2: 

Take out your scraps of batting and place a buttons on top of the batting as template. Use a sharp scissors to cut around it. It doesn't have to be perfect circles. the reason we need a layer of batting between the fabric and the metal button is to give the button a nicer smooth finish and touch.


Step 3: 

Place the fabric wrong side up, then place the batting circle in the middle of the fabric. Next place the button front (back side on top) on top of the batting.


Step 4:


Push step 3 (fabric, batting and button front) into the silicone holder. fold the excess fabric inwards. 


At this stage you could also flip the silicone holder around and check the placement of your fabric. Readjust the fabric with a little pull and check it is placed in the desired location. 


Step 5:

Once you are happy with the placement, place a piece of the button back on top of the button, making sure the excess fabric are tugged in nicely. The button back is a thin disk where the edge of the disk is slightly folded up, you want the folded up edge face upwards and not he opposite way.


Step 6:

Place the blue push on top of the button back and push down hard. You should be able to feel a click and that is how you know the button back is pressed down properly.


Step 7:

Remove the blue pusher and gently push the finished button out of the silicone. Repeat the process to make another button. 


Step 8:


Place a small amount of super glue on top of the paperclip plate. You really don't need a lot about pea size will do the job. 


Carefully turn the paperclip so the glue facing downwards. Attach the paperclip to the middle of the button. 


When glue the button into place,  take care to make sure the button is place in the desirable direction. Hold it with your hands for a minute for glue to set and then leave it for about 5 minutes to dry completely, or as directed from the manufacturer.


My Olfa Rotation Cutting Mat comes in handy for this step. I would place the button in the center of the mat and use the grid as a guide to help me identify the direction and where the center of the button is. This way you more likely to glue the paperclip in the right direction and centered at the same time.


It is really simple to make and in a couple of hours I have made lots of buttons already. Have I mentioned that it is addictive? I probably did! Apart from chocolates and gummy bears I am popping one bookmark each into my son's lolly bag. It is cute and practical. Win-win I say!  


Thank you for stopping by.

Cheers, Erica


Sunday 19 June 2016

Hugs and Kisses Quilt

I made this quilt for a colleague who is about to give birth soon. Although I knew it for some time it always took me a long time to decide on a design that I like and suitable for the recipient. Once I have settled for a particular design, it also takes me some time to play around with the layout. I do think trying different layout is really fun but this project  do come with a deadline. I did made it in time and have already gift it. Unfortunately I did't take too many pictures, as I was rushed to give it a wash and dry it before gifting. Personally I prefer to wash the baby quilts before wrapping it up, so it is "ready to use" and one less thing for the expectant mum to do! 


For this quilt I used 10" layer cake and sliced it into 4 equal 5" squares. You will require 48 squares in total. I also added a 6" border on the outside and 2" sashing between the circles and crosses. 


For the backing I sewed the left over prints together to reflect the quilt top, plus matching solids Moda Bella's Bermuda and 30's Yellow. I love these 2 color combination, the blue and yellow just go so well together! 


I didn't want to do dense quilting for this project, as I would like to keep it soft for the baby. After some thought I decided to give scallop a try. To create the scallop pattern I used a small dessert plate as template and the painter's tape as a guide to help me matching the top point and both sides. I drew the scallop on the back of the quilt and once it's done, machine stitch it row by row, from one end to the other. 

   
I also added a few teddy bears as if it is peeking out from the scallops. This was inspired by a quilt I saw on the internet. It
is hand drawn with water soluble pen and free motion quilting it on.


I am glad to report that my colleague like it, so it's a YAY for me!


Thank you for reading!

Cheers, Erica 

Saturday 7 May 2016

Going away / abroad present part 1: Luggage tags.

There are many exciting news at work, not really work related but it gives me an excuse to do some sewing. A colleague of mine is going to Europe and I wanted to make something for her. I decided to make luggage tags because it's essential right? At least one for the suitcase and maybe one for the backpack. I have never make luggage tag before so I went to my trusted friend Google and I found this tutorial from Craftsy that I think fits the bill. 


The downside of this tutorial is that it does not come with a pattern. It depends on the size of the plastic ID badge holder (or a.k.a. name badge) you've got and which way the pre-punched hole is. I brought mine from local Officeworks and I prefer portrait pouches than that on the tutorial. 

The upside of this tutorial is that it is not hard to work out the measurement. I use recycled card stock to make the template. I did purposely made it a bit longer, just in case my calculation is off. I also intend to make a sample to see what it would look like.

The sample, strawberry luggage tag turned out well and functional. The tag itself can be further shortened half inch and my button hole needs to be 1/4 inch larger. 


This is also the first time I am trying to make a buttonhole, and no, I don't have a buttonhole foot. I did find this tutorial that teaches you to sew without the buttonhole foot and it really helped. Once the buttonhole is sewn all you need is take the seam ripper and run along the middle to slice the fabric. 


For the mock-up strawberry luggage tag I used canvas, home decor type of fabric. It is durable and much thicker than the cotton quilting fabric. Perfect for this project. So this brings to my next challenge --- I want to use my lovely cotton quilting fabric but I want to give it structure. I think a layer of batting will work and it's also a good way to use up some of the leftovers from quilt making. However, if you decide to use batting you will need to sew it onto the fabric to prevent it from moving when you turn it inside out.   

For this occasion I use Vilene H 630. I can't even remember why I bought it in the first place, perhaps I was thinking about making a bag? For those you haven never heard of Vilene, a.k.a. Pellon, is a type of interfacing which provides support and shape to your garment and other crafty projects. It comes with different weight or thickness depending on how much shape/structure/ stiffness you require for your project. Vilene is easy to use as all you need to do is cut it to size , cover it with a damp cloth and iron for 15 seconds. 

When cutting the interfacing it should be cut to actual size excluding the seam allowance to reduce the bulk around the edges. I made this one for my son for his backpack, just in time for his school excursion. 


The luggage on the left and below are for my colleague. Same steps as before but I fuzzy cut the fabric to show case the beautiful birds. It is a bit more fiddly, but well worth the effort. To make the inside as nice as outside I also fuzzy cut the fabric for the interior. 

The fabric collection that I use here is Alegria by Geninne from Cloud 9. 


What I really like about this luggage tag is that it is really easy to make compare to the other tutorials. The way it folds the name badge inside the tag provides privacy of your details, unless you need to open it and take a look inside. Although it is only 9.5 by 3 and 3/8 inches you can still showcase the pretty fabrics for this project. Hopefully she will like it!   


In the next blog entry I will make 2 matching giant paperclip bookmark to go with these luggage tags.

Cheers,
Erica

Sunday 1 May 2016

Fancy Folded Star Pot Holder Revisited


A few years ago I saw this potholder tutorial on Moda Bake Shop and I gave it a go. I was experimenting with different shapes and this is my square version. You can read my previous post here and here.       

I want to experiment this potholder a bit more, and I thought it will also be a great housewarming gift for my colleague. The potholder on the left is the same as what I have made before. Using only solids and 4 colorways, where each color is folded twice consecutively. Using only solids are great the shape of the star is sharp and you can see each layer clearly.  


This potholder on the left is my favorite and it was fun auditioning different color fabrics in my stash! I would not recommend using your scrap fabrics for this project, as it does require about half of a fat quarter to make up one layer of the star. Therefore to make 2 layers using the same fabric will require 1 fat quarter, and possibly more if you need to cut the fabric in certain direction.  

It is made using 8 colorways, going from lighter colors to the dark orange. The last layer (which is grey in this instance) should always be the background fabric that intended to frame the star.


Next potholder I experiment with print fabrics. I did add a few layers of solids as I find it too busy using all prints. For the last 2 layers I chose solids so the outline of the star is more defined and your eyes are not distracted from the busy background print.

In the first (or the center) layer I also tried alternate the white and hot pink solid to see what it will be like when I folded the fabric. It looked like arrows or hearts and I think it worked well here. 

I would definitely experiment the alternating colorways more in depth next time. I am curious what it will look like if I lay it out for the rest of the other 6 layers!   


For this potholder I chosen my colleague's favorite color purple, coordinate with a layer of yellow and grey fabric. What I really wanted to tried here is to experiment with strip fabric for this project. I intentionally cut the fabric so the strip is shown vertically.    

I have to say the best part about this project is finding out what it will actually look like but only at the end. Especially when solids mixes with different print fabric it's hard to envision what the end product will look like. I have played with different orientation and the layering sequence of the fabrics for hours and it was so much fun. It is very additive! 


I have already given the above set for my colleague and she really liked it. Positive response is always welcome and it definitely puts a smile on my face. I have also made her a new apron using my cherry blossom print, and she liked that too. Yay!


Thank you for reading,
Erica.

Sunday 6 March 2016

Pokey the Playmat - version 2.

This year I have a few quilting goals, which is another list of quilts that I would like to make for certain friends and babies arriving this year. I can sense my pile of UFOs will have to stay put for a bit longer...oh well!

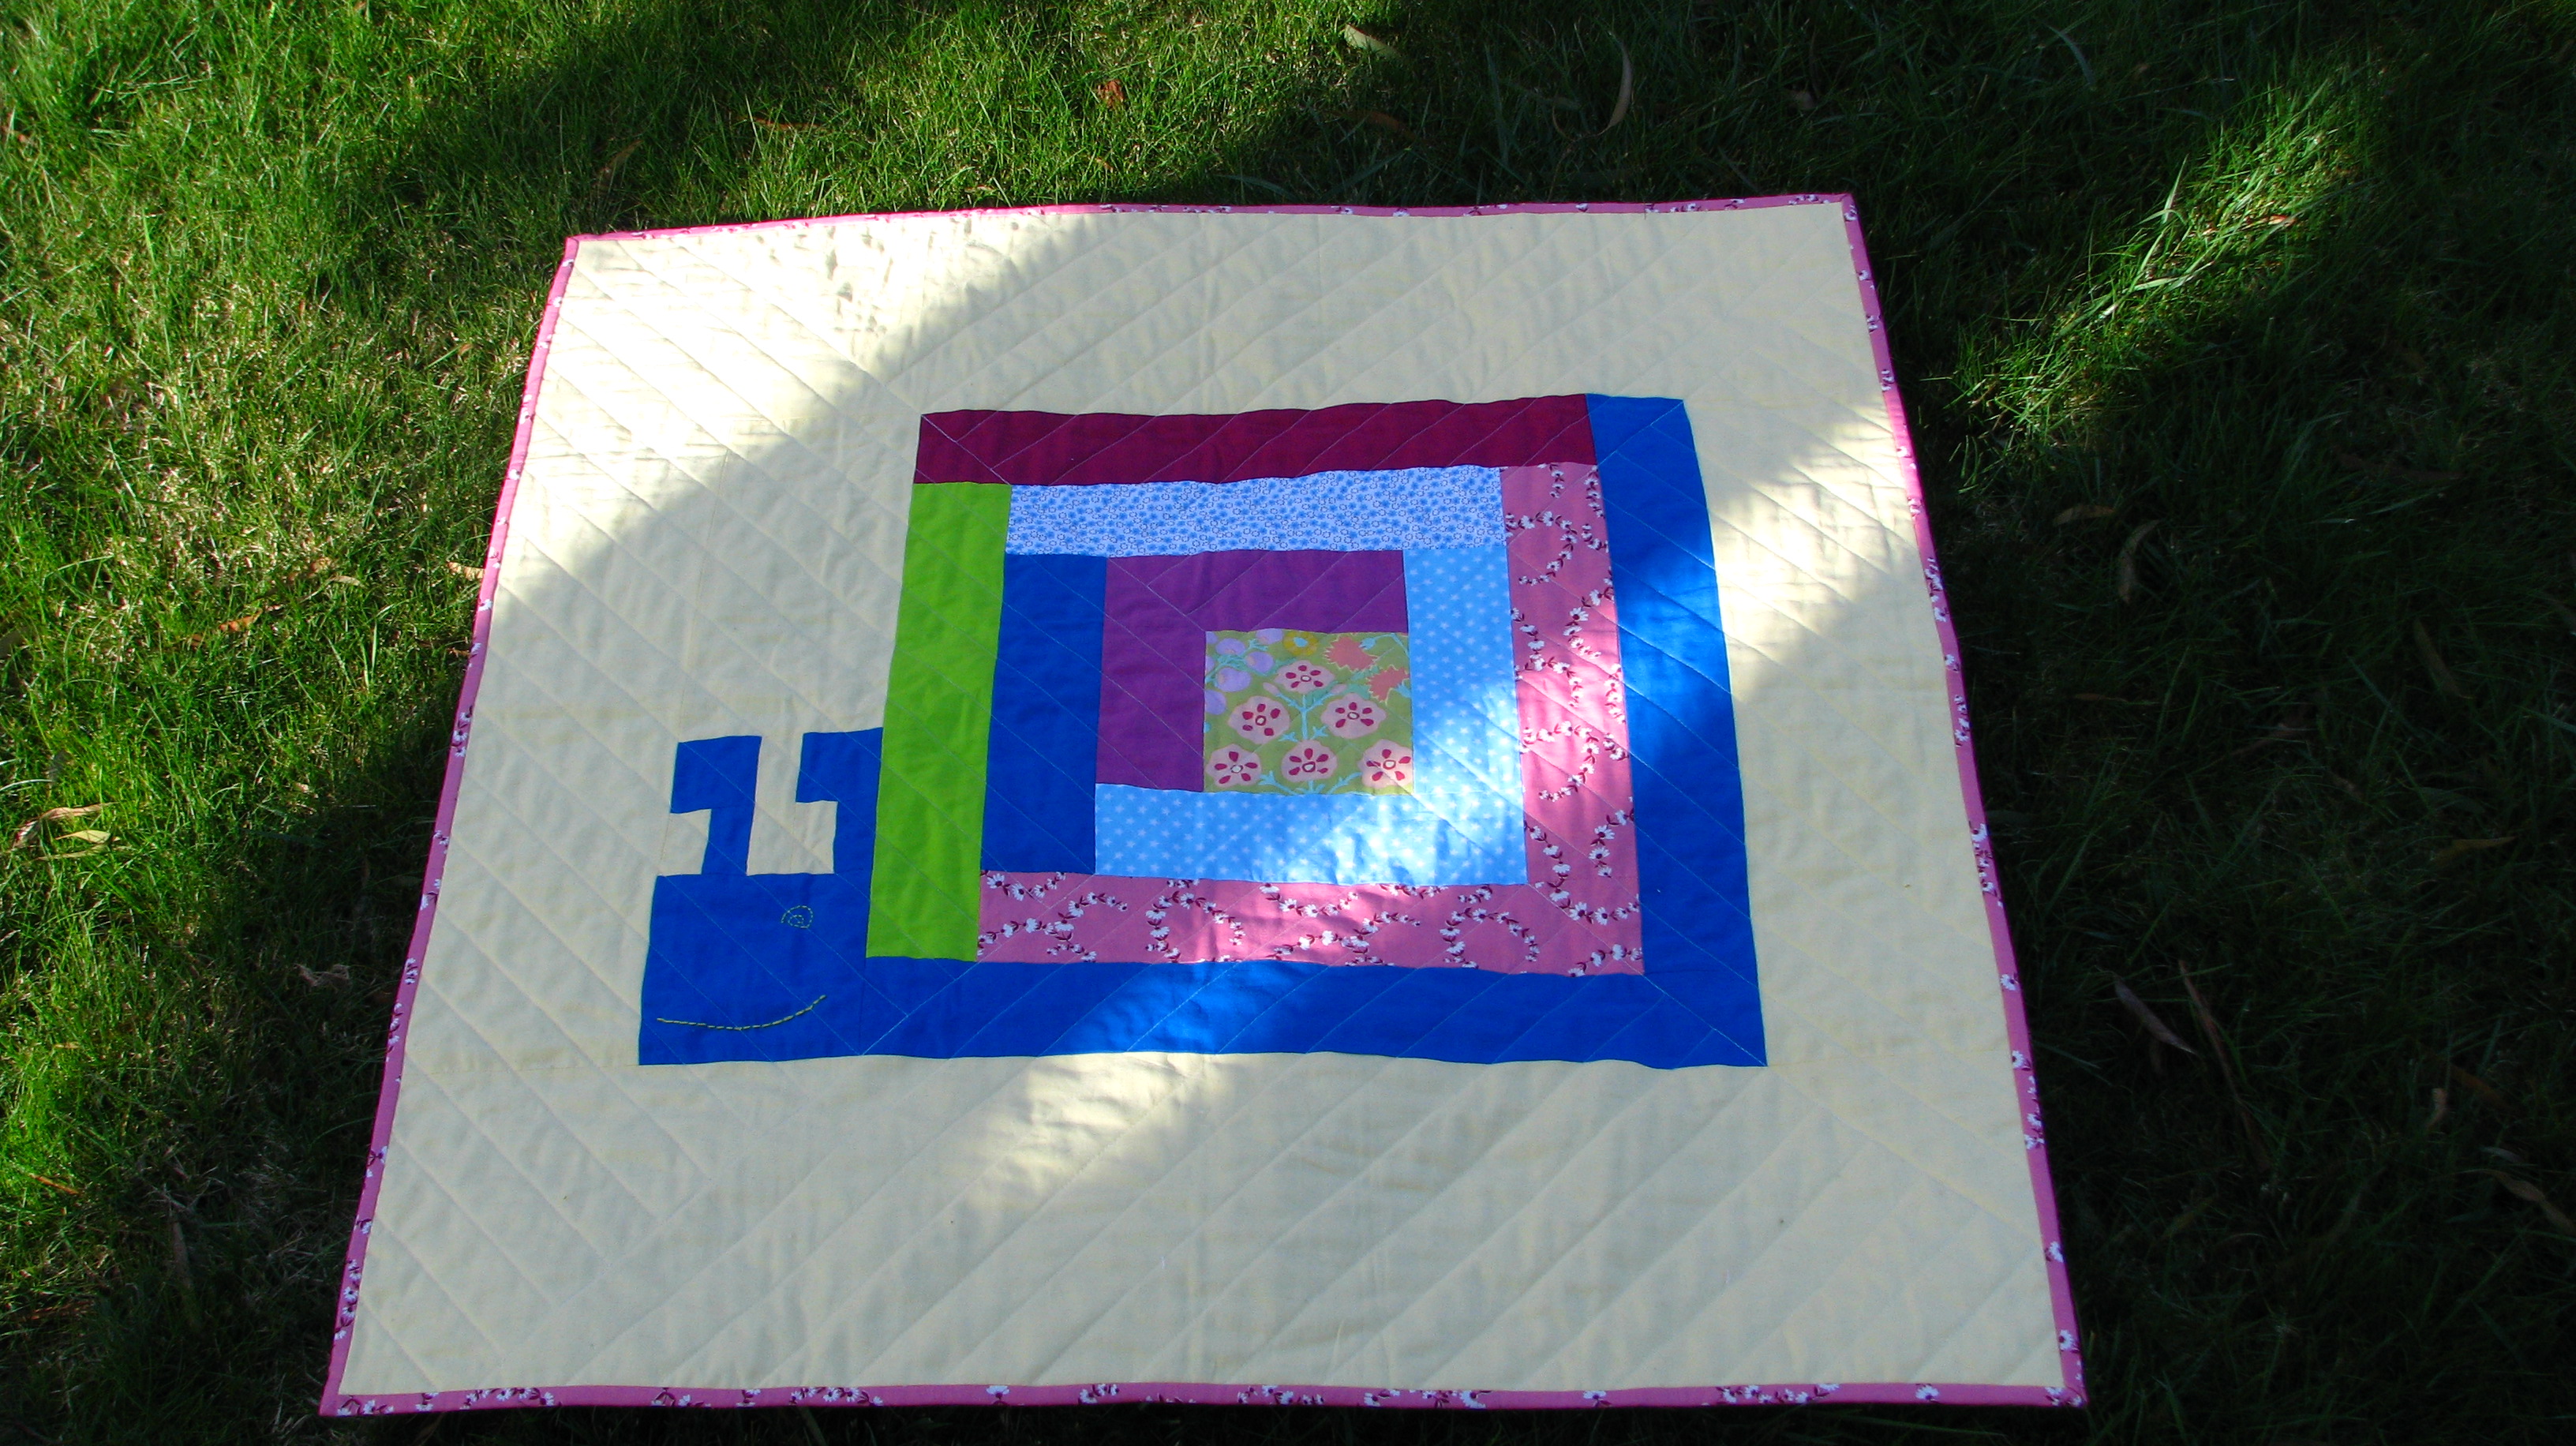
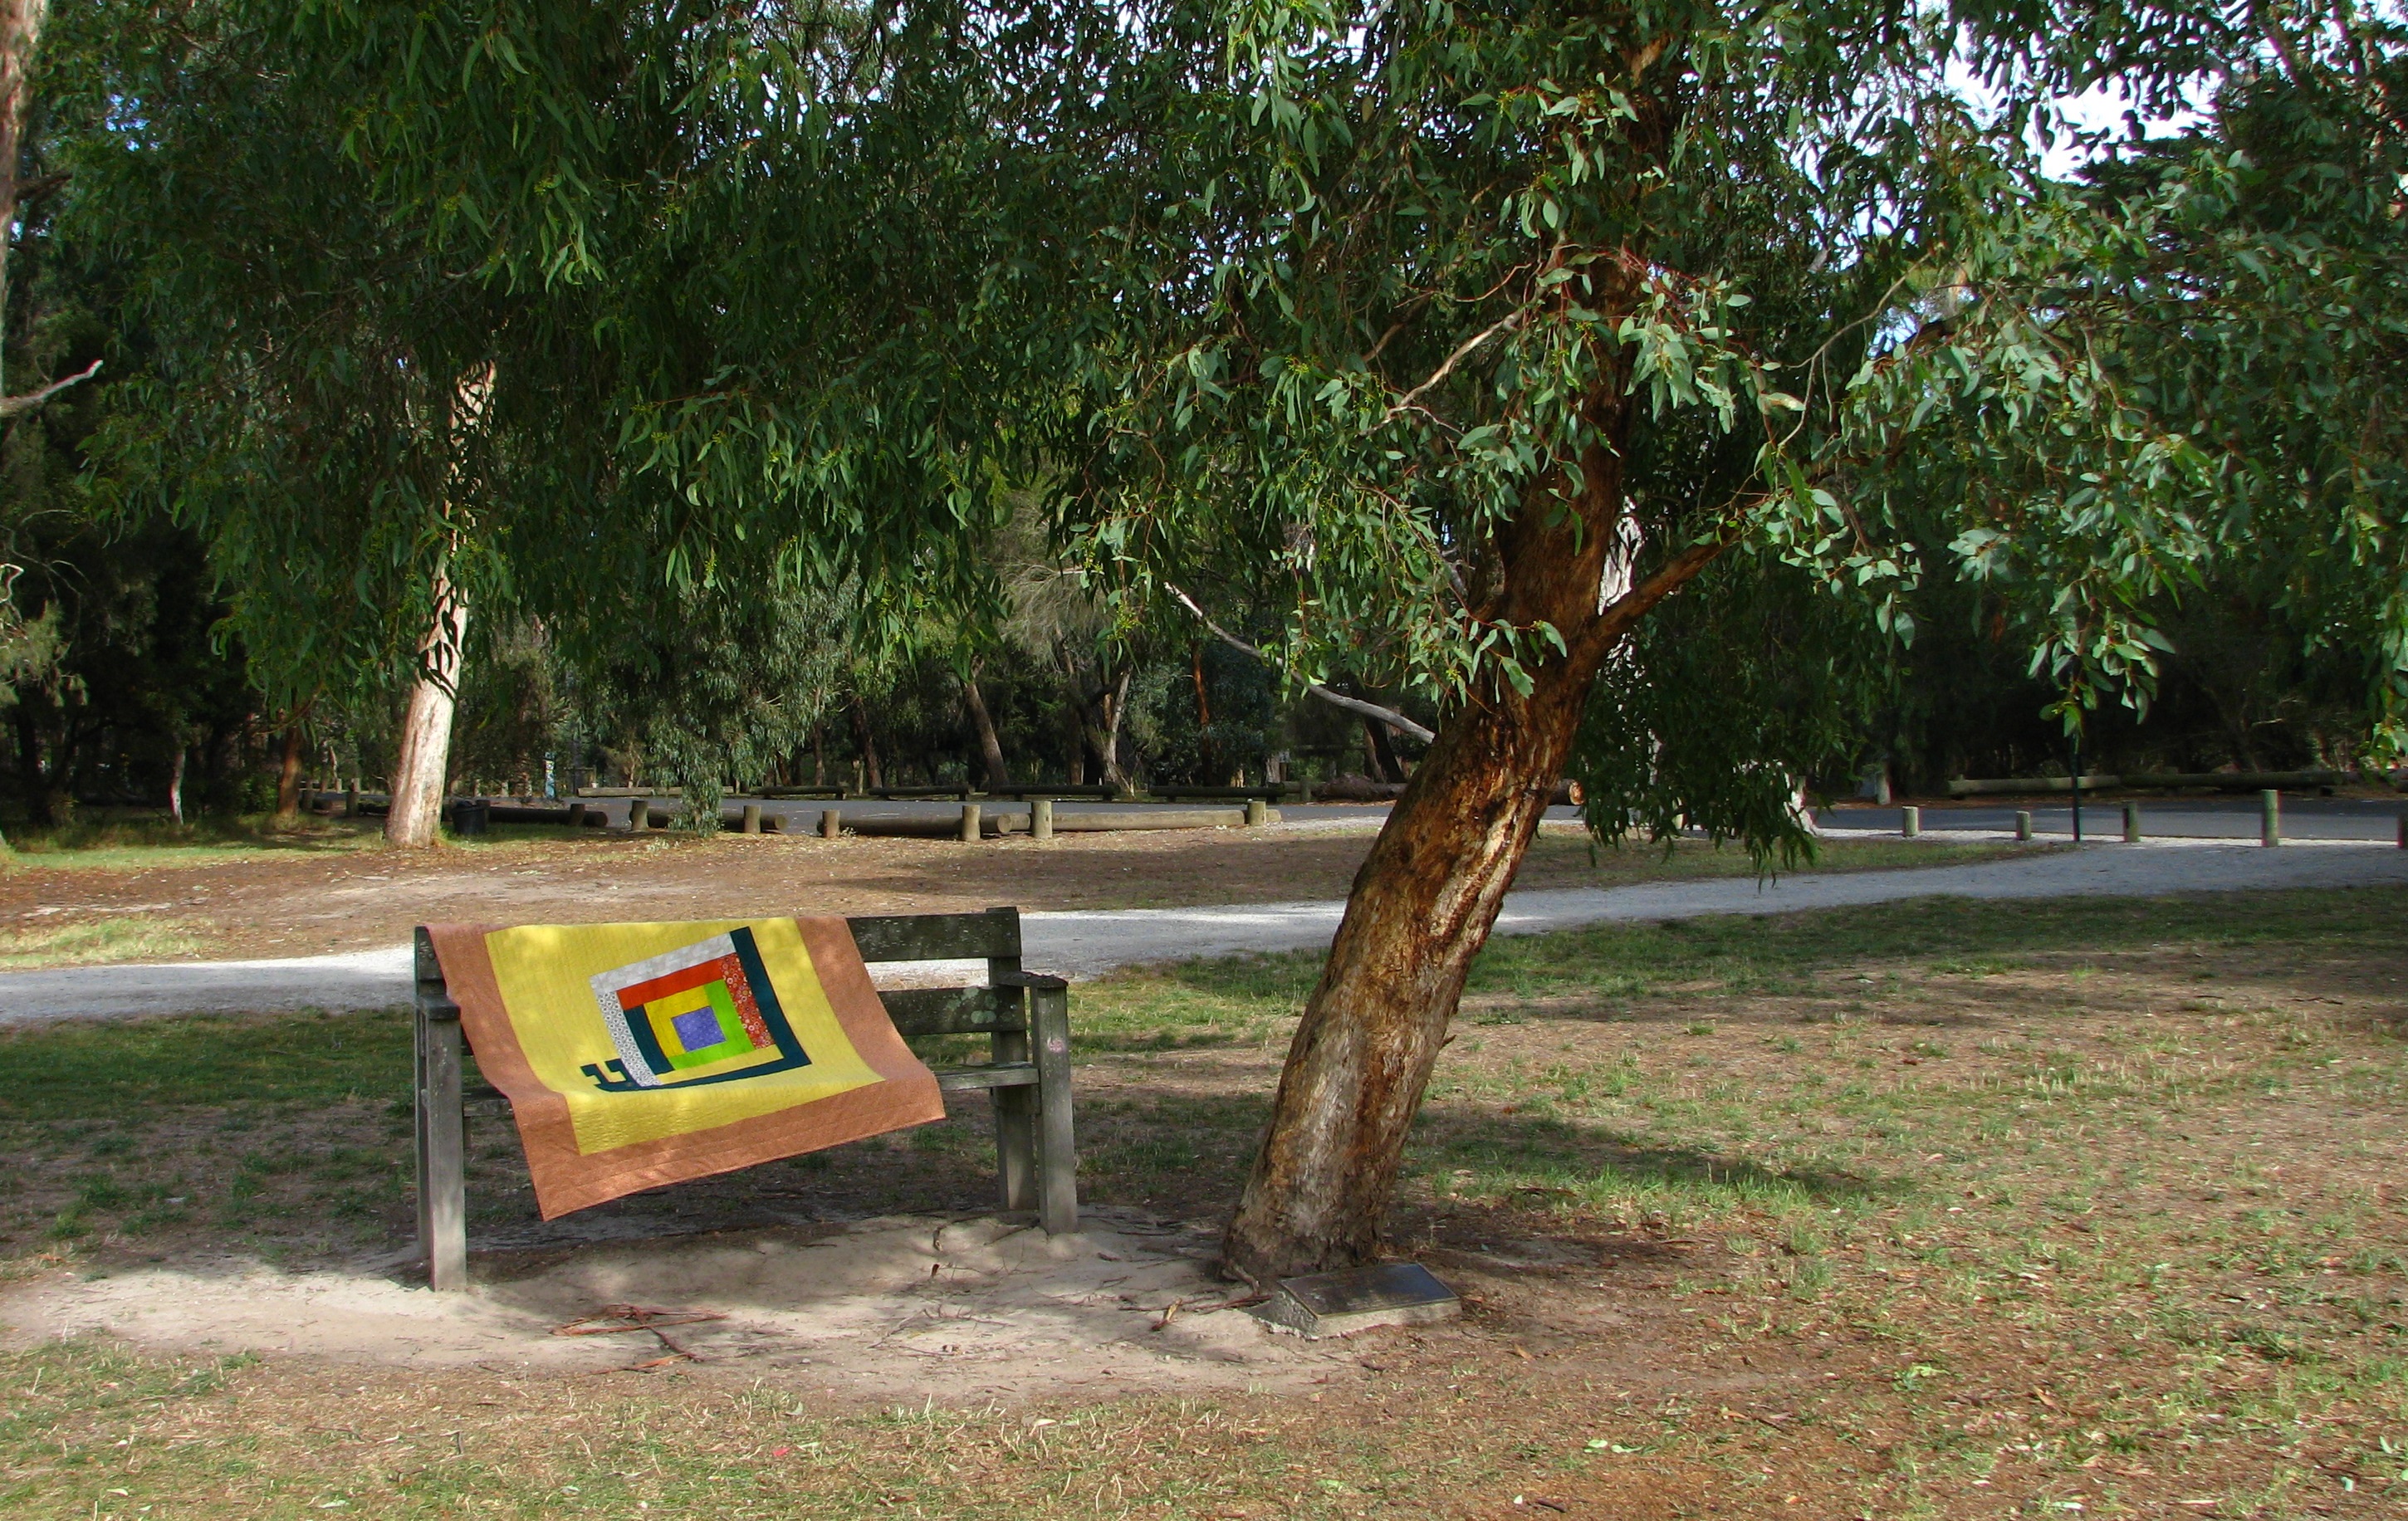
So to start the year of 2016 I made another Pokey the Playmat quilt. The pattern is from the book Dare to Be Square by Boo Davis. The first time I made it was back in 2012 for a baby girl in it's original size 36" by 36". 


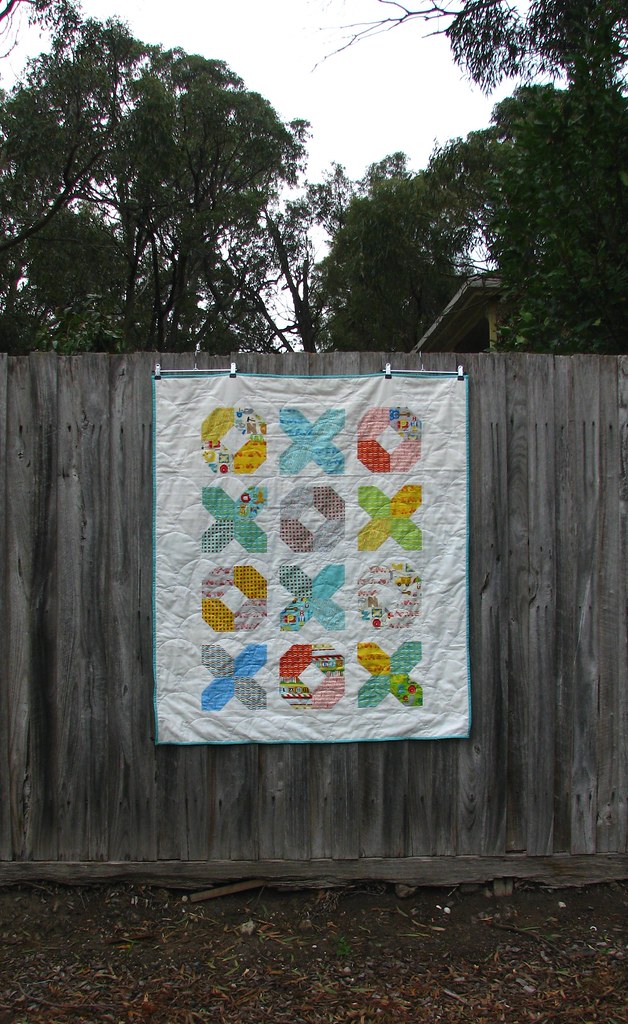
However this time I added an additional 6" border to make it into a larger quilt. My challenge is to keep the colour gender neutral, as we do not know the sex of the baby.   


This is always a fun quilt to make, especially in the early stages of pulling out fabric stash and audition different solids and print fabrics. Although simple in design, there are rooms to make changes and makes it a one of a kind quilt. As mentioned before in the second version I have added another border to its original design, plus I also free motion quilting the negative background. 

  
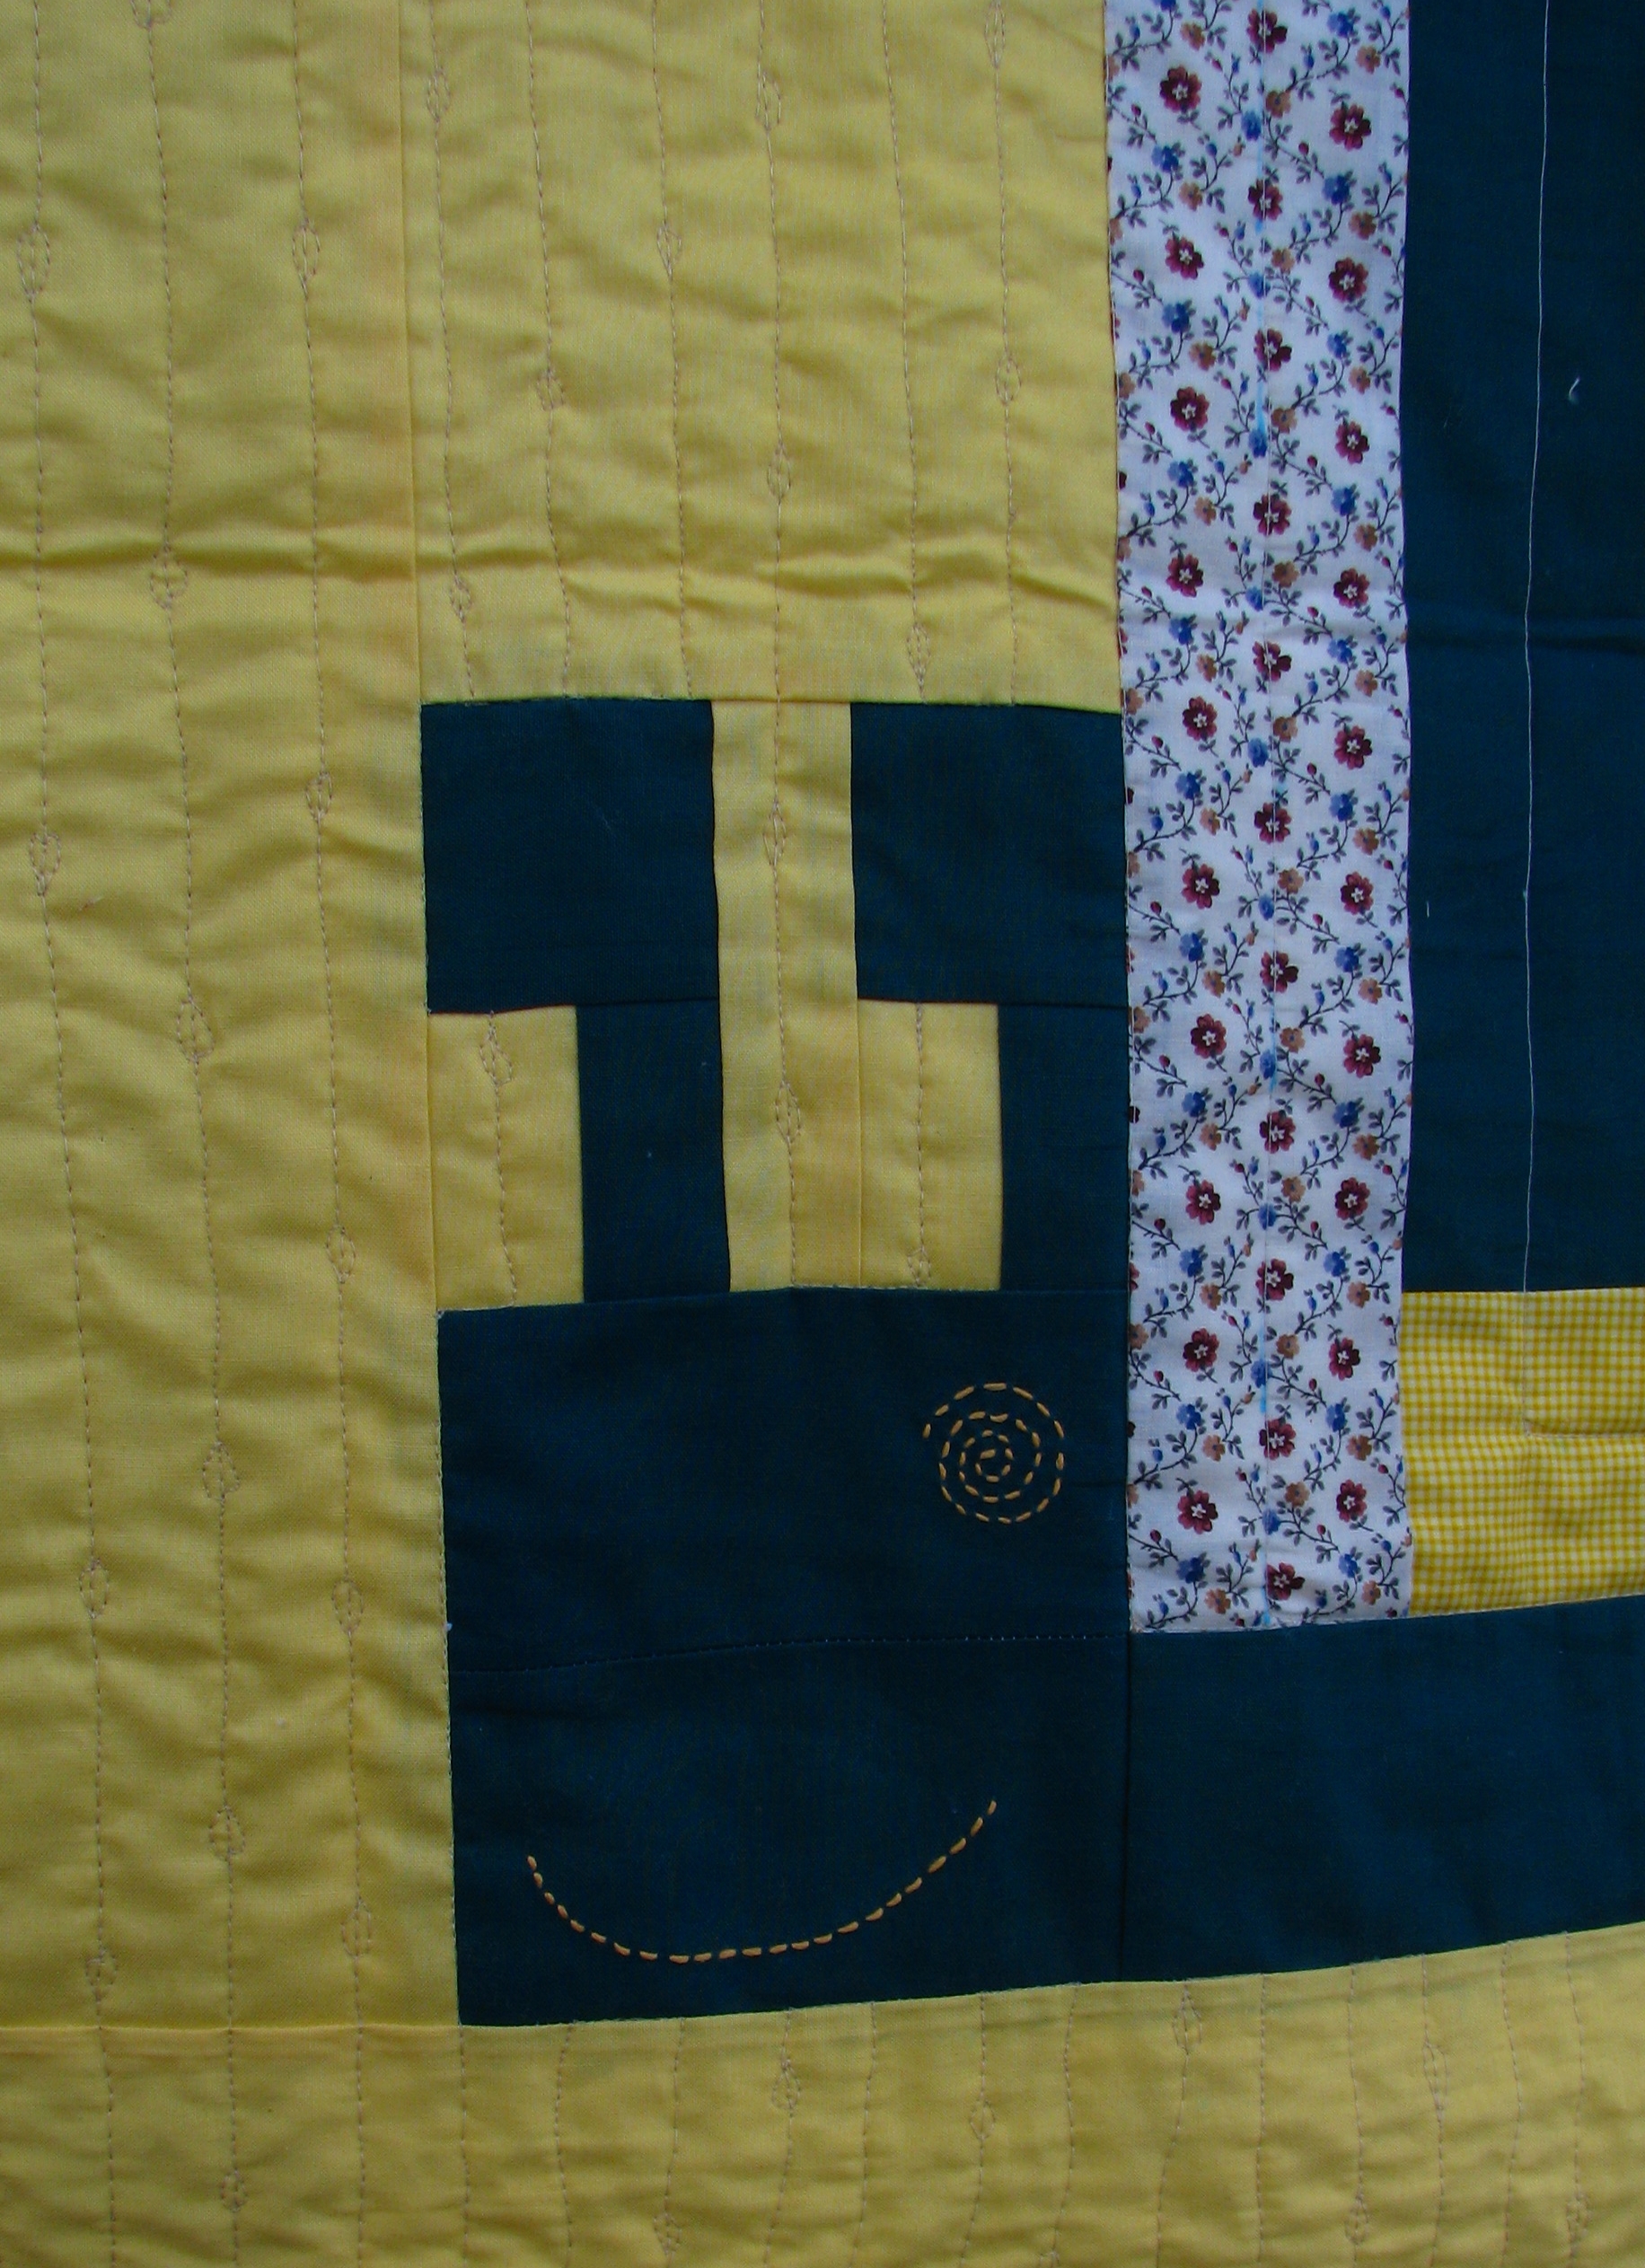
Other quilters who have made this quilt also have different ways to create Pokey's face. Here I have hand stitched it in orange perle cotton threads for the eye and smiles but I think raw edge applique will also work here. 


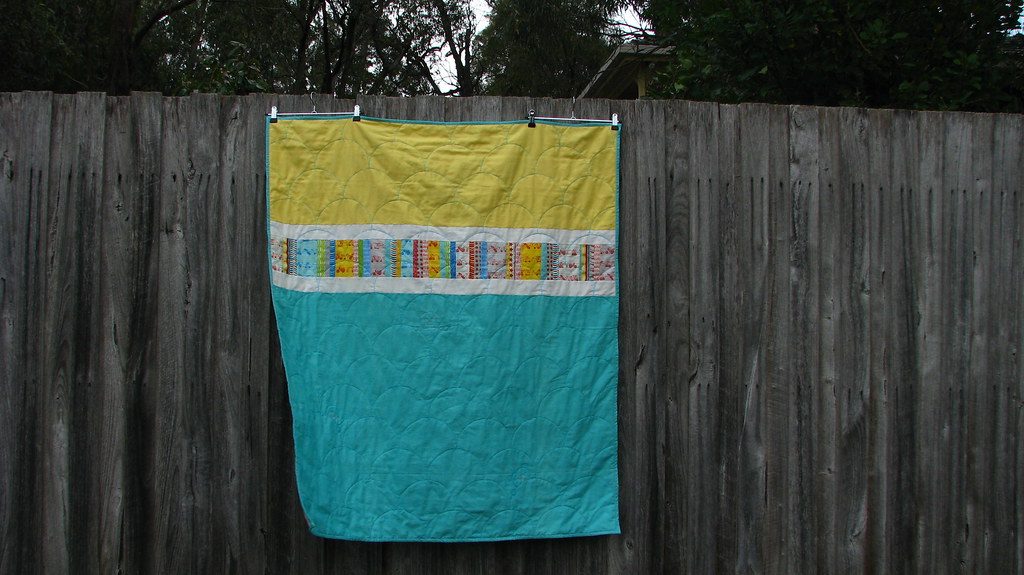
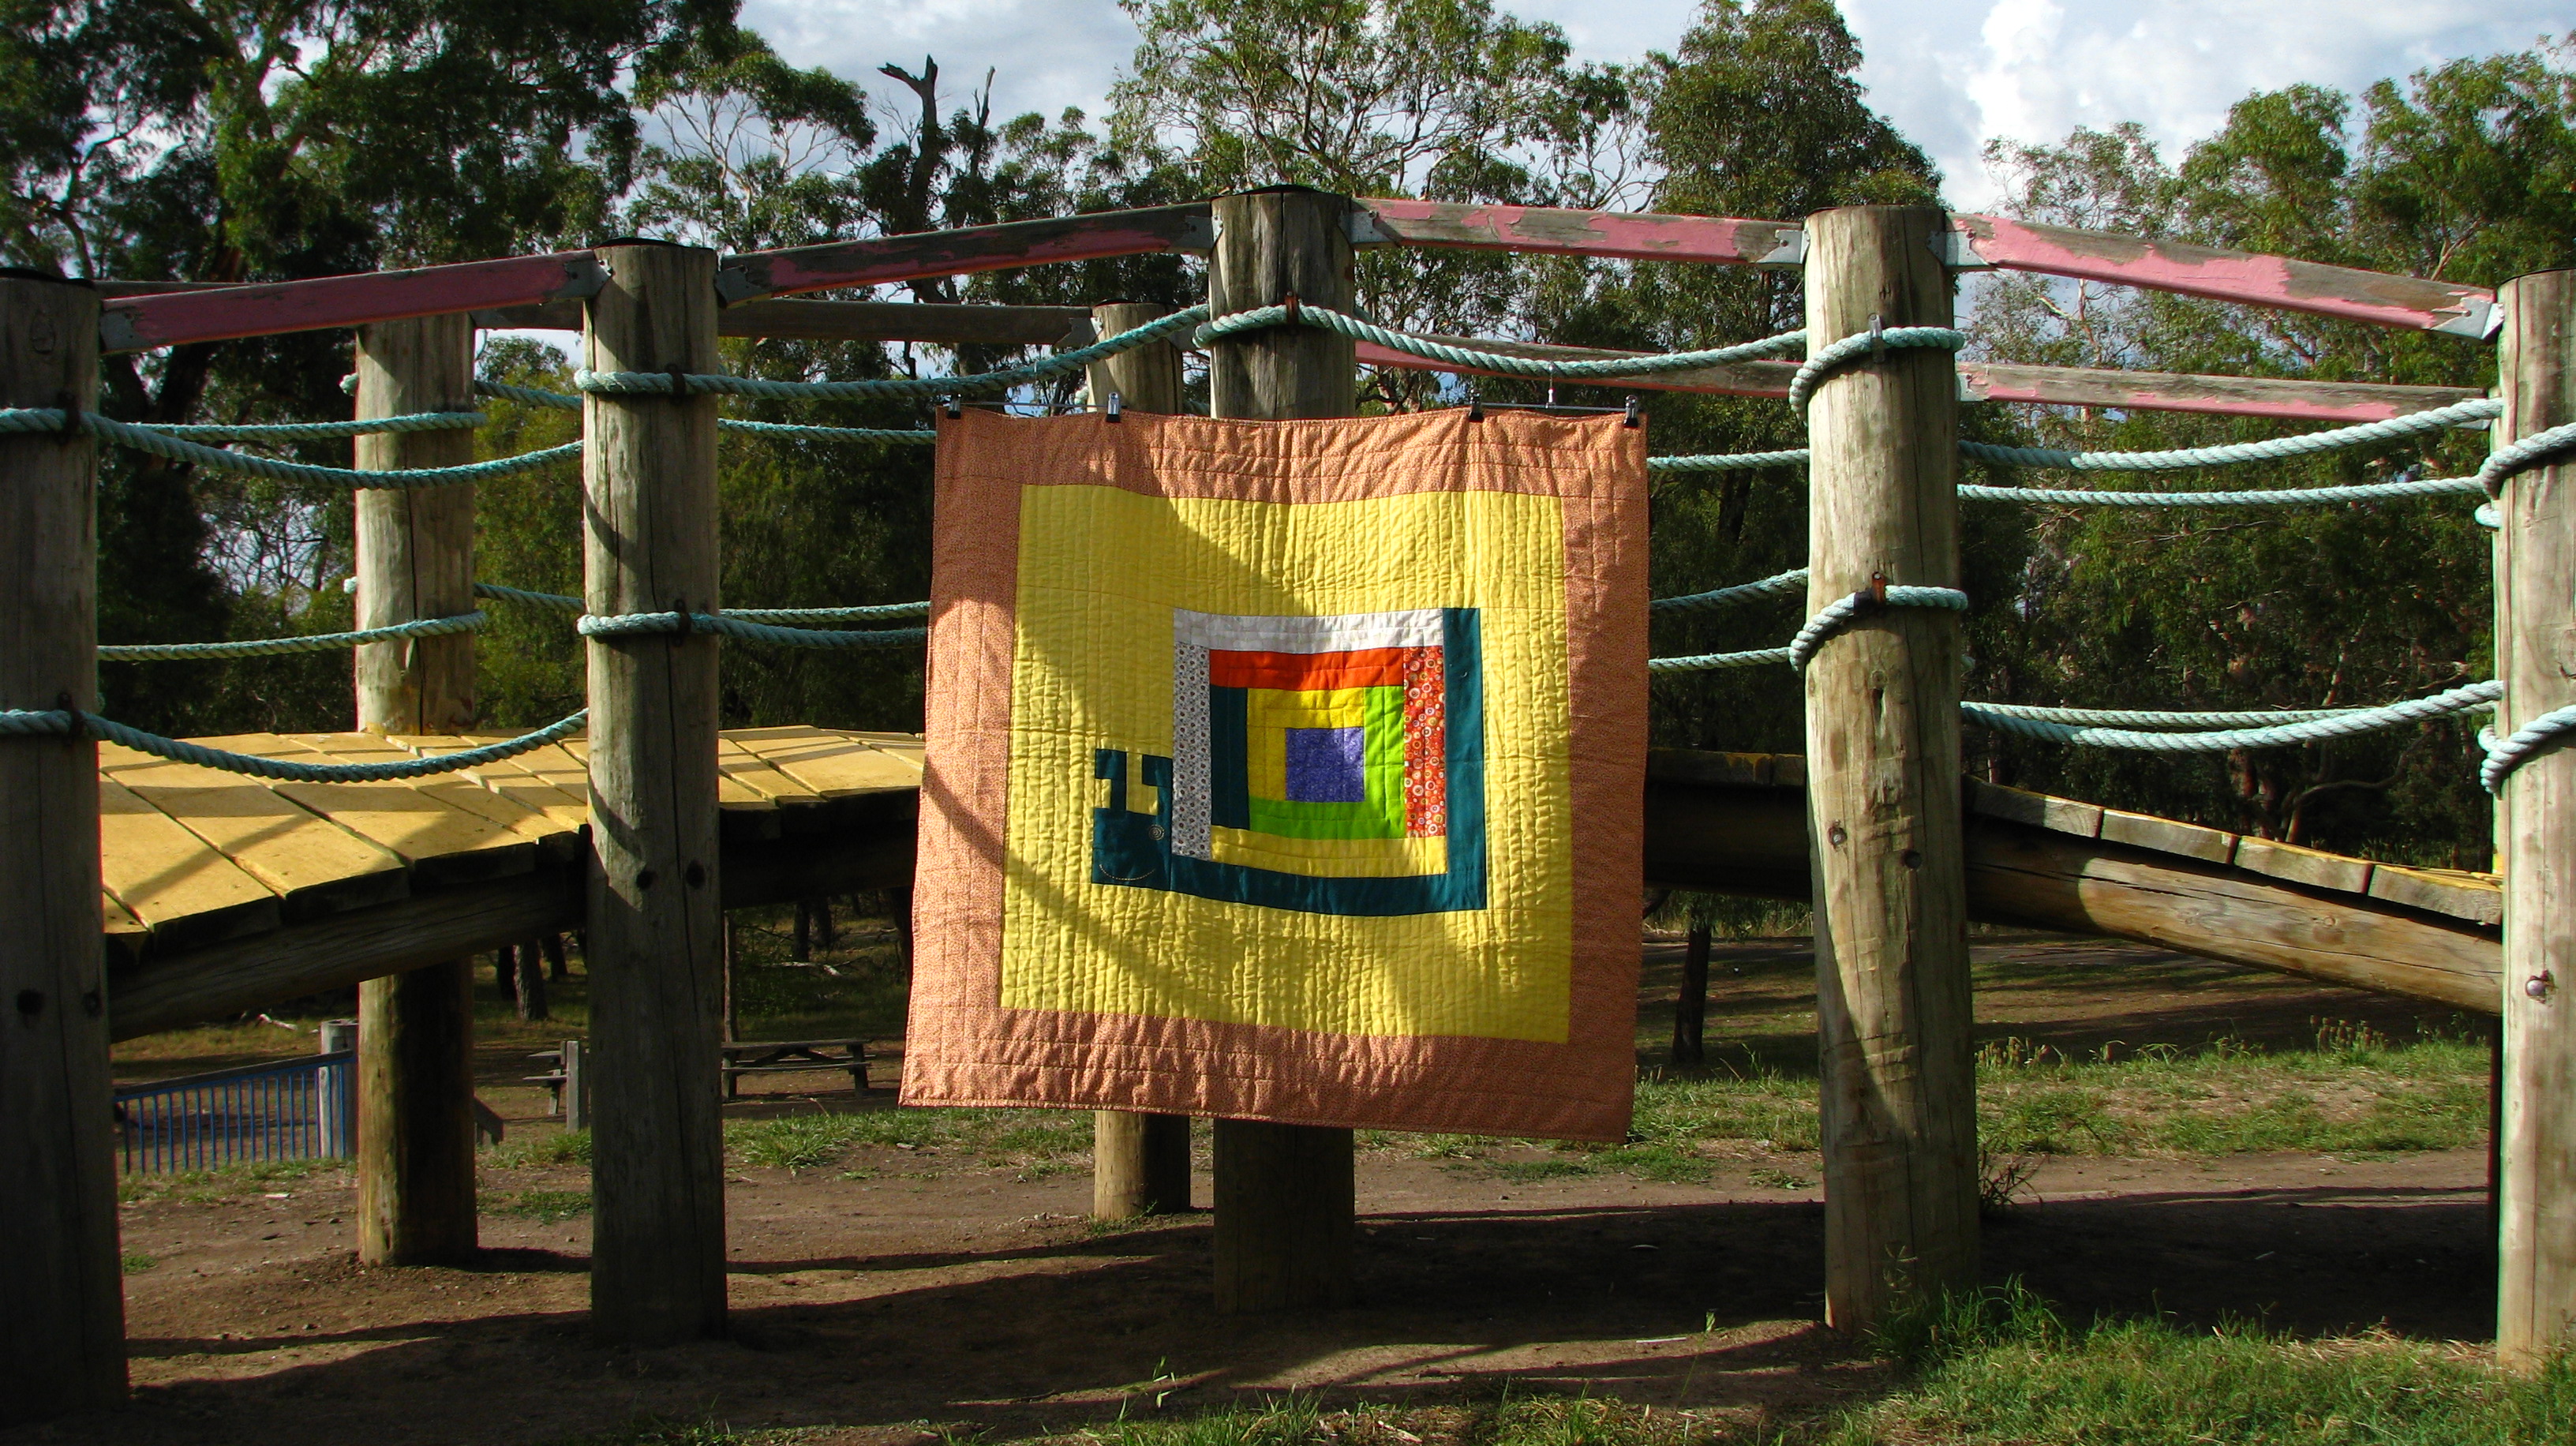
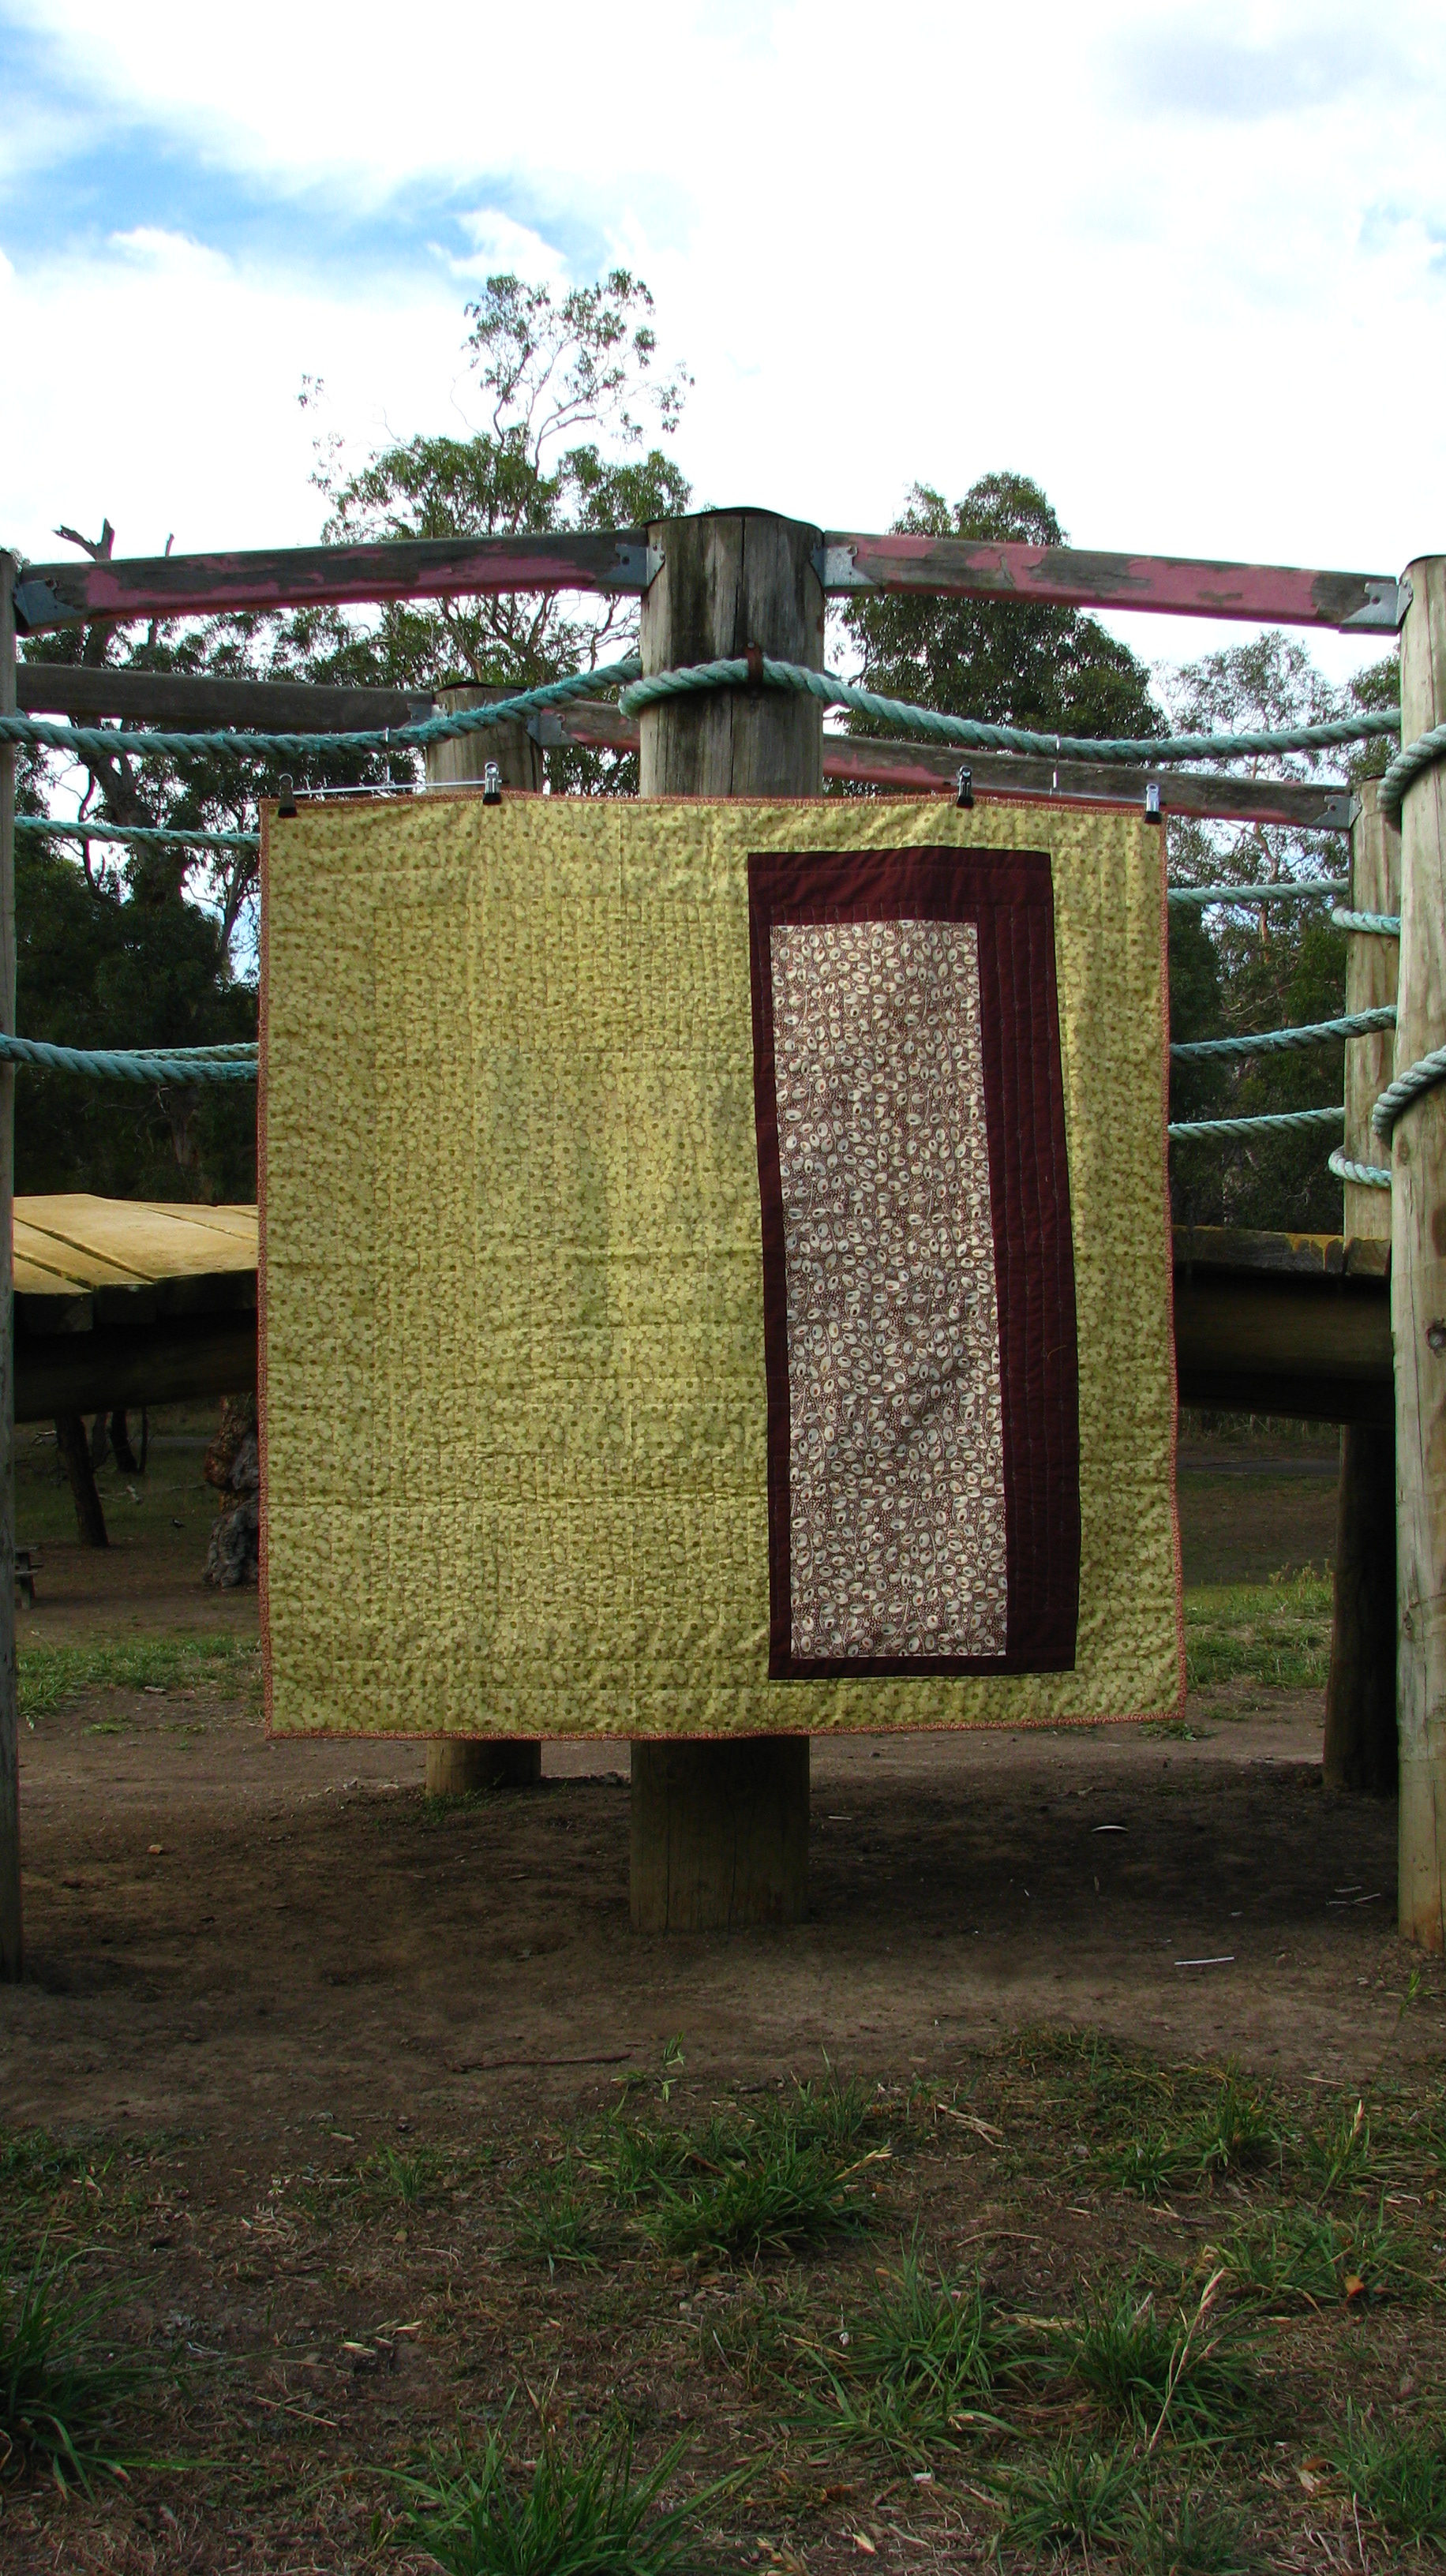
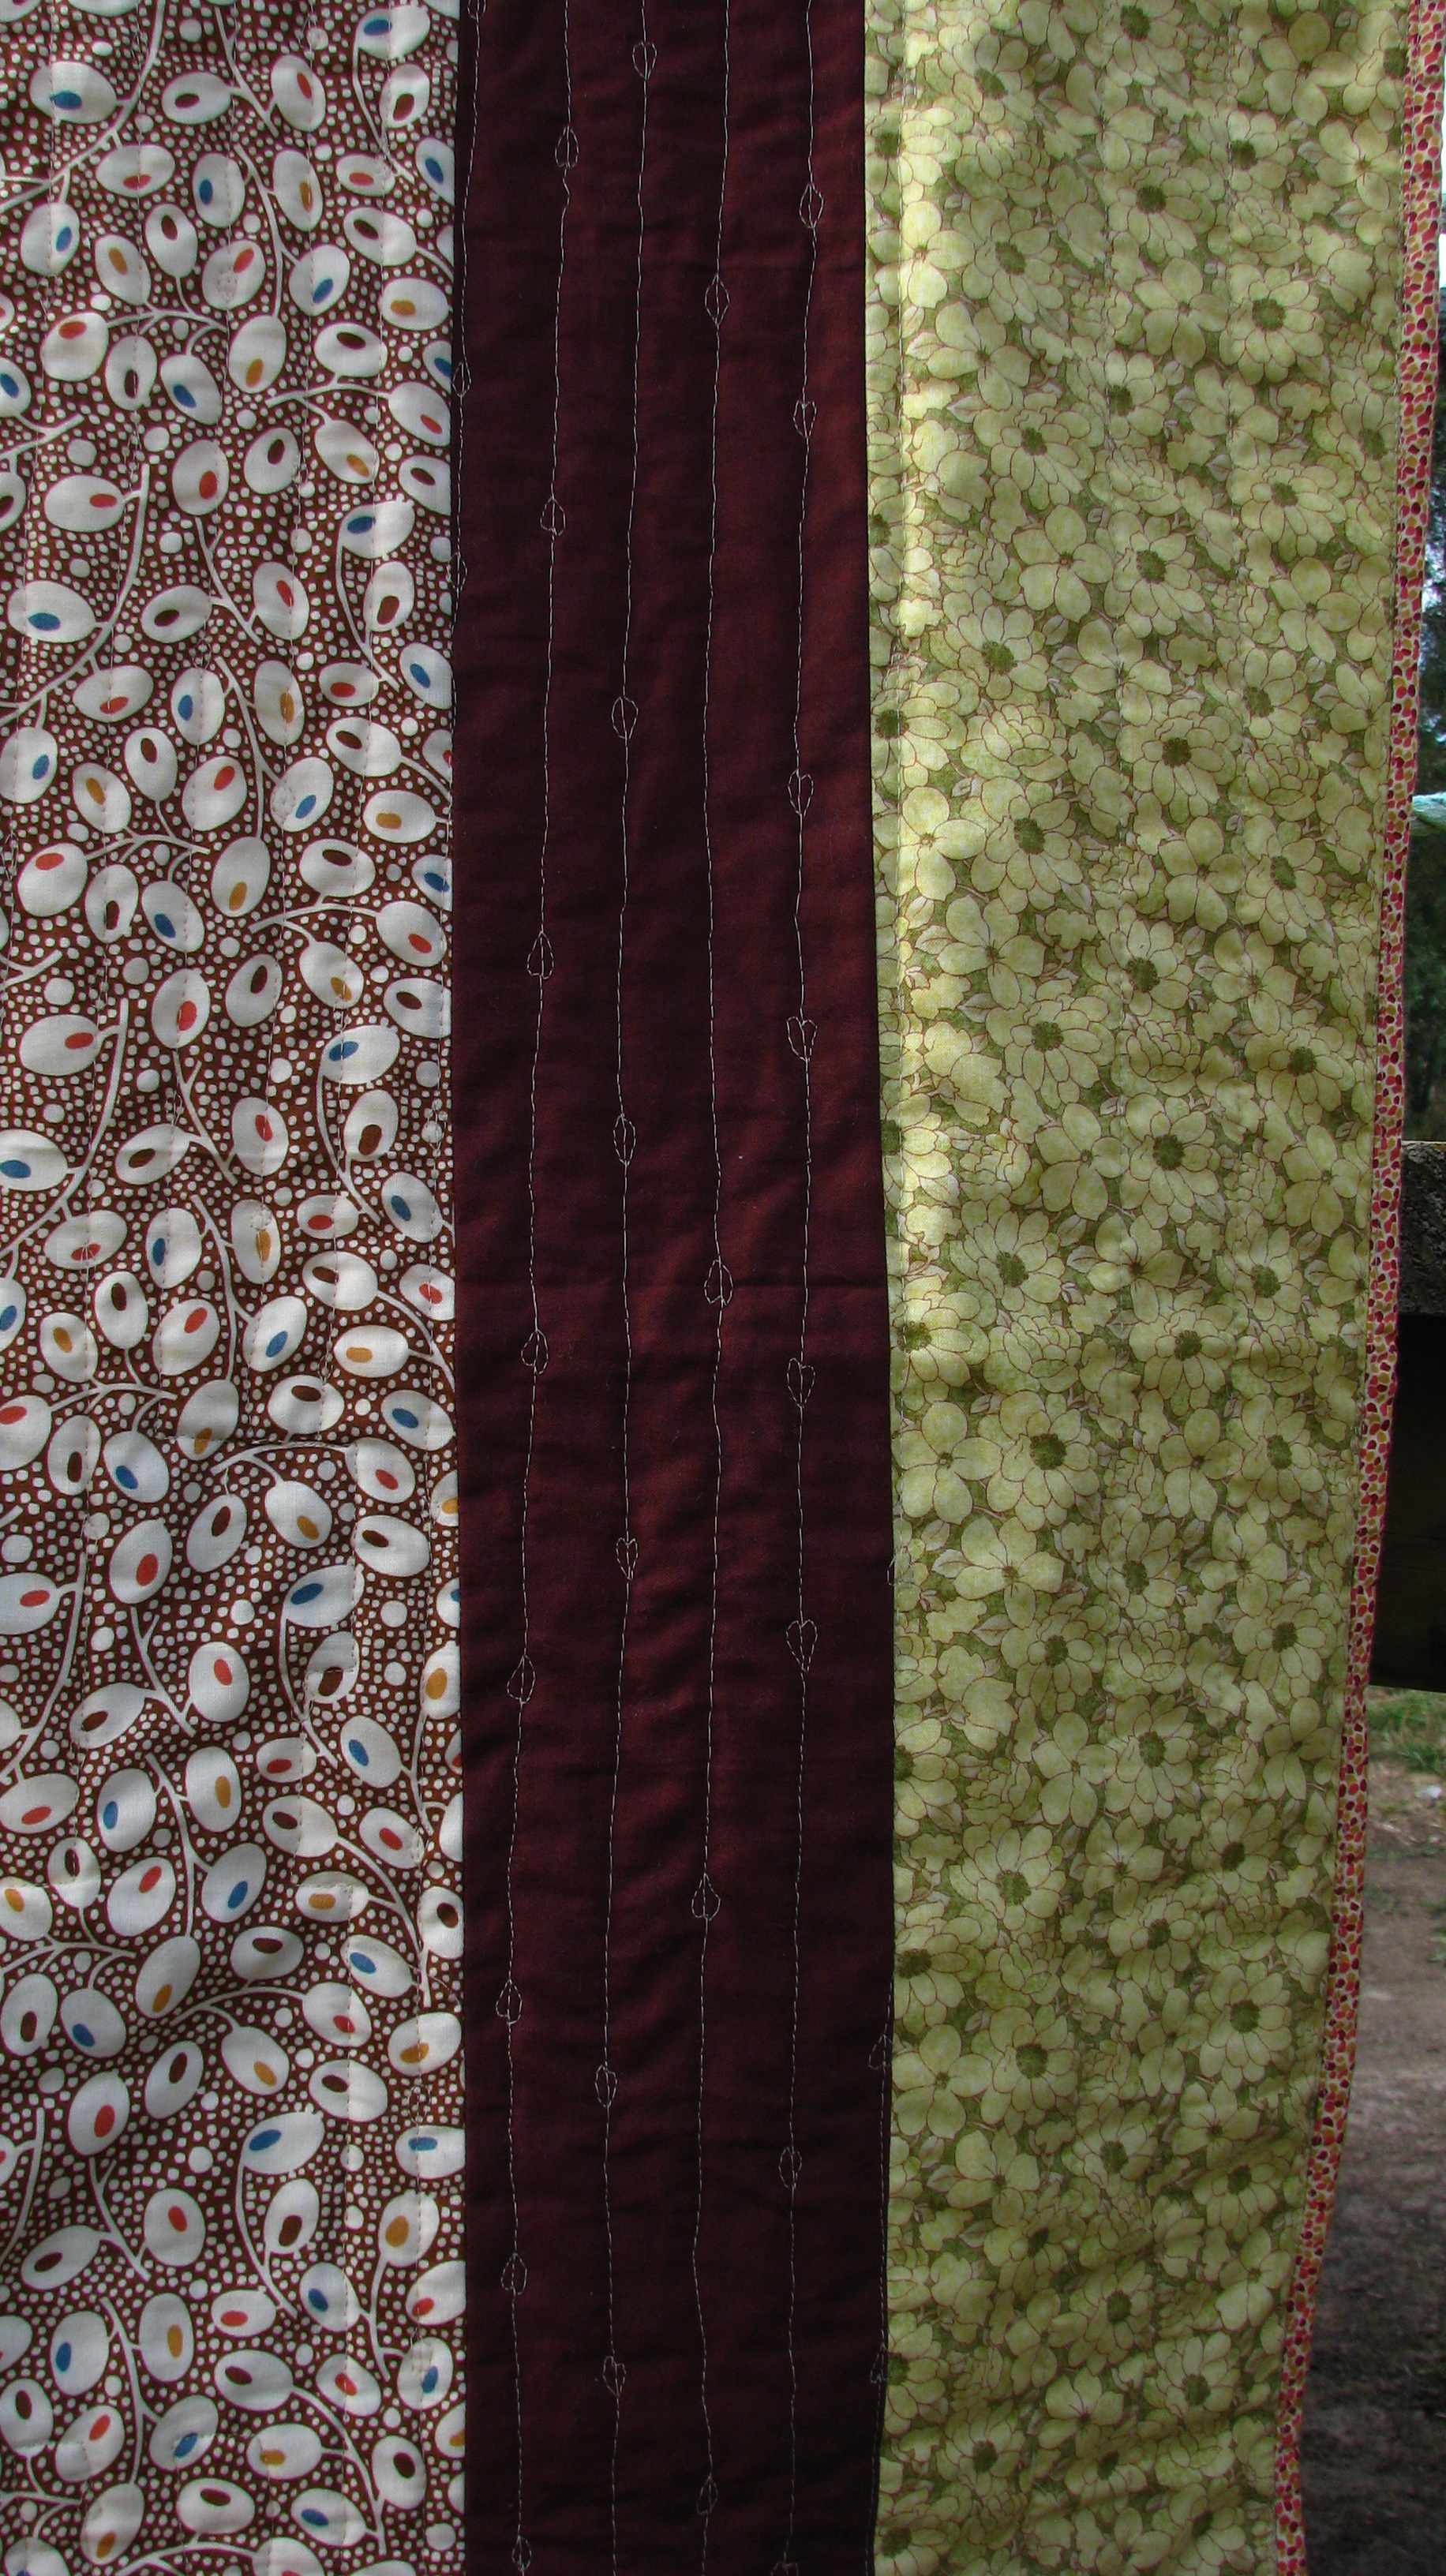
The backing of the quilt is another challenge that I enjoy a lot and I hope I have done this quilt justice. I do prefer the front and the back of my quilt work cohesively in terms of its theme, colour schemes and shape. For this quilt I have chosen green floral and brown leafy prints. I alsouse brown solid to differentiate the two prints while echoing the log cabin design of the snail.


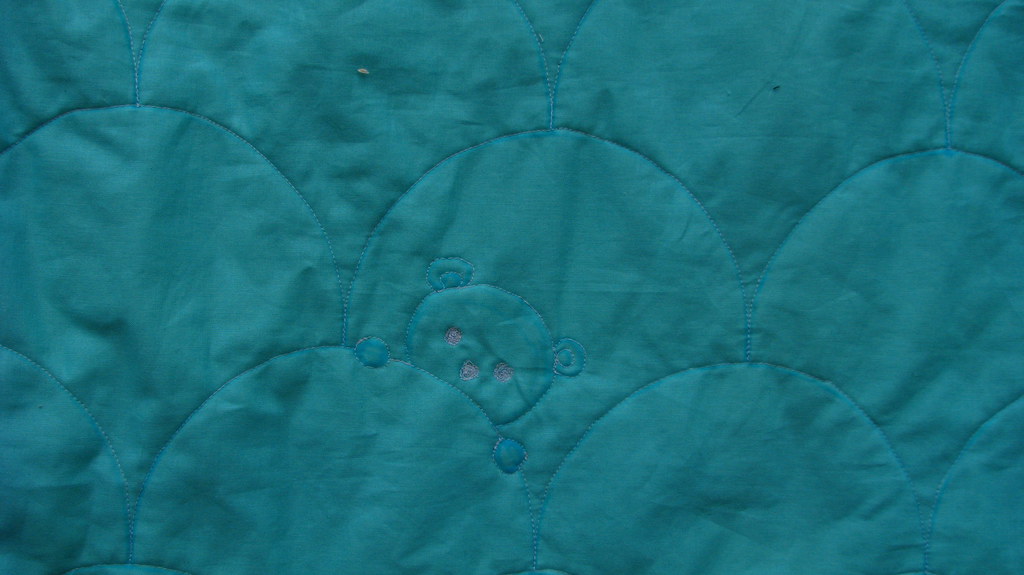
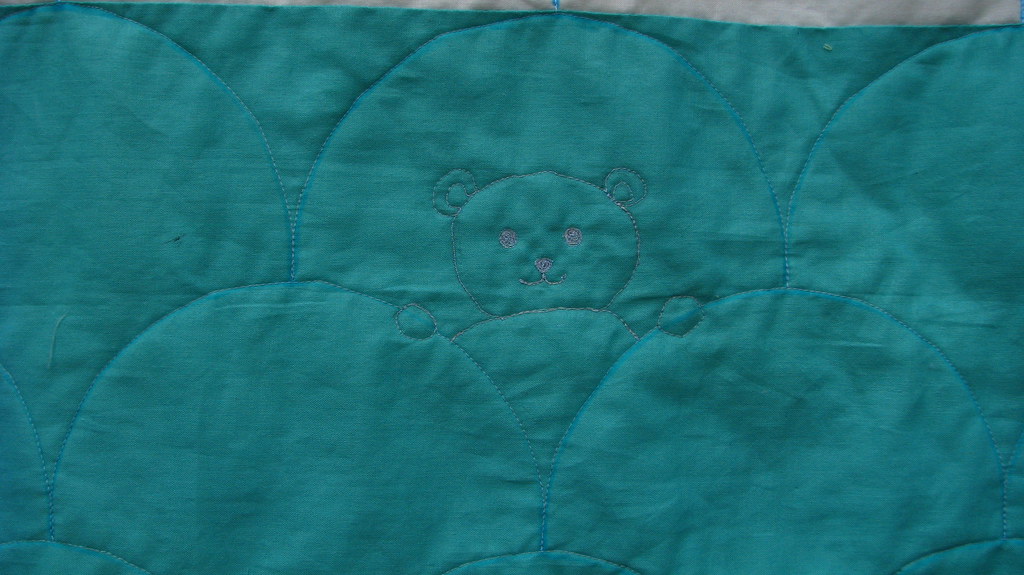
The inspiration for my free motion quilting came from Christina Cameli's leafy lines quilting design. I have loosely spaced each leafy line and quilted each leaf at random intervals. I think it's fitting for this quilt as it reminds me of the snails climbing up a leaf.

It is a beautiful design and easy to do even for beginners. I highly recommend you to click the link above to take a look Christina's original design.


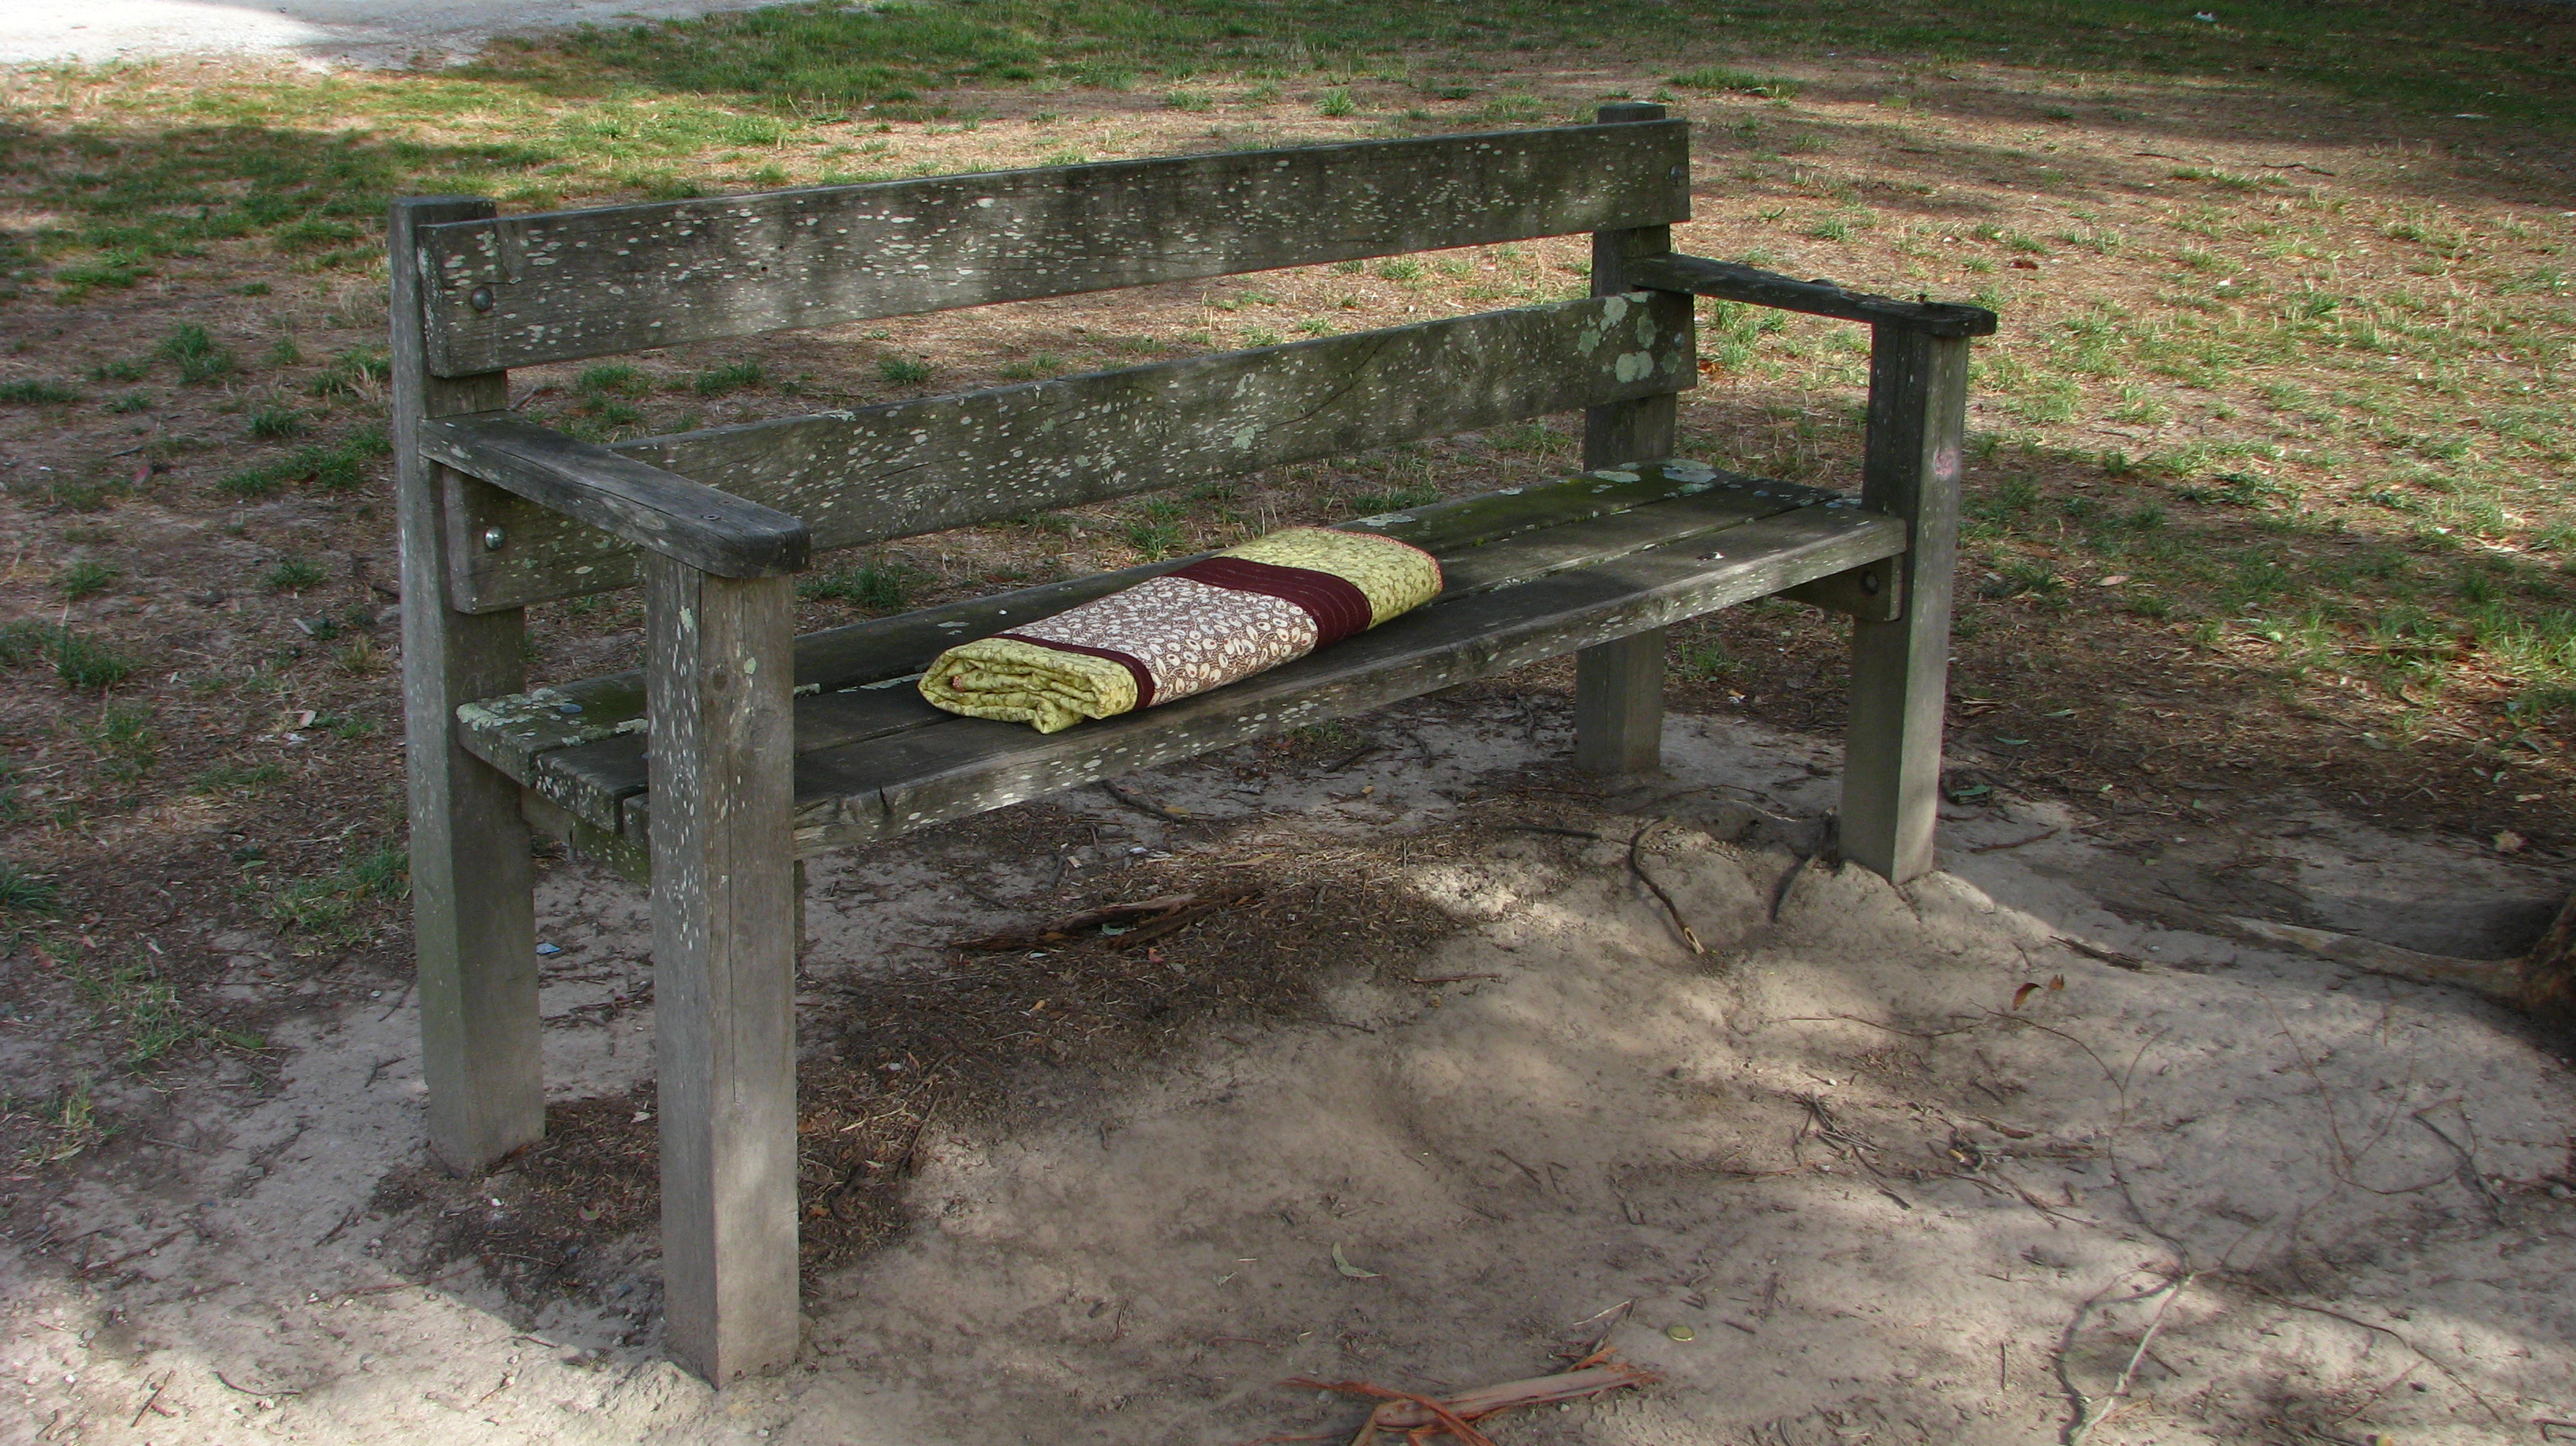
Last step is to give this quilt a good wash before I wrap it up and ready for gifting. I do prefer to wash my quilt before giving it away, especially baby quilts, so they are ready-to-use when they reach their final destination.  


Thank you for visiting!
Erica.


Sunday 7 February 2016

Ironing board cover remake.

While working half way on a baby quilt I got really fed up with my ironing board, and it is time to give it a proper make over! I know, I should have tackle my ironing board many quilting projects before but....it was obviously more fun to make a quilt than an ironing board cover. And now, it has comes to this horrible state, the ugly cover is tearing up every where and because it has a plastic, shining coating on the fabric it is gluing onto the foam below.


I did manage to salvage the thin foam layer as my template but this also gives me a chance to add two more layers of batting to give the ironing board the thickness I prefer. This is also a great opportunity to use up some of the left over batting from my previous projects. In no time I joined the strips of batting together using my sewing machine with zigzag stitch setting, and cut it to size.


Next I cut and place all the top layers for my ironing board: 1 cotton floral fabric, 2 layers of batting and 1 layer of original foam that I have salvaged. I have also cut and join 5 and 1/2 inches strip of matching cotton fabric which will be the 'skirting' that warps around the ironing board. 


5 and 1/2 inches strip may seem really wide, but consider you will need to hem 1/4 of an inch for the edge of the fabric and (in my case) fold it again for 3/4 of an inch to make the casing for the elastic band to go through. As my ironing board is rather large, I chose 1/2 of inch wide elastic band for this project. 

The tricky part is to figure out the length required for the skirting. I made the skirting strip long enough to go around the board but it ended up require an extra 11 inches when it was sewn on. To my own fault that I also did not foresee I will need to make many tiny pleats for the curved areas, and as a result I needed a much longer strip to complete the skirting. Next time I will treat this part similar to binding the quilt ---- sew the skirting on to the cover top and when the strip gets back to the beginning you can then work out where the beginning and end will meet more accurately.


And the end result --- no more of those plastic laminated fabric that melts each time you iron, plus a firm padding underneath to help me with a smooth, flat ironing finish!  


Thank you for stopping by.

Cheers,
Erica