There are many exciting news at work, not really work related but it gives me an excuse to do some sewing. A colleague of mine is going to Europe and I wanted to make something for her. I decided to make luggage tags because it's essential right? At least one for the suitcase and maybe one for the backpack. I have never make luggage tag before so I went to my trusted friend Google and I found this tutorial from Craftsy that I think fits the bill.

The downside of this tutorial is that it does not come with a pattern. It depends on the size of the plastic ID badge holder (or a.k.a. name badge) you've got and which way the pre-punched hole is. I brought mine from local Officeworks and I prefer portrait pouches than that on the tutorial.
The upside of this tutorial is that it is not hard to work out the measurement. I use recycled card stock to make the template. I did purposely made it a bit longer, just in case my calculation is off. I also intend to make a sample to see what it would look like.
The sample, strawberry luggage tag turned out well and functional. The tag itself can be further shortened half inch and my button hole needs to be 1/4 inch larger.
This is also the first time I am trying to make a buttonhole, and no, I don't have a buttonhole foot. I did find this tutorial that teaches you to sew without the buttonhole foot and it really helped. Once the buttonhole is sewn all you need is take the seam ripper and run along the middle to slice the fabric.
For the mock-up strawberry luggage tag I used canvas, home decor type of fabric. It is durable and much thicker than the cotton quilting fabric. Perfect for this project. So this brings to my next challenge --- I want to use my lovely cotton quilting fabric but I want to give it structure. I think a layer of batting will work and it's also a good way to use up some of the leftovers from quilt making. However, if you decide to use batting you will need to sew it onto the fabric to prevent it from moving when you turn it inside out.
For this occasion I use Vilene H 630. I can't even remember why I bought it in the first place, perhaps I was thinking about making a bag? For those you haven never heard of Vilene, a.k.a. Pellon, is a type of interfacing which provides support and shape to your garment and other crafty projects. It comes with different weight or thickness depending on how much shape/structure/ stiffness you require for your project. Vilene is easy to use as all you need to do is cut it to size , cover it with a damp cloth and iron for 15 seconds.
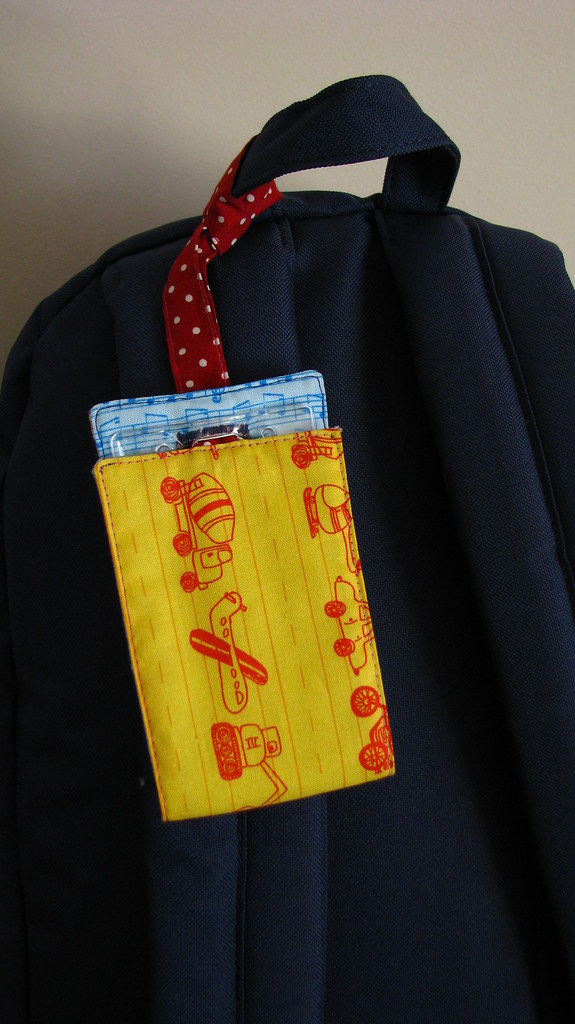
When cutting the interfacing it should be cut to actual size excluding the seam allowance to reduce the bulk around the edges. I made this one for my son for his backpack, just in time for his school excursion.
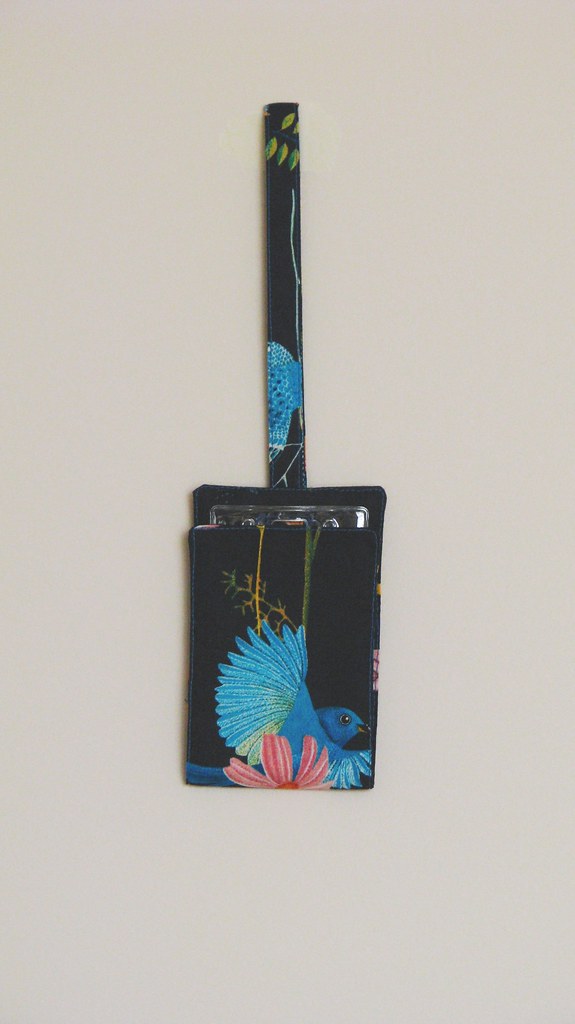
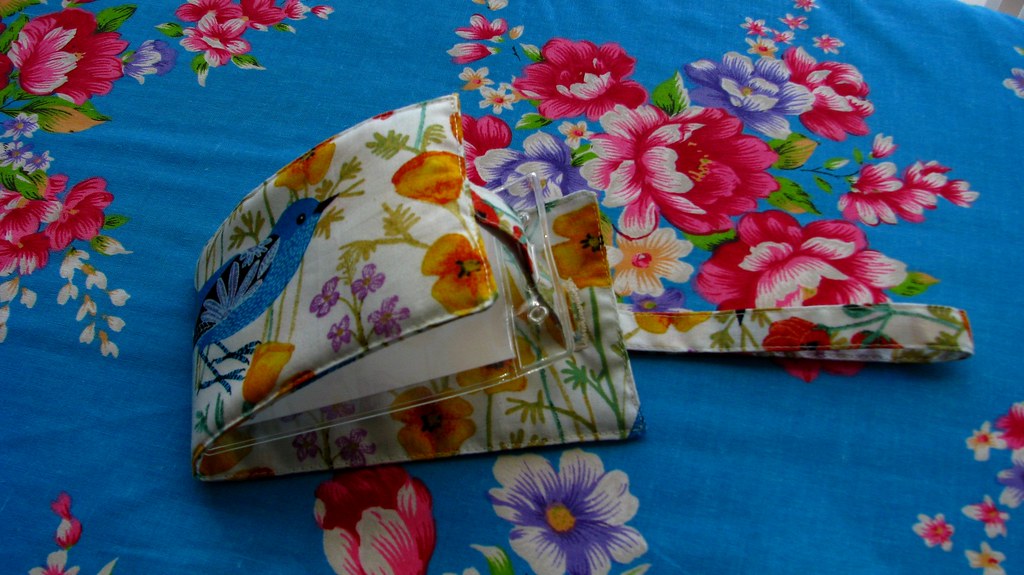
The luggage on the left and below are for my colleague. Same steps as before but I fuzzy cut the fabric to show case the beautiful birds. It is a bit more fiddly, but well worth the effort. To make the inside as nice as outside I also fuzzy cut the fabric for the interior.
The fabric collection that I use here is Alegria by Geninne from Cloud 9.
What I really like about this luggage tag is that it is really easy to make compare to the other tutorials. The way it folds the name badge inside the tag provides privacy of your details, unless you need to open it and take a look inside. Although it is only 9.5 by 3 and 3/8 inches you can still showcase the pretty fabrics for this project. Hopefully she will like it!
In the next blog entry I will make 2 matching giant paperclip bookmark to go with these luggage tags.
Cheers,
Erica
A few years ago I saw this potholder tutorial on Moda Bake Shop and I gave it a go. I was experimenting with different shapes and this is my square version. You can read my previous post here and here.
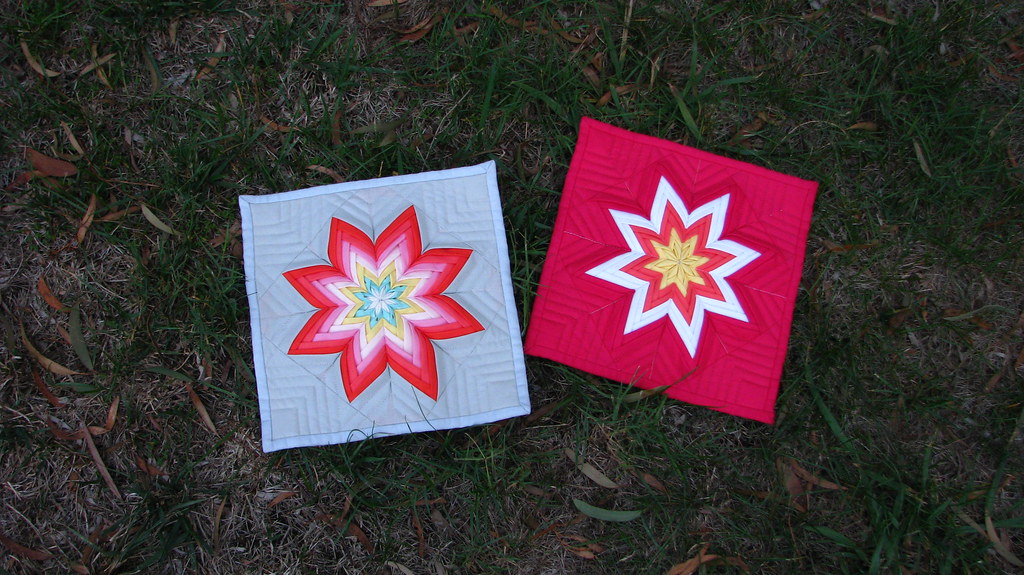
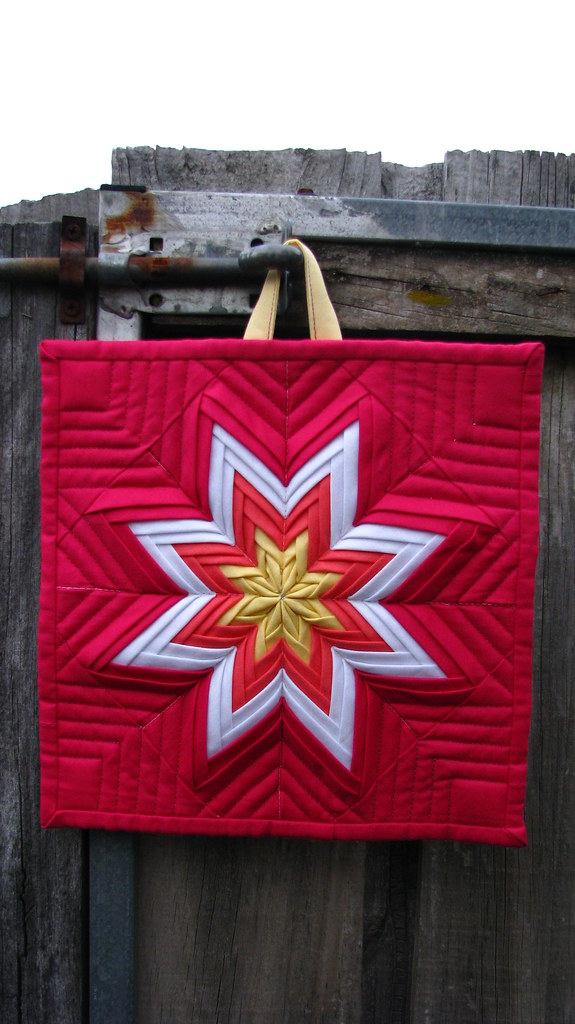
I want to experiment this potholder a bit more, and I thought it will also be a great housewarming gift for my colleague. The potholder on the left is the same as what I have made before. Using only solids and 4 colorways, where each color is folded twice consecutively. Using only solids are great the shape of the star is sharp and you can see each layer clearly.
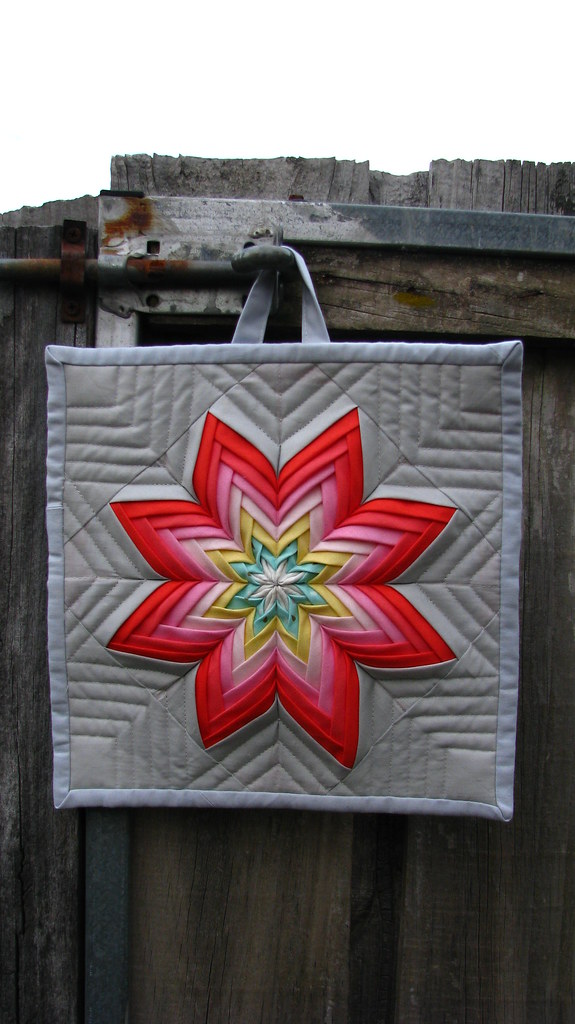
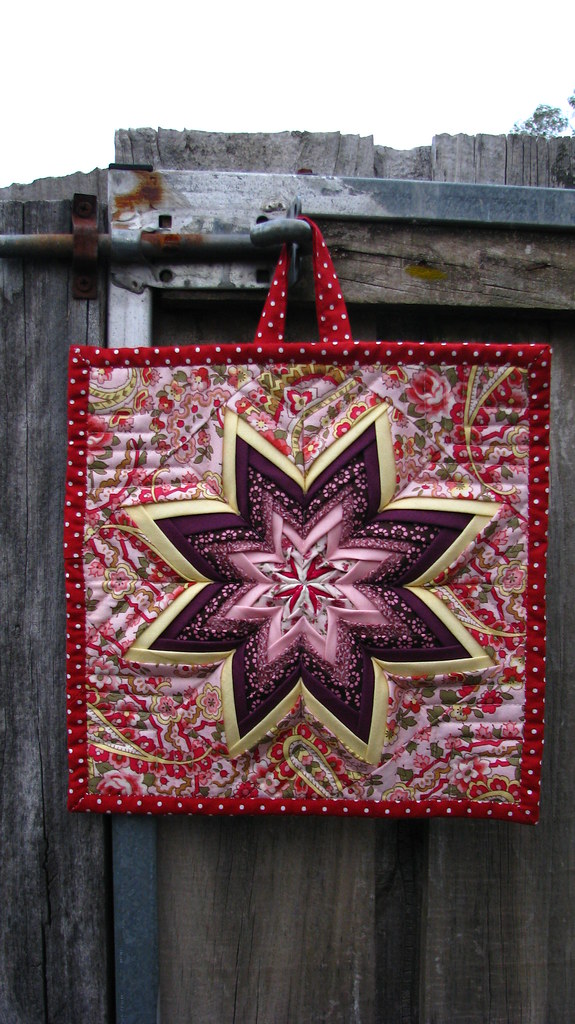
This potholder on the left is my favorite and it was fun auditioning different color fabrics in my stash! I would not recommend using your scrap fabrics for this project, as it does require about half of a fat quarter to make up one layer of the star. Therefore to make 2 layers using the same fabric will require 1 fat quarter, and possibly more if you need to cut the fabric in certain direction.
It is made using 8 colorways, going from lighter colors to the dark orange. The last layer (which is grey in this instance) should always be the background fabric that intended to frame the star.
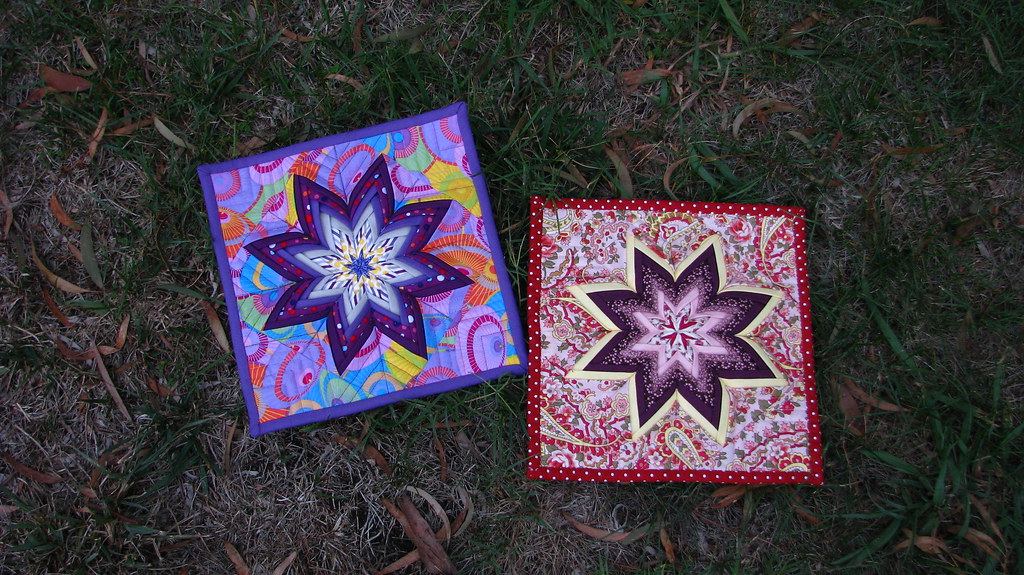
Next potholder I experiment with print fabrics. I did add a few layers of solids as I find it too busy using all prints. For the last 2 layers I chose solids so the outline of the star is more defined and your eyes are not distracted from the busy background print.
In the first (or the center) layer I also tried alternate the white and hot pink solid to see what it will be like when I folded the fabric. It looked like arrows or hearts and I think it worked well here.
I would definitely experiment the alternating colorways more in depth next time. I am curious what it will look like if I lay it out for the rest of the other 6 layers!
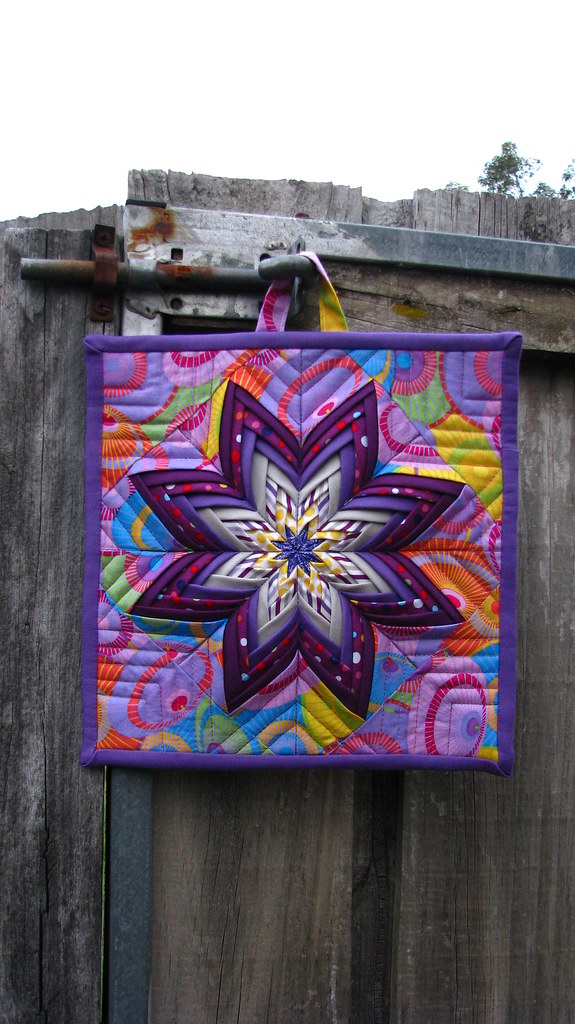
For this potholder I chosen my colleague's favorite color purple, coordinate with a layer of yellow and grey fabric. What I really wanted to tried here is to experiment with strip fabric for this project. I intentionally cut the fabric so the strip is shown vertically.
I have to say the best part about this project is finding out what it will actually look like but only at the end. Especially when solids mixes with different print fabric it's hard to envision what the end product will look like. I have played with different orientation and the layering sequence of the fabrics for hours and it was so much fun. It is very additive!

I have already given the above set for my colleague and she really liked it. Positive response is always welcome and it definitely puts a smile on my face. I have also made her a new apron using my cherry blossom print, and she liked that too. Yay!
Thank you for reading,
Erica.