So when my colleague is going to Europe for 2 years I wanted to make her something useful, small and light. So I think bookmark is a good idea, as people are likely bring something to read on a long flight, or catch up on a novel that they always wanted to read while travelling. I used the same fabric as the luggage tags that I made to make it a matching set. Unfortunately I forgot to take a picture of the final product, but I made lots so there are plenty of picture to come.
Let me start by saying making fabric buttons are easy and very addictive. I am also taking this opportunity to make some more to put in my son's party bags, since now he's in grade two they are reading chapter books so bookmarks should come in handy.
 To make this jumbo sized paperclip bookmark you will need a few things:
1. Jumbo sized paperclip
2. Button front and flat backing
3. Silicone holder and pusher (pictured bottom right)
4. Button size template
5. Clear sheet of plastic
6. Fabric
7. Scraps of batting
8. Glue - which I will explain further on the type of glue you will need.
 I have ordered my jumbo paperclip bookmark kit from this Etsy shop Everythingribbons. They do sell it as a kit that makes 3, or you can customise your order depending how many you are going to make. The owner Tracy and Michelle is very helpful and always answers my queries promptly. The kit do come with instruction and the circle pattern. The pattern is there to help you to determine the size of the farbric required to cover the button.
Next you need to take a clear sheet of plastic to make a template of the circle pattern. I prefer clear plastic template as it is easier when I fuzzy cutting the fabric.
As for the glue, this is what I brought from my local hardware store Bunnings. They are both super glue but make sure you get the one for gluing metals. If you are from U.S. E6000 Permanent Craft Adhesive was suggested in numerous crafting sites.
This project is perfect to use up some of those beautiful fabric scraps. I have made majority of my buttons from scraps. The plastic template will guide you the size and help you centre the your pattern for fuzzy cutting.
 Step 1:
Make a plastic template if you haven't done so. Place it on the desired fabric and make sure you centre the motif. Use a pencil to draw the outline of the template and cut the fabric with a sharp scissors.

Step 2:
Take out your scraps of batting and place a buttons on top of the batting as template. Use a sharp scissors to cut around it. It doesn't have to be perfect circles. the reason we need a layer of batting between the fabric and the metal button is to give the button a nicer smooth finish and touch.
Step 3:
Place the fabric wrong side up, then place the batting circle in the middle of the fabric. Next place the button front (back side on top) on top of the batting.

Step 4:
Push step 3 (fabric, batting and button front) into the silicone holder. fold the excess fabric inwards.

At this stage you could also flip the silicone holder around and check the placement of your fabric. Readjust the fabric with a little pull and check it is placed in the desired location.

Step 5:
Once you are happy with the placement, place a piece of the button back on top of the button, making sure the excess fabric are tugged in nicely. The button back is a thin disk where the edge of the disk is slightly folded up, you want the folded up edge face upwards and not he opposite way.

Step 6:
Place the blue push on top of the button back and push down hard. You should be able to feel a click and that is how you know the button back is pressed down properly.

Step 7:
Remove the blue pusher and gently push the finished button out of the silicone. Repeat the process to make another button.

Step 8:

Place a small amount of super glue on top of the paperclip plate. You really don't need a lot about pea size will do the job.
Carefully turn the paperclip so the glue facing downwards. Attach the paperclip to the middle of the button.

When glue the button into place, take care to make sure the button is place in the desirable direction. Hold it with your hands for a minute for glue to set and then leave it for about 5 minutes to dry completely, or as directed from the manufacturer.

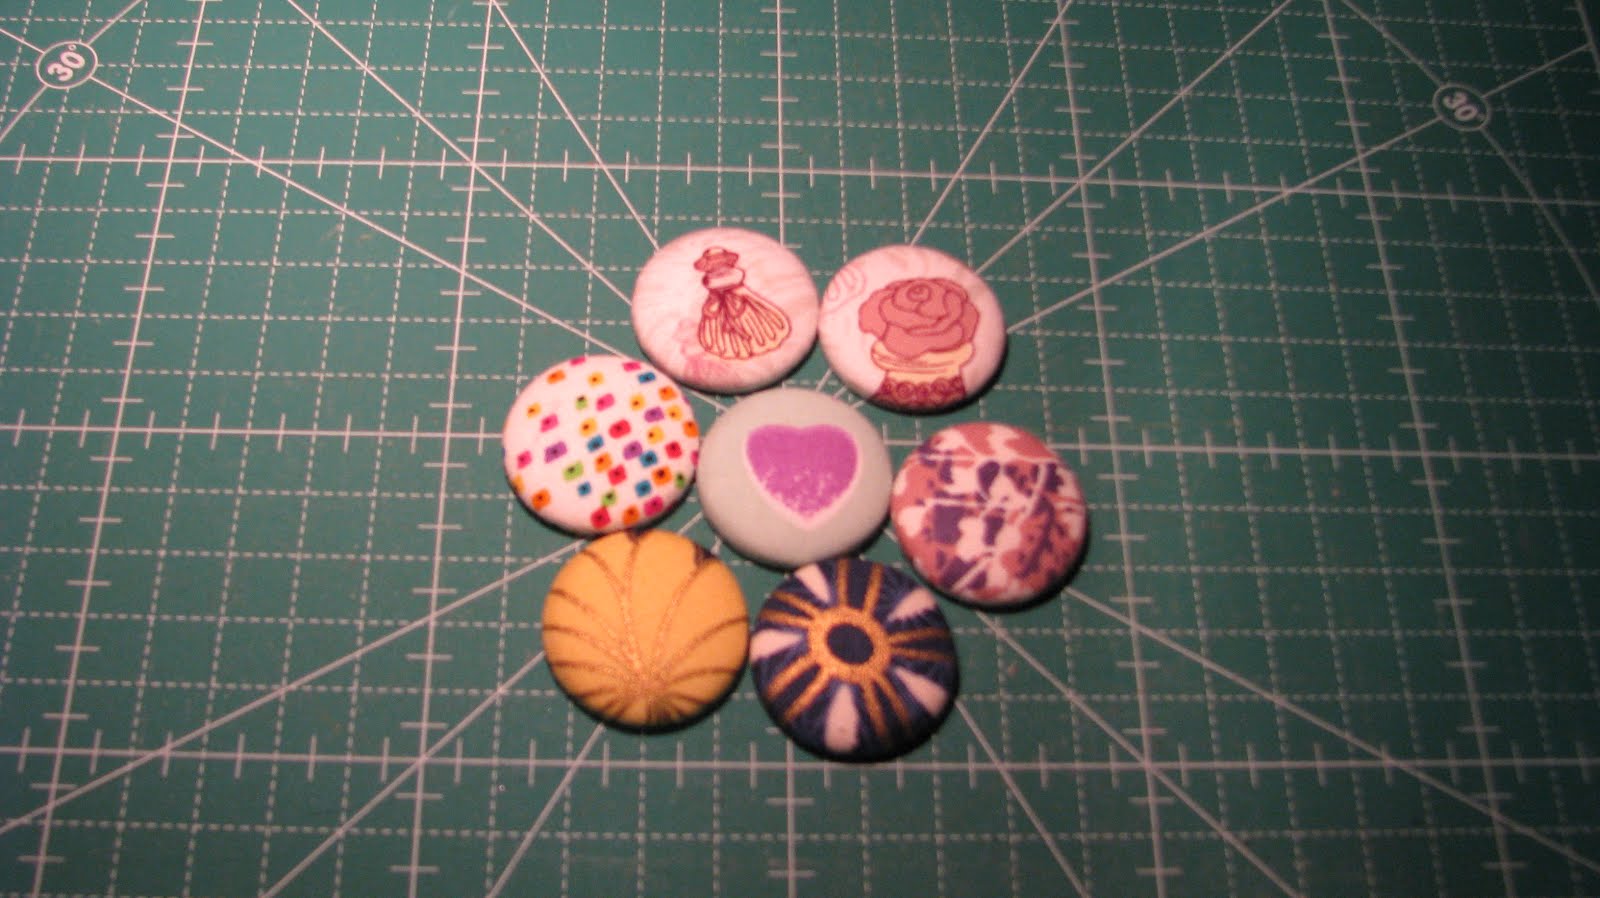
My Olfa Rotation Cutting Mat comes in handy for this step. I would place the button in the center of the mat and use the grid as a guide to help me identify the direction and where the center of the button is. This way you more likely to glue the paperclip in the right direction and centered at the same time.
It is really simple to make and in a couple of hours I have made lots of buttons already. Have I mentioned that it is addictive? I probably did! Apart from chocolates and gummy bears I am popping one bookmark each into my son's lolly bag. It is cute and practical. Win-win I say!
Thank you for stopping by.
Cheers, Erica