Sunday, 6 March 2016

Pokey the Playmat - version 2.

This year I have a few quilting goals, which is another list of quilts that I would like to make for certain friends and babies arriving this year. I can sense my pile of UFOs will have to stay put for a bit longer...oh well!

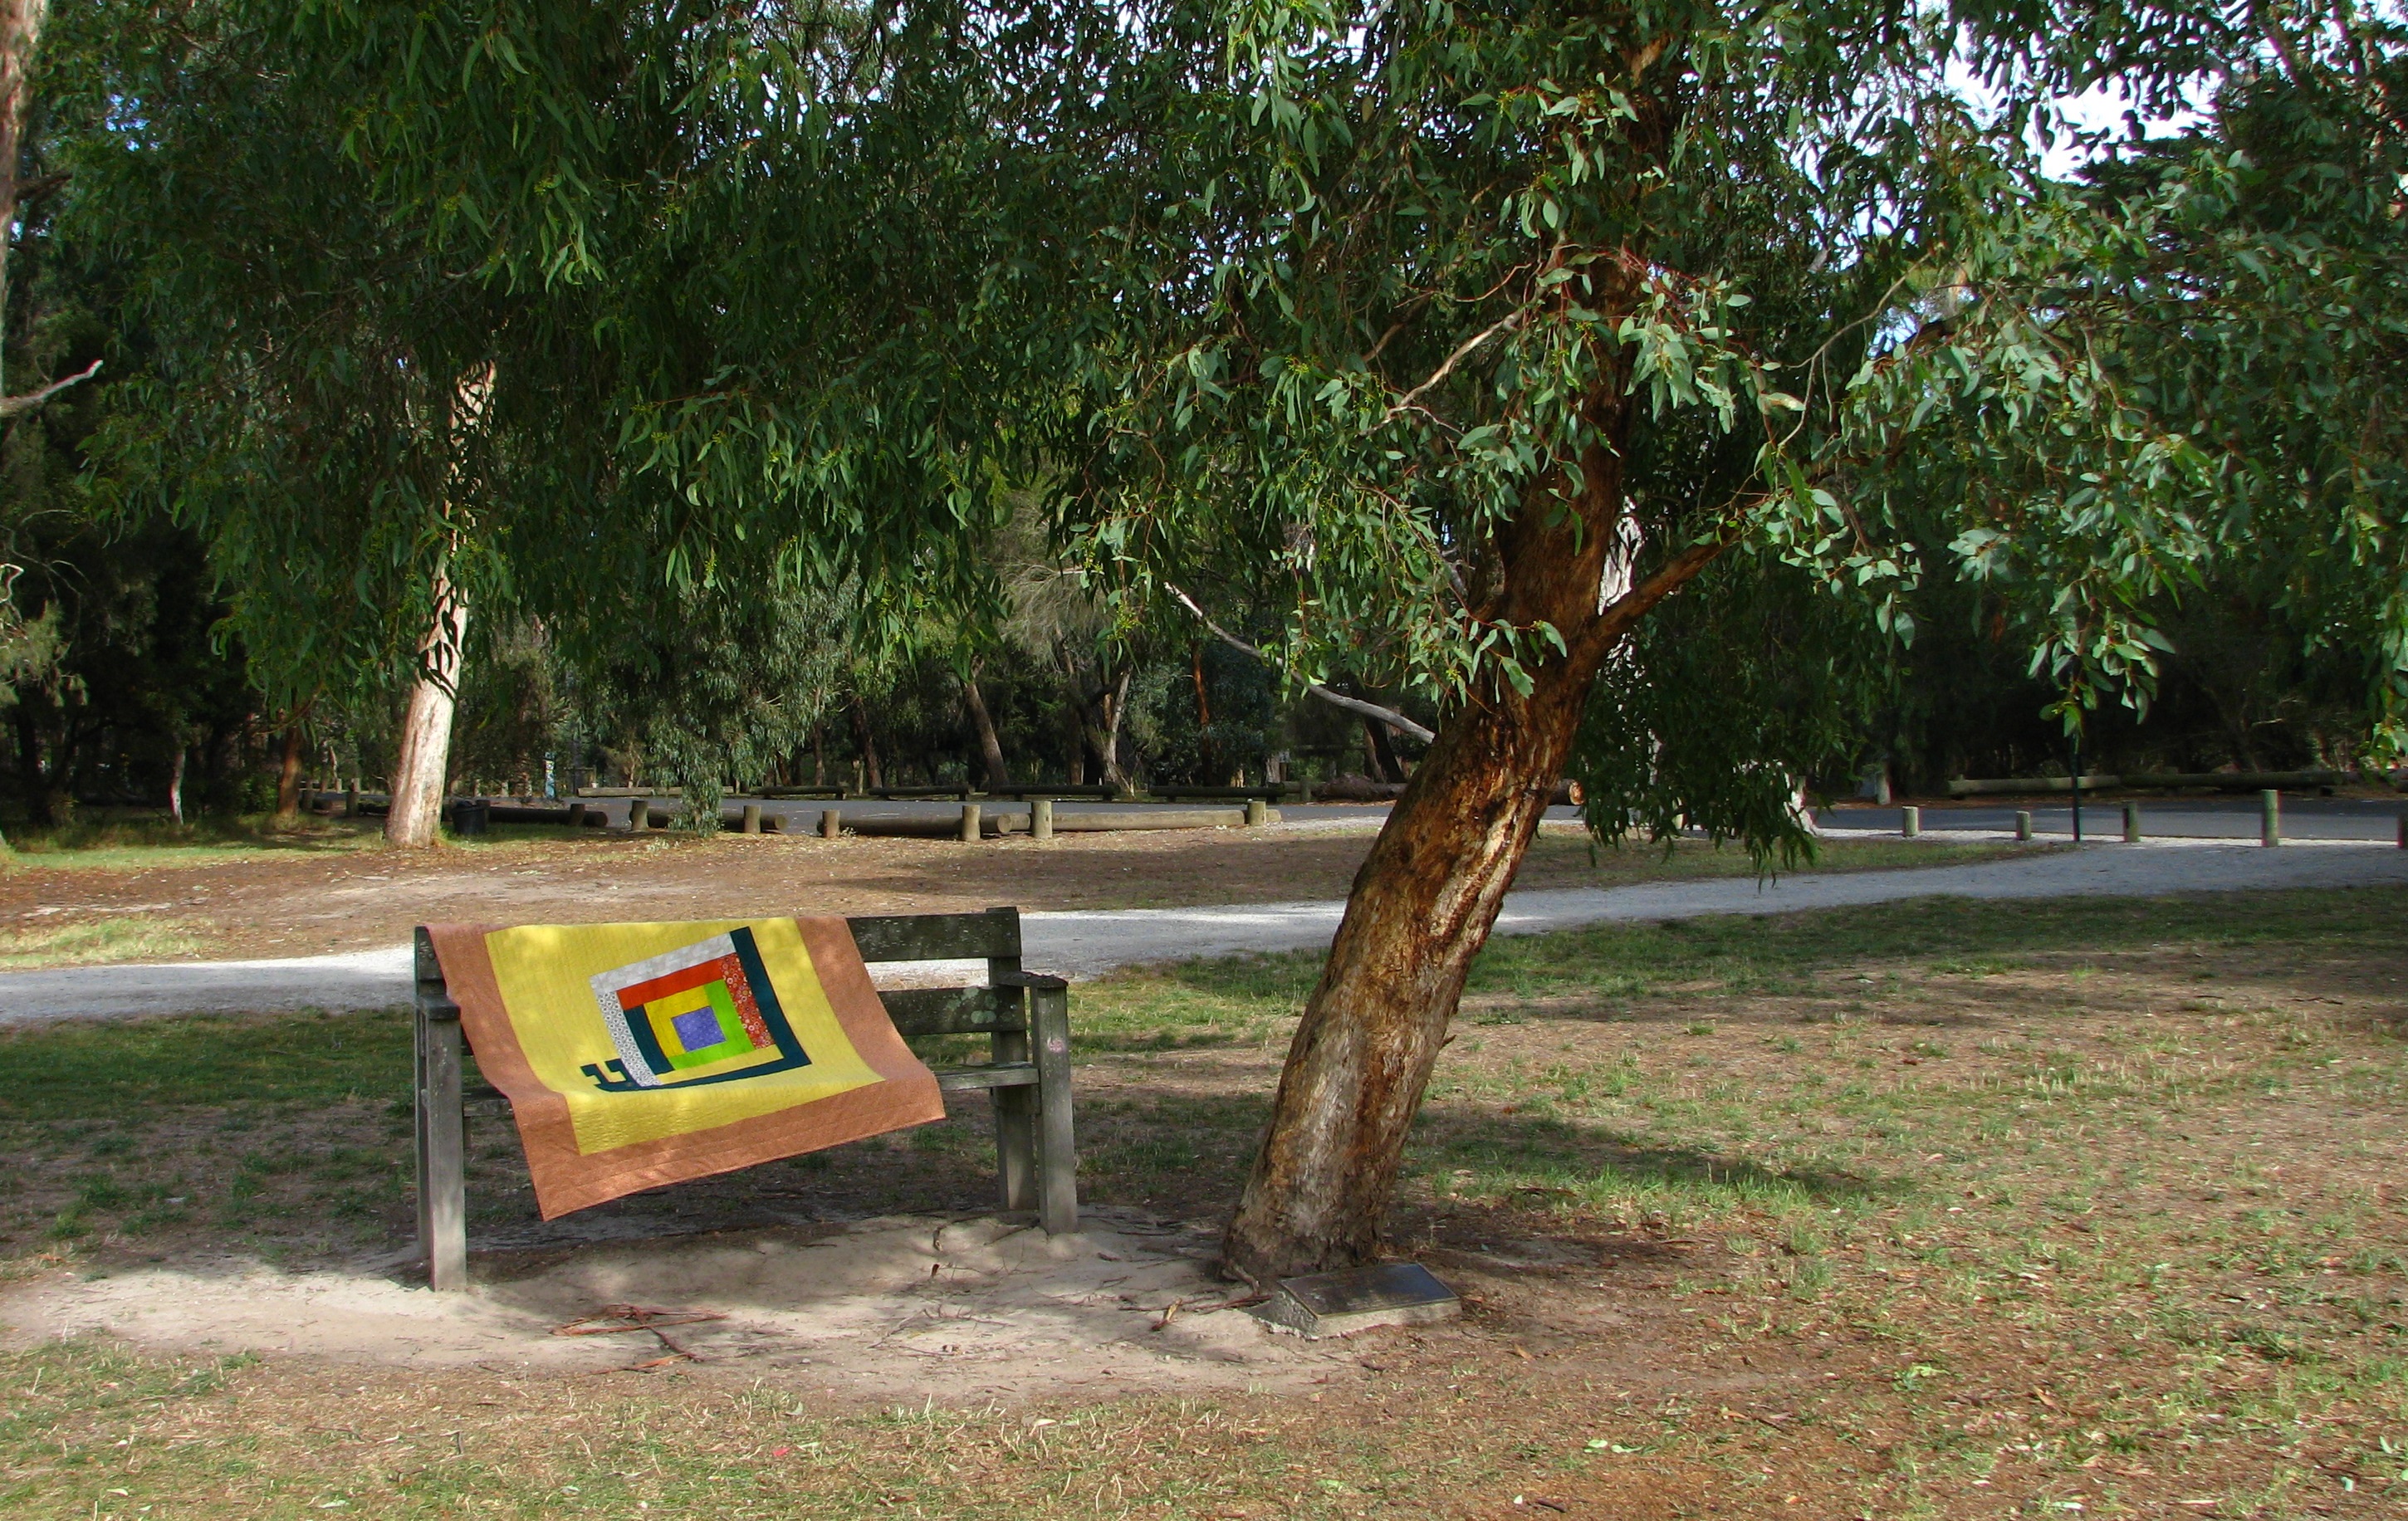
So to start the year of 2016 I made another Pokey the Playmat quilt. The pattern is from the book Dare to Be Square by Boo Davis. The first time I made it was back in 2012 for a baby girl in it's original size 36" by 36". 
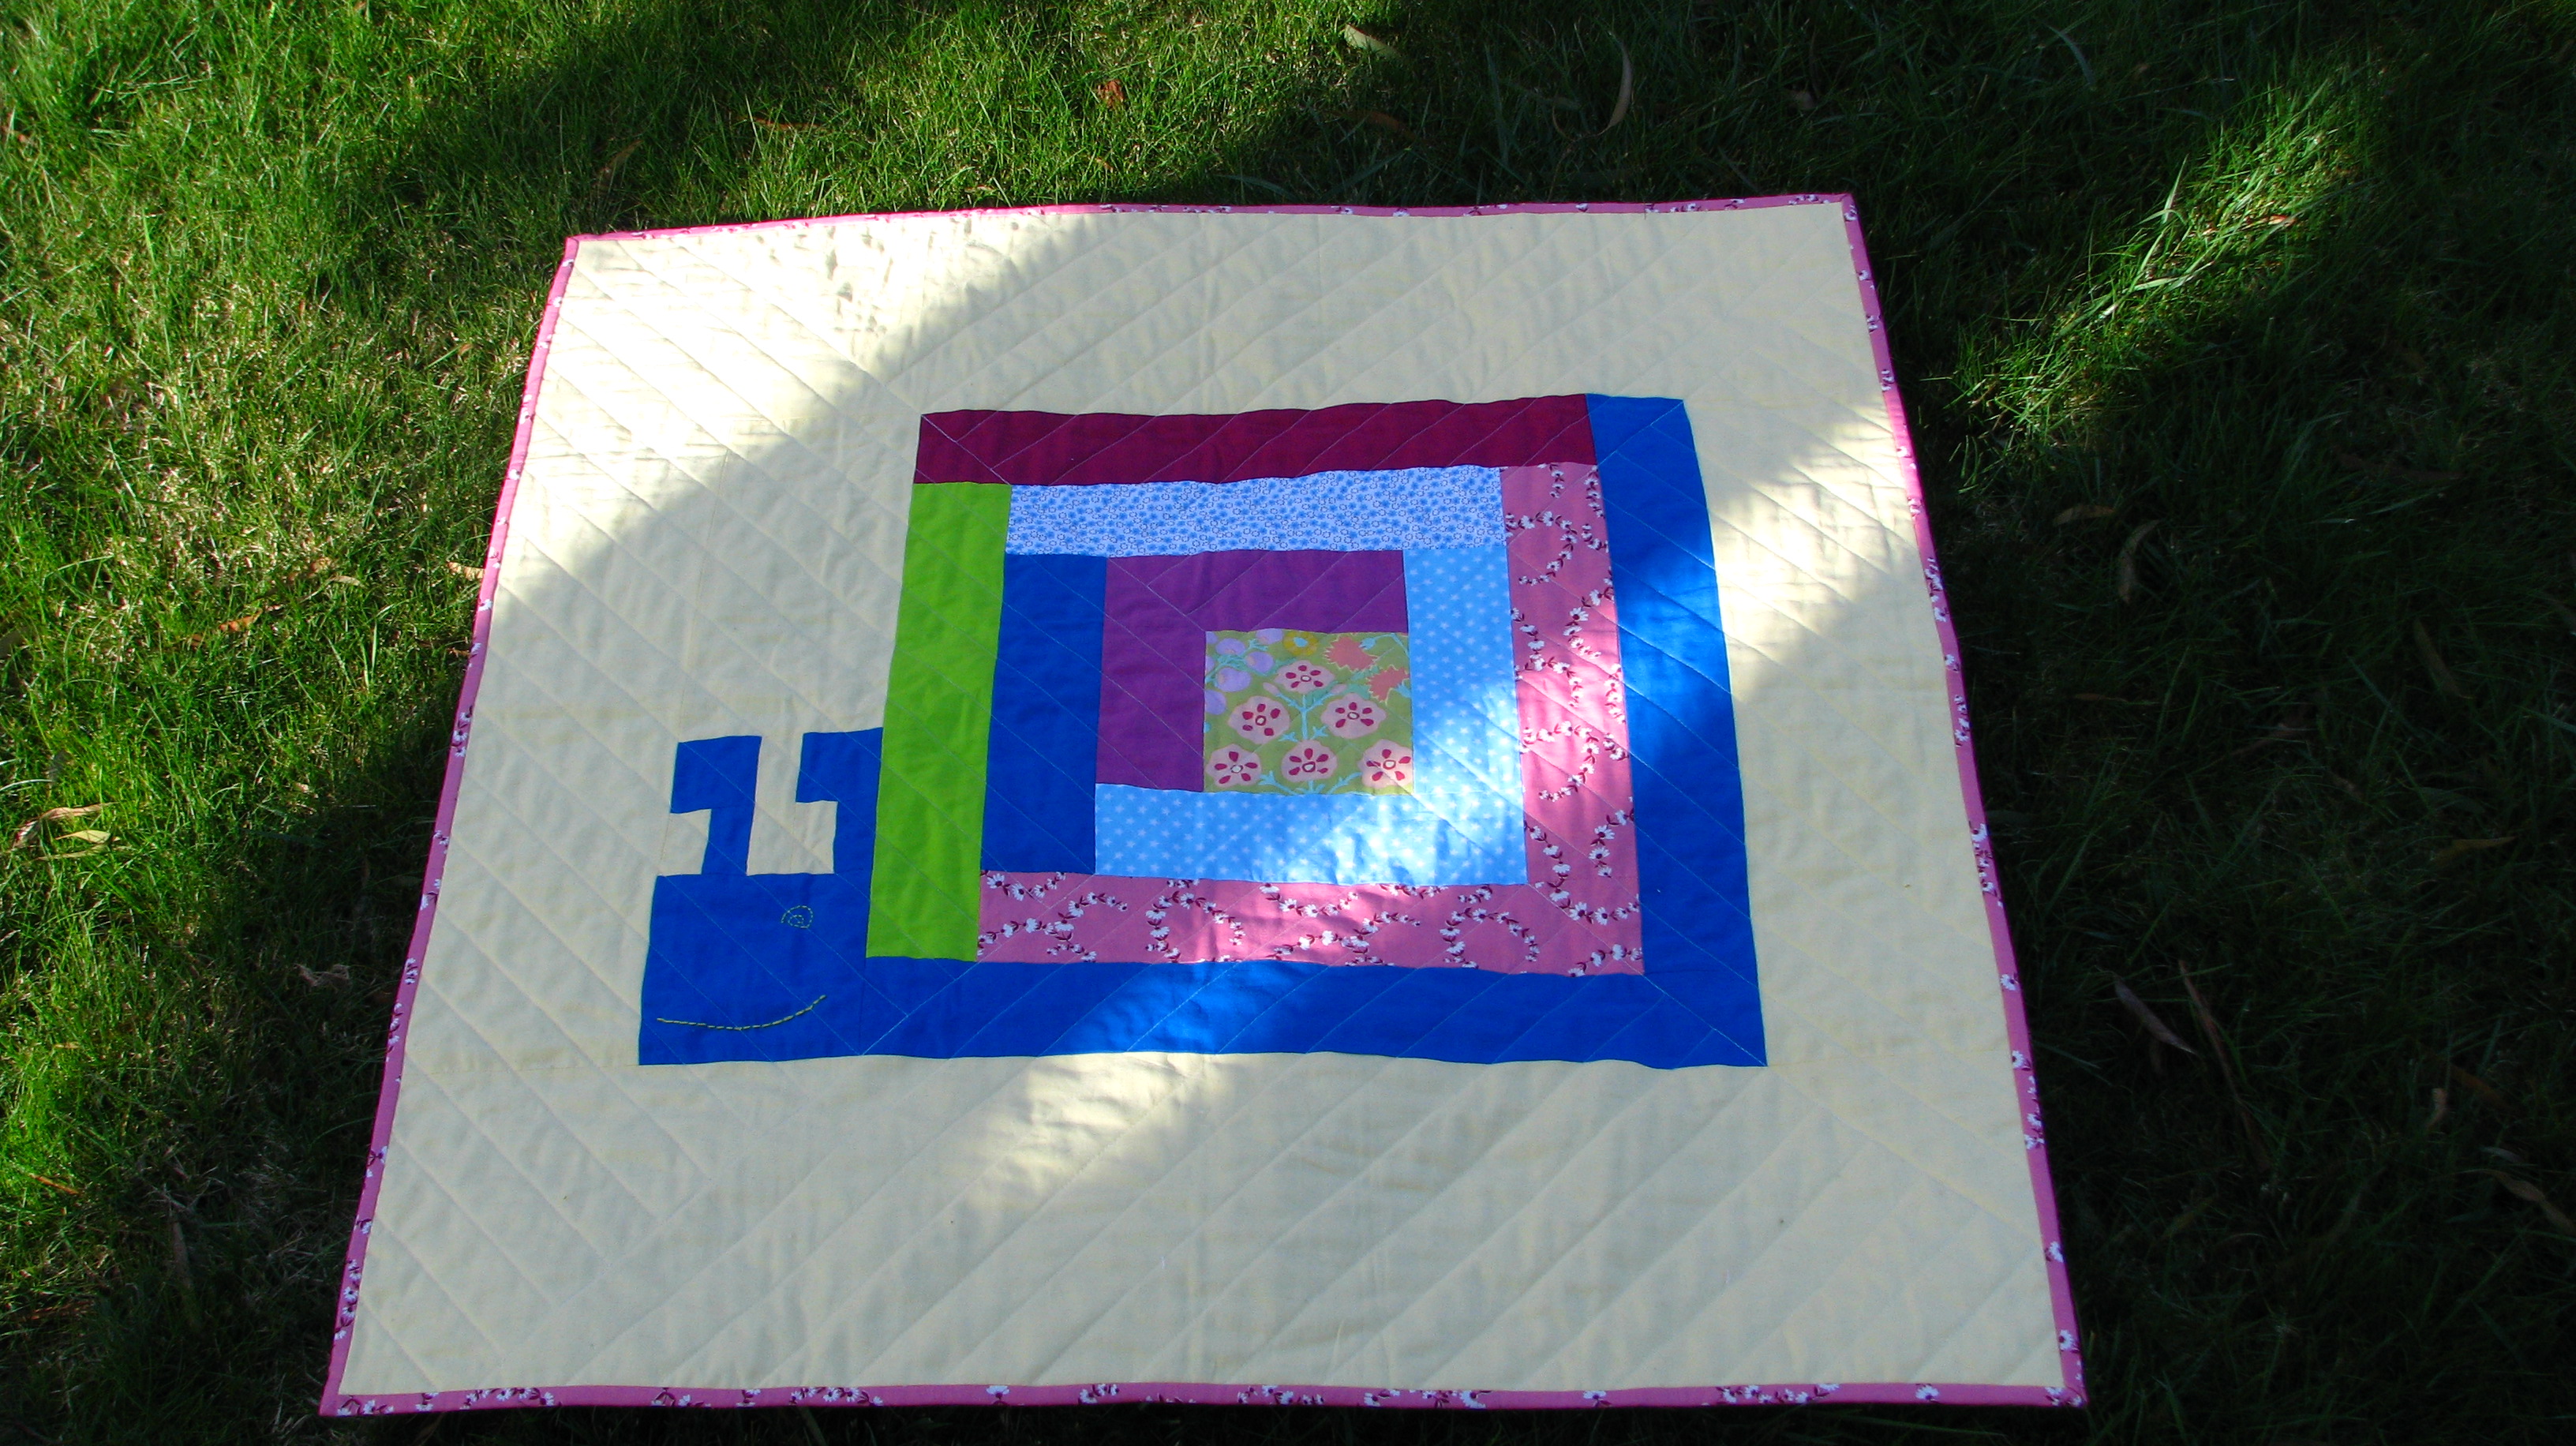

However this time I added an additional 6" border to make it into a larger quilt. My challenge is to keep the colour gender neutral, as we do not know the sex of the baby.   
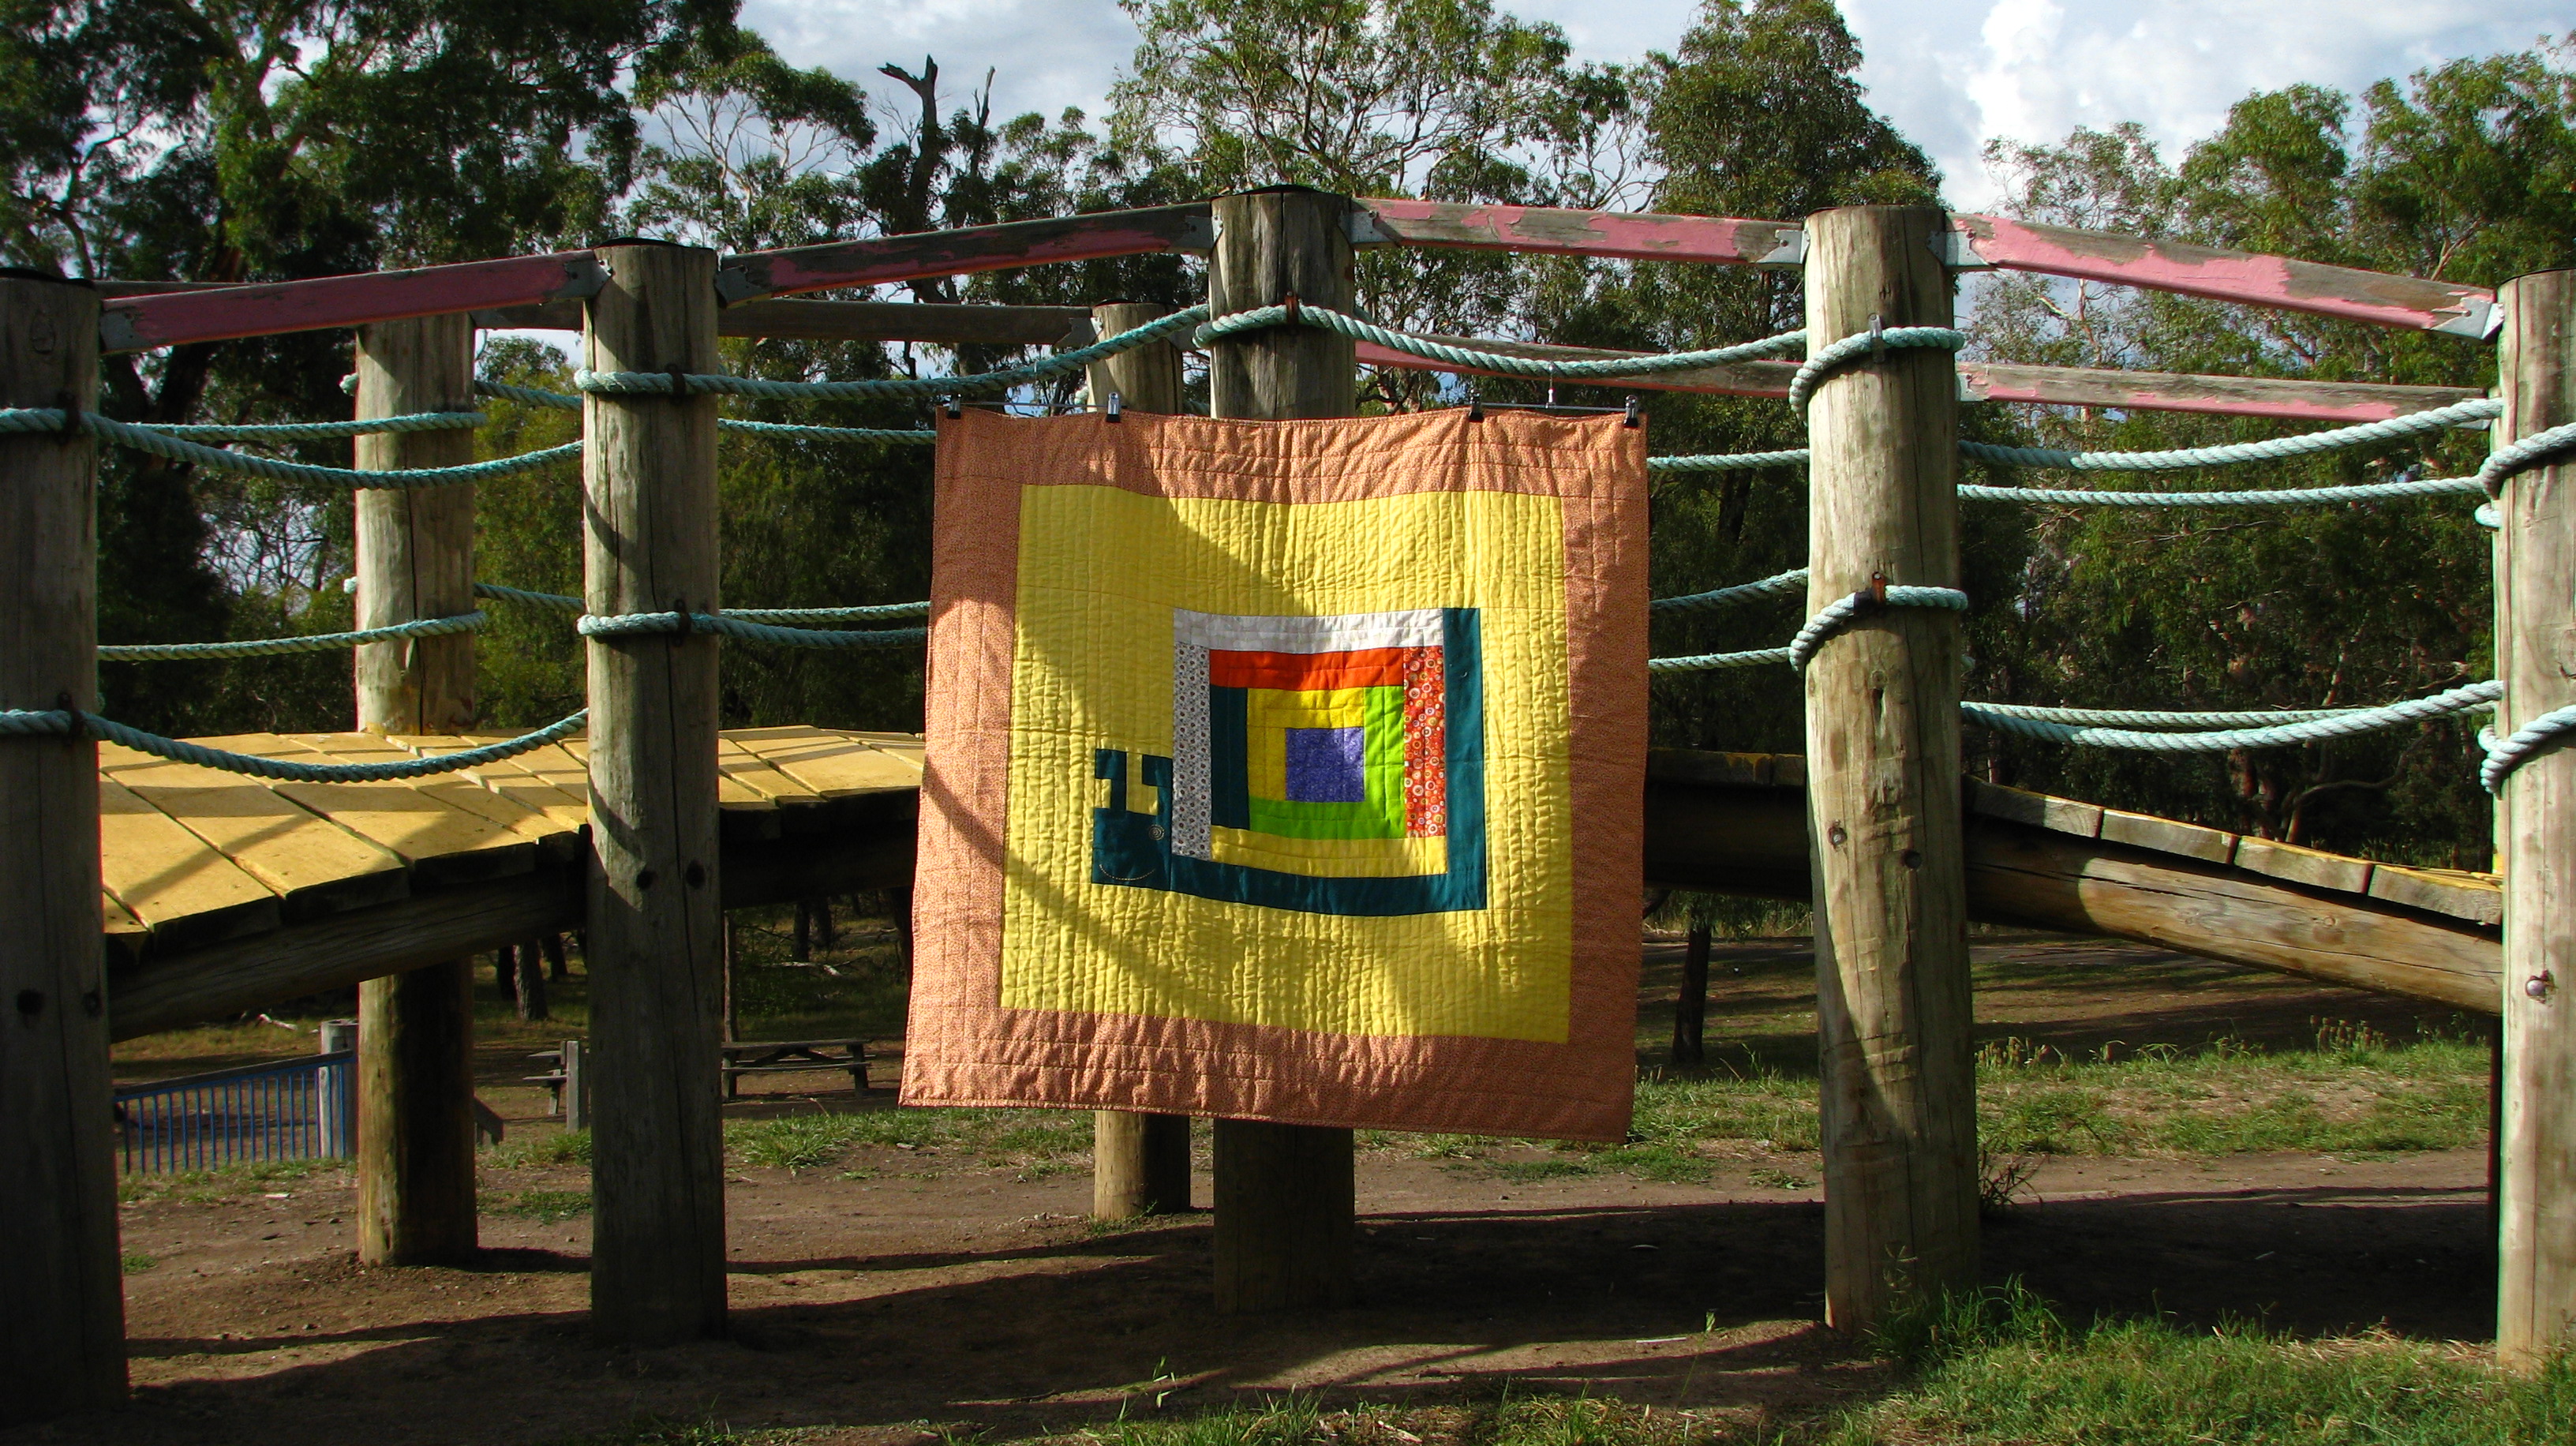

This is always a fun quilt to make, especially in the early stages of pulling out fabric stash and audition different solids and print fabrics. Although simple in design, there are rooms to make changes and makes it a one of a kind quilt. As mentioned before in the second version I have added another border to its original design, plus I also free motion quilting the negative background. 
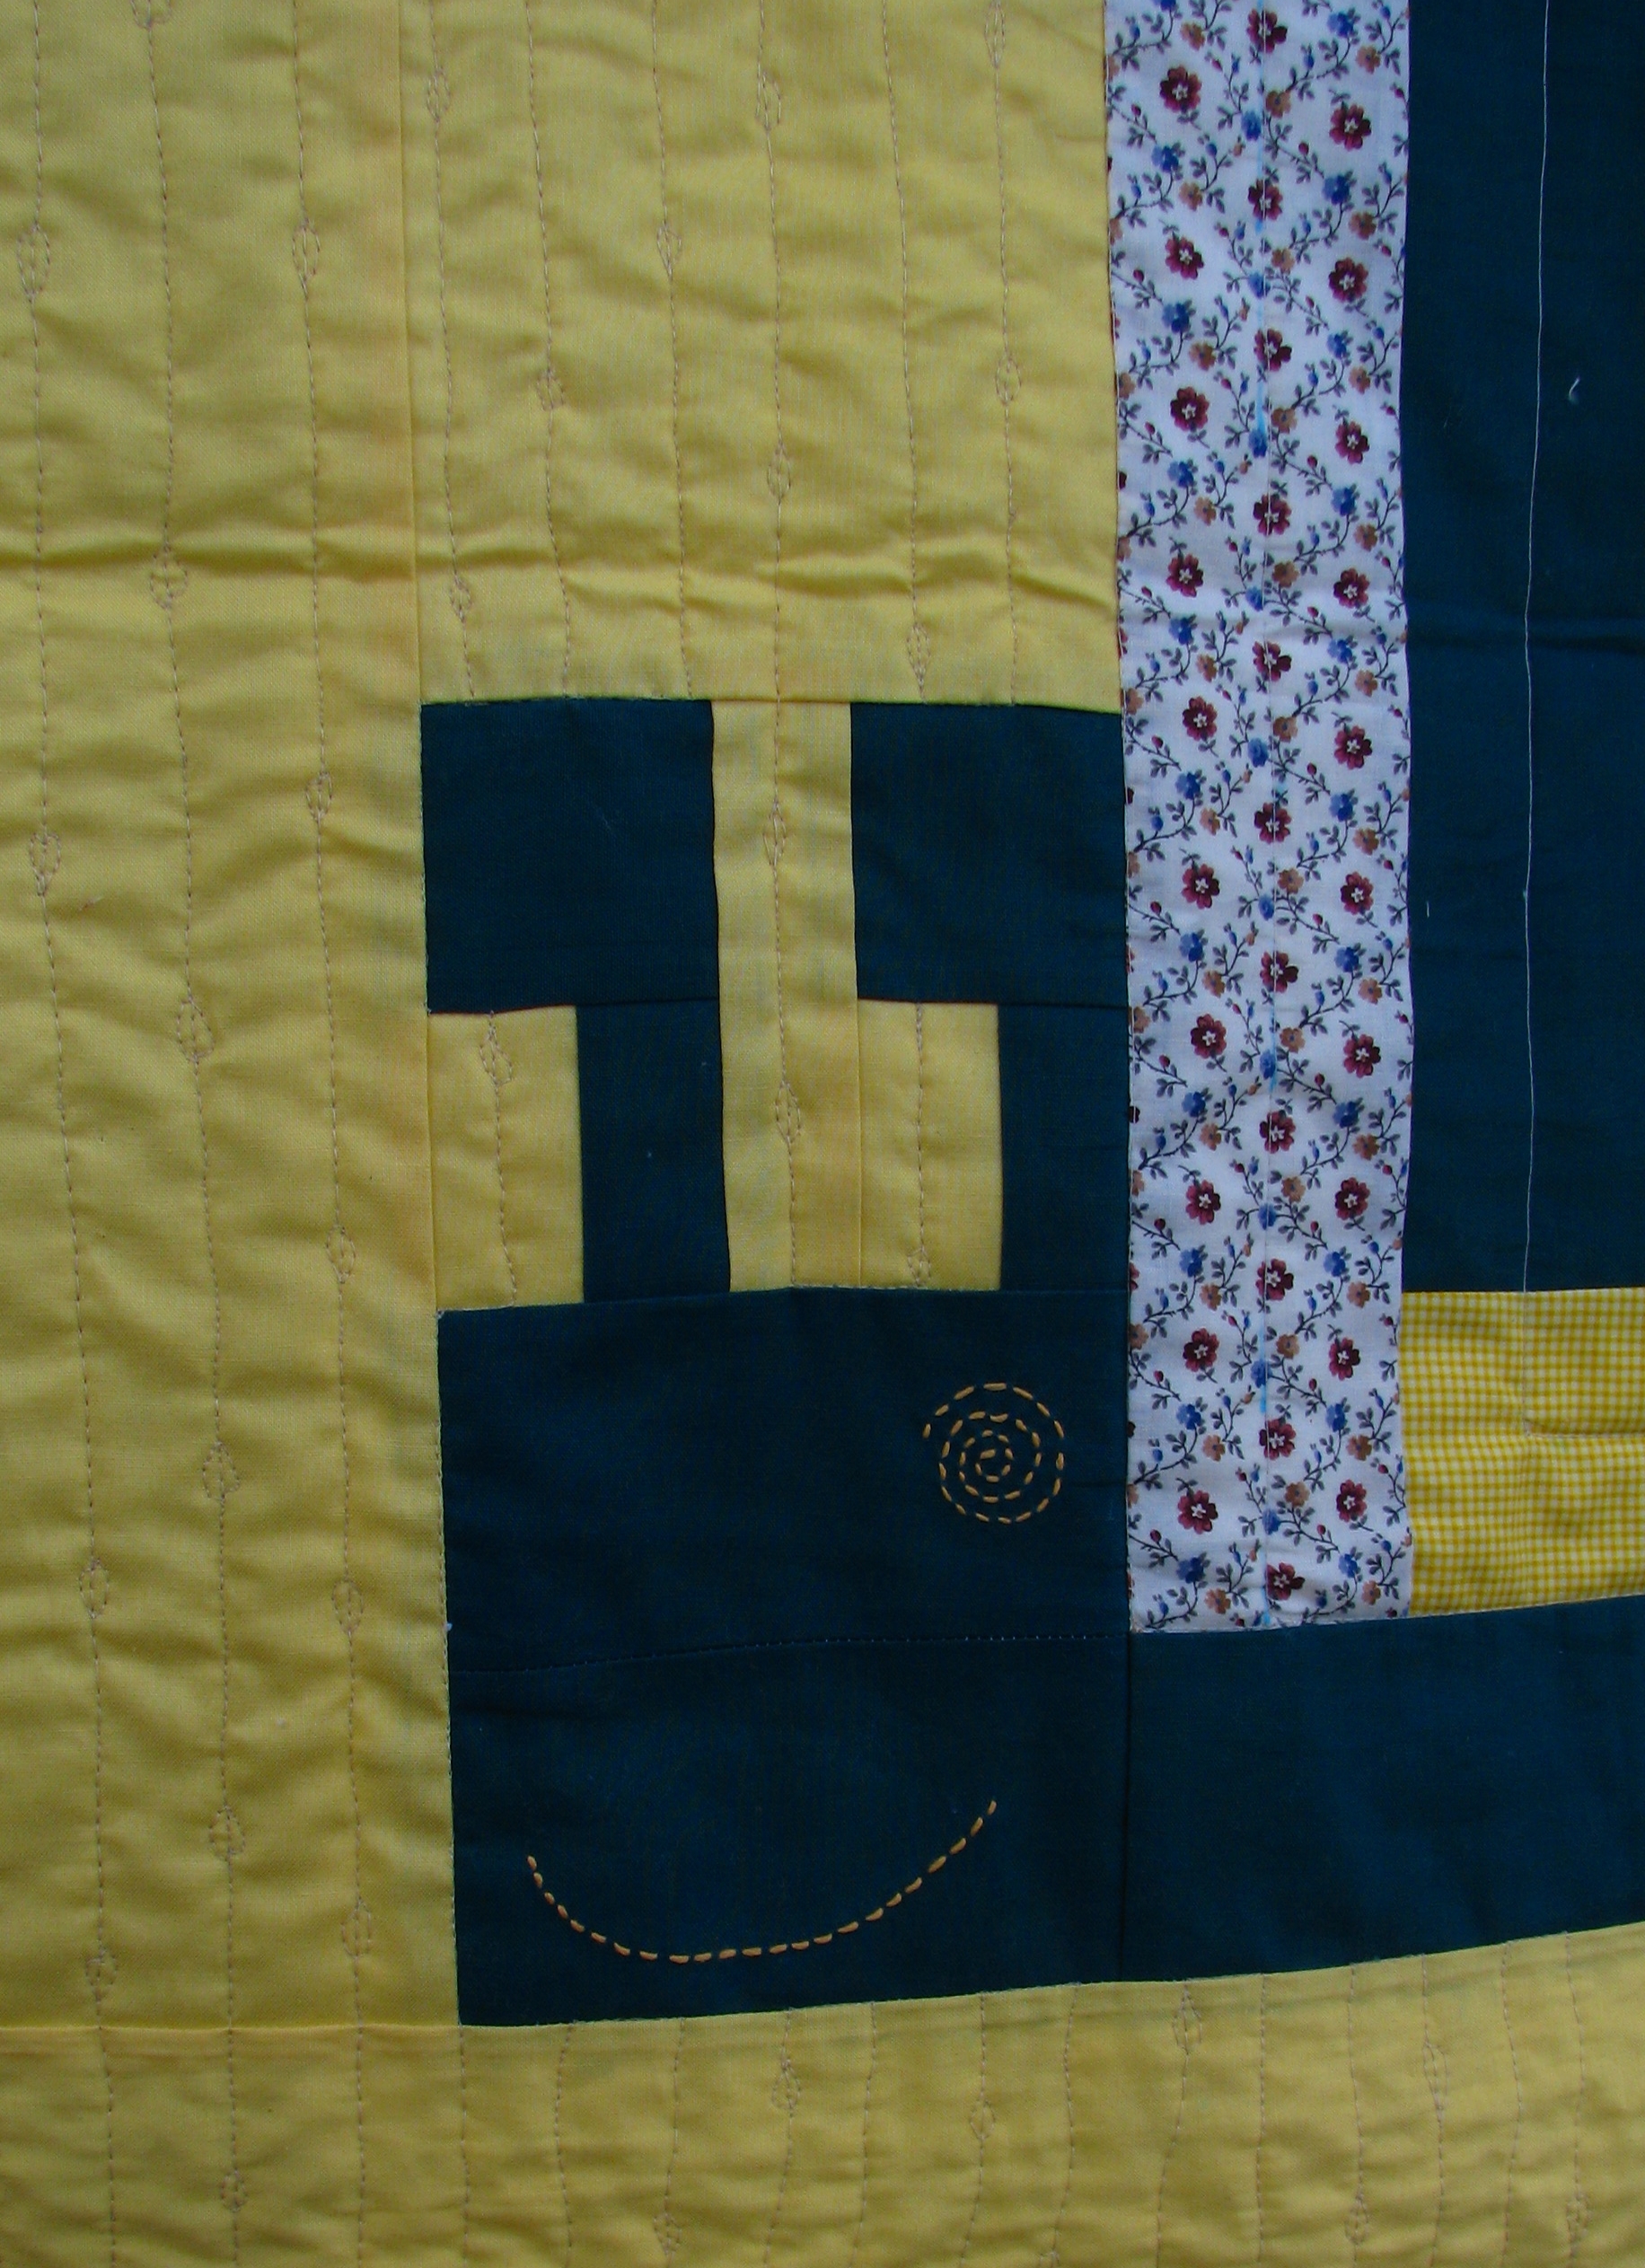
  
Other quilters who have made this quilt also have different ways to create Pokey's face. Here I have hand stitched it in orange perle cotton threads for the eye and smiles but I think raw edge applique will also work here. 

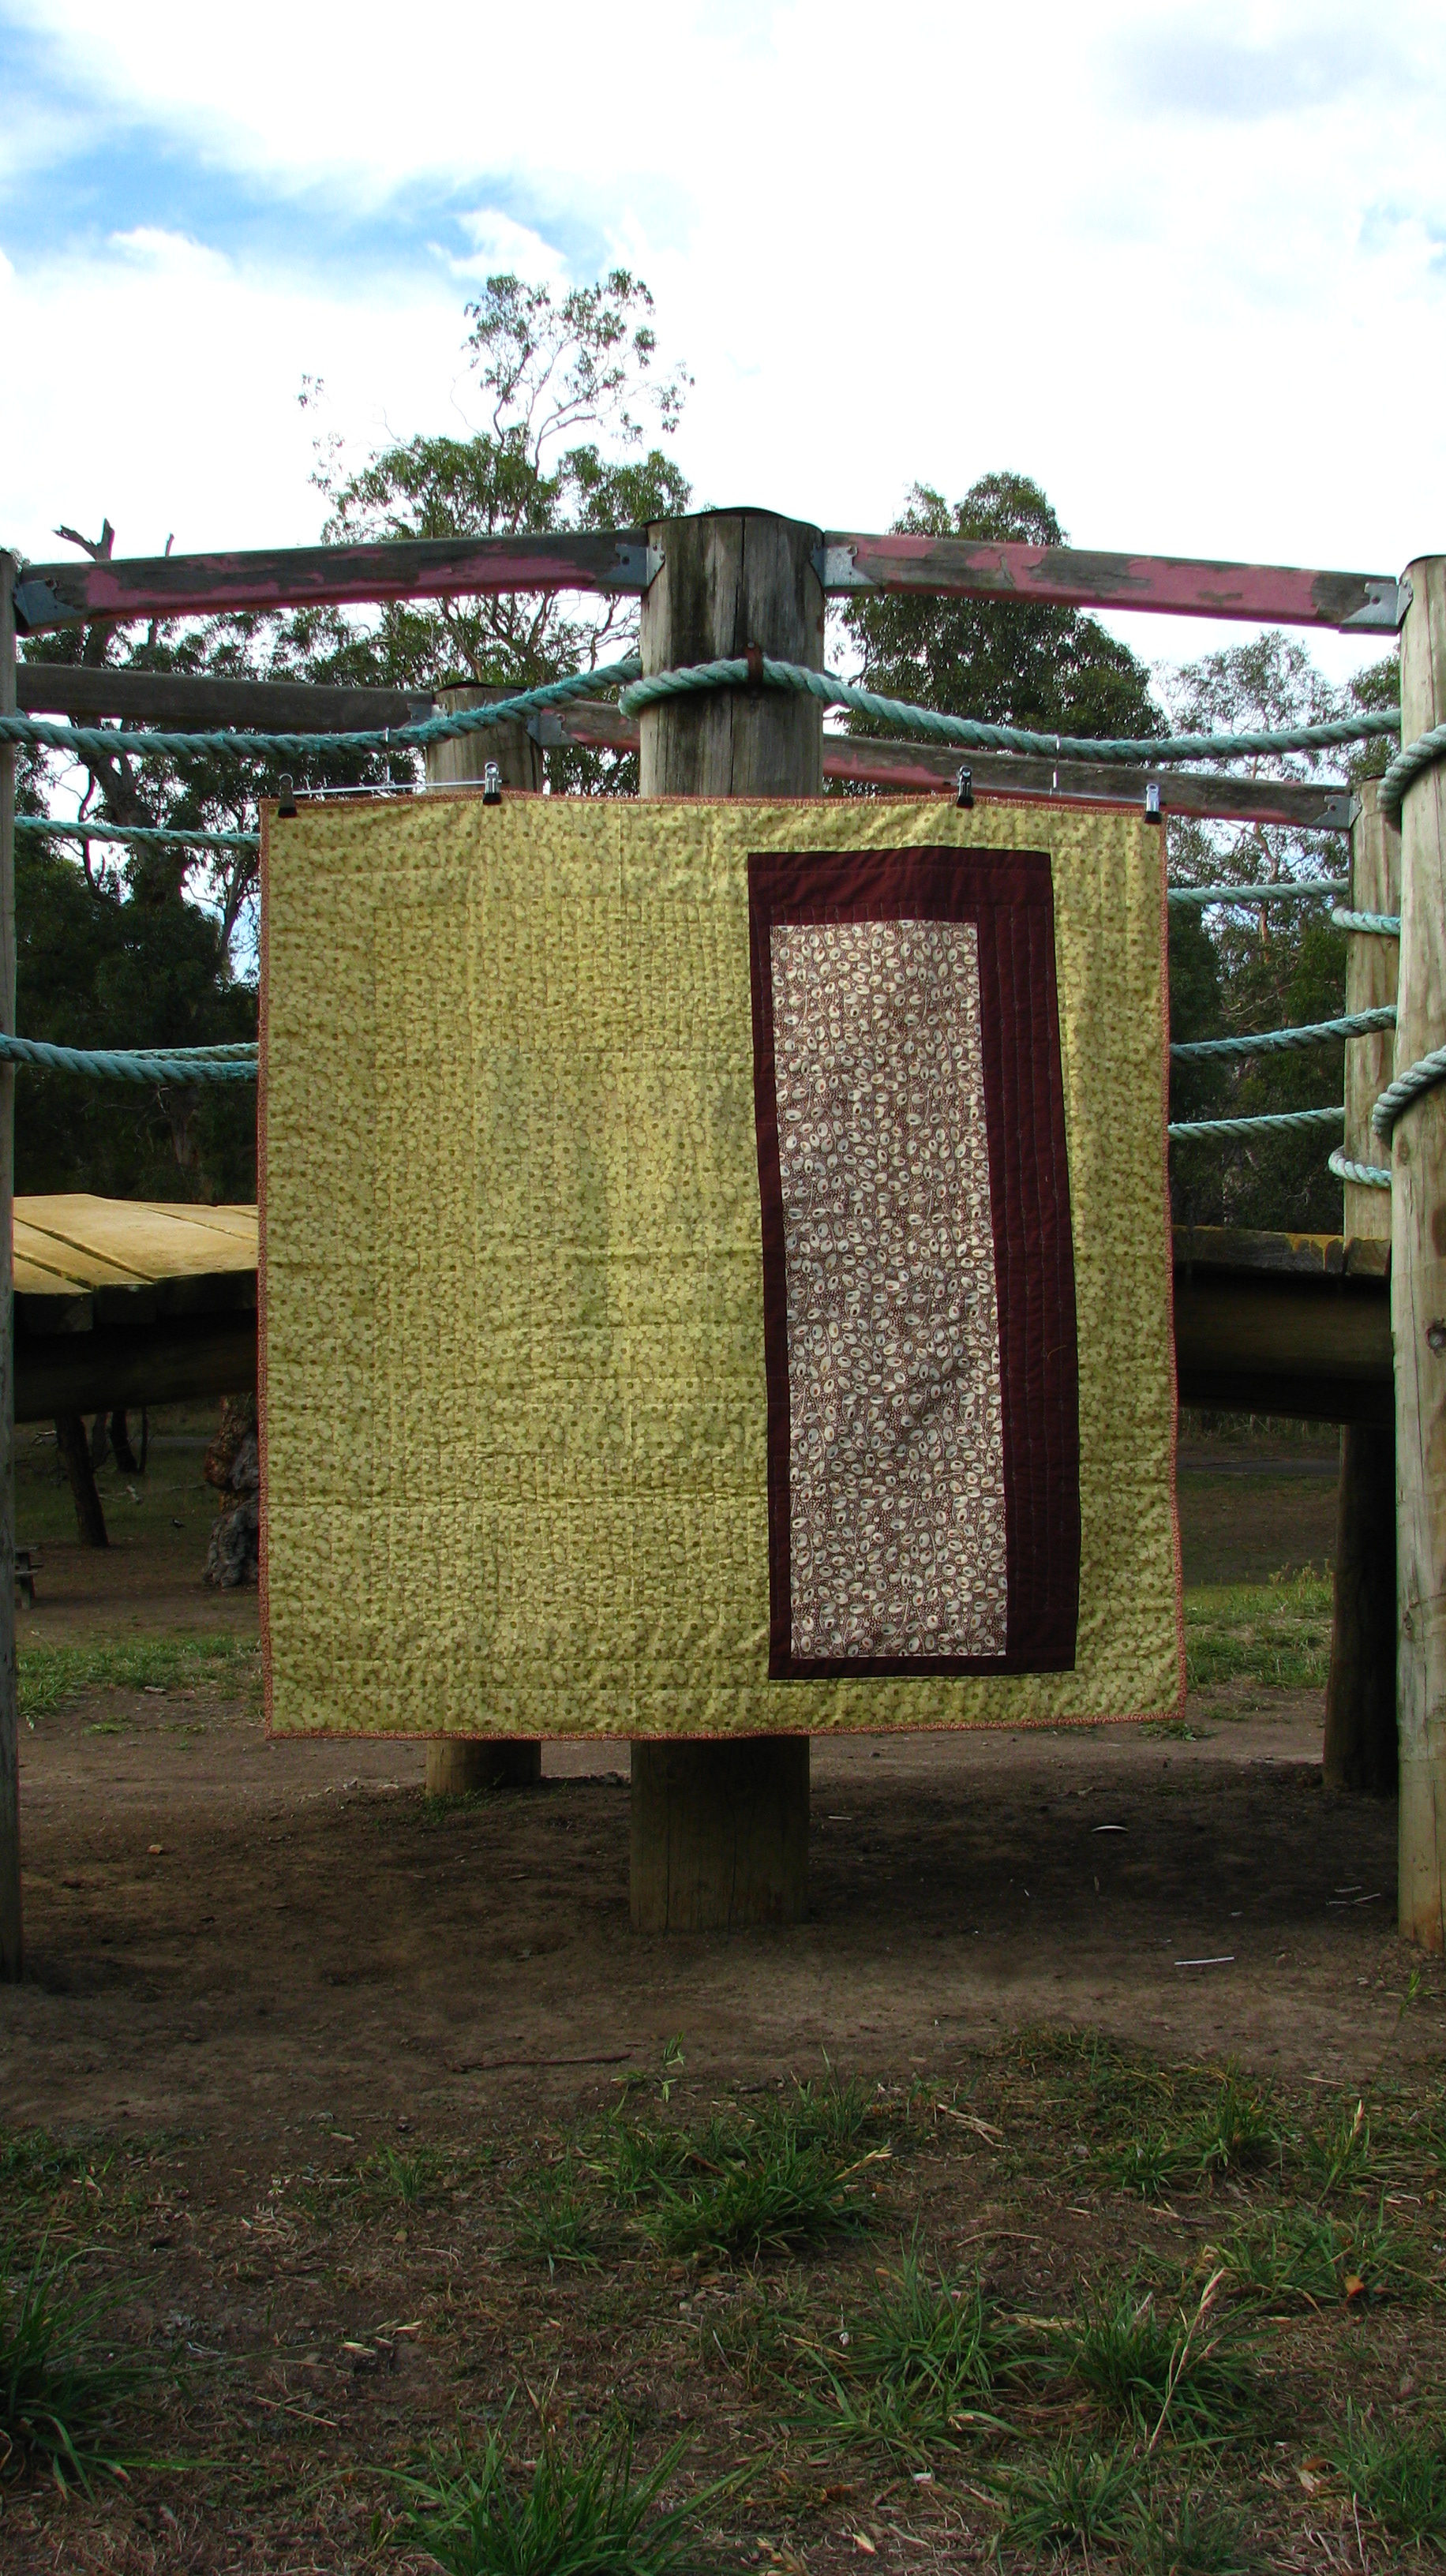
The backing of the quilt is another challenge that I enjoy a lot and I hope I have done this quilt justice. I do prefer the front and the back of my quilt work cohesively in terms of its theme, colour schemes and shape. For this quilt I have chosen green floral and brown leafy prints. I alsouse brown solid to differentiate the two prints while echoing the log cabin design of the snail.


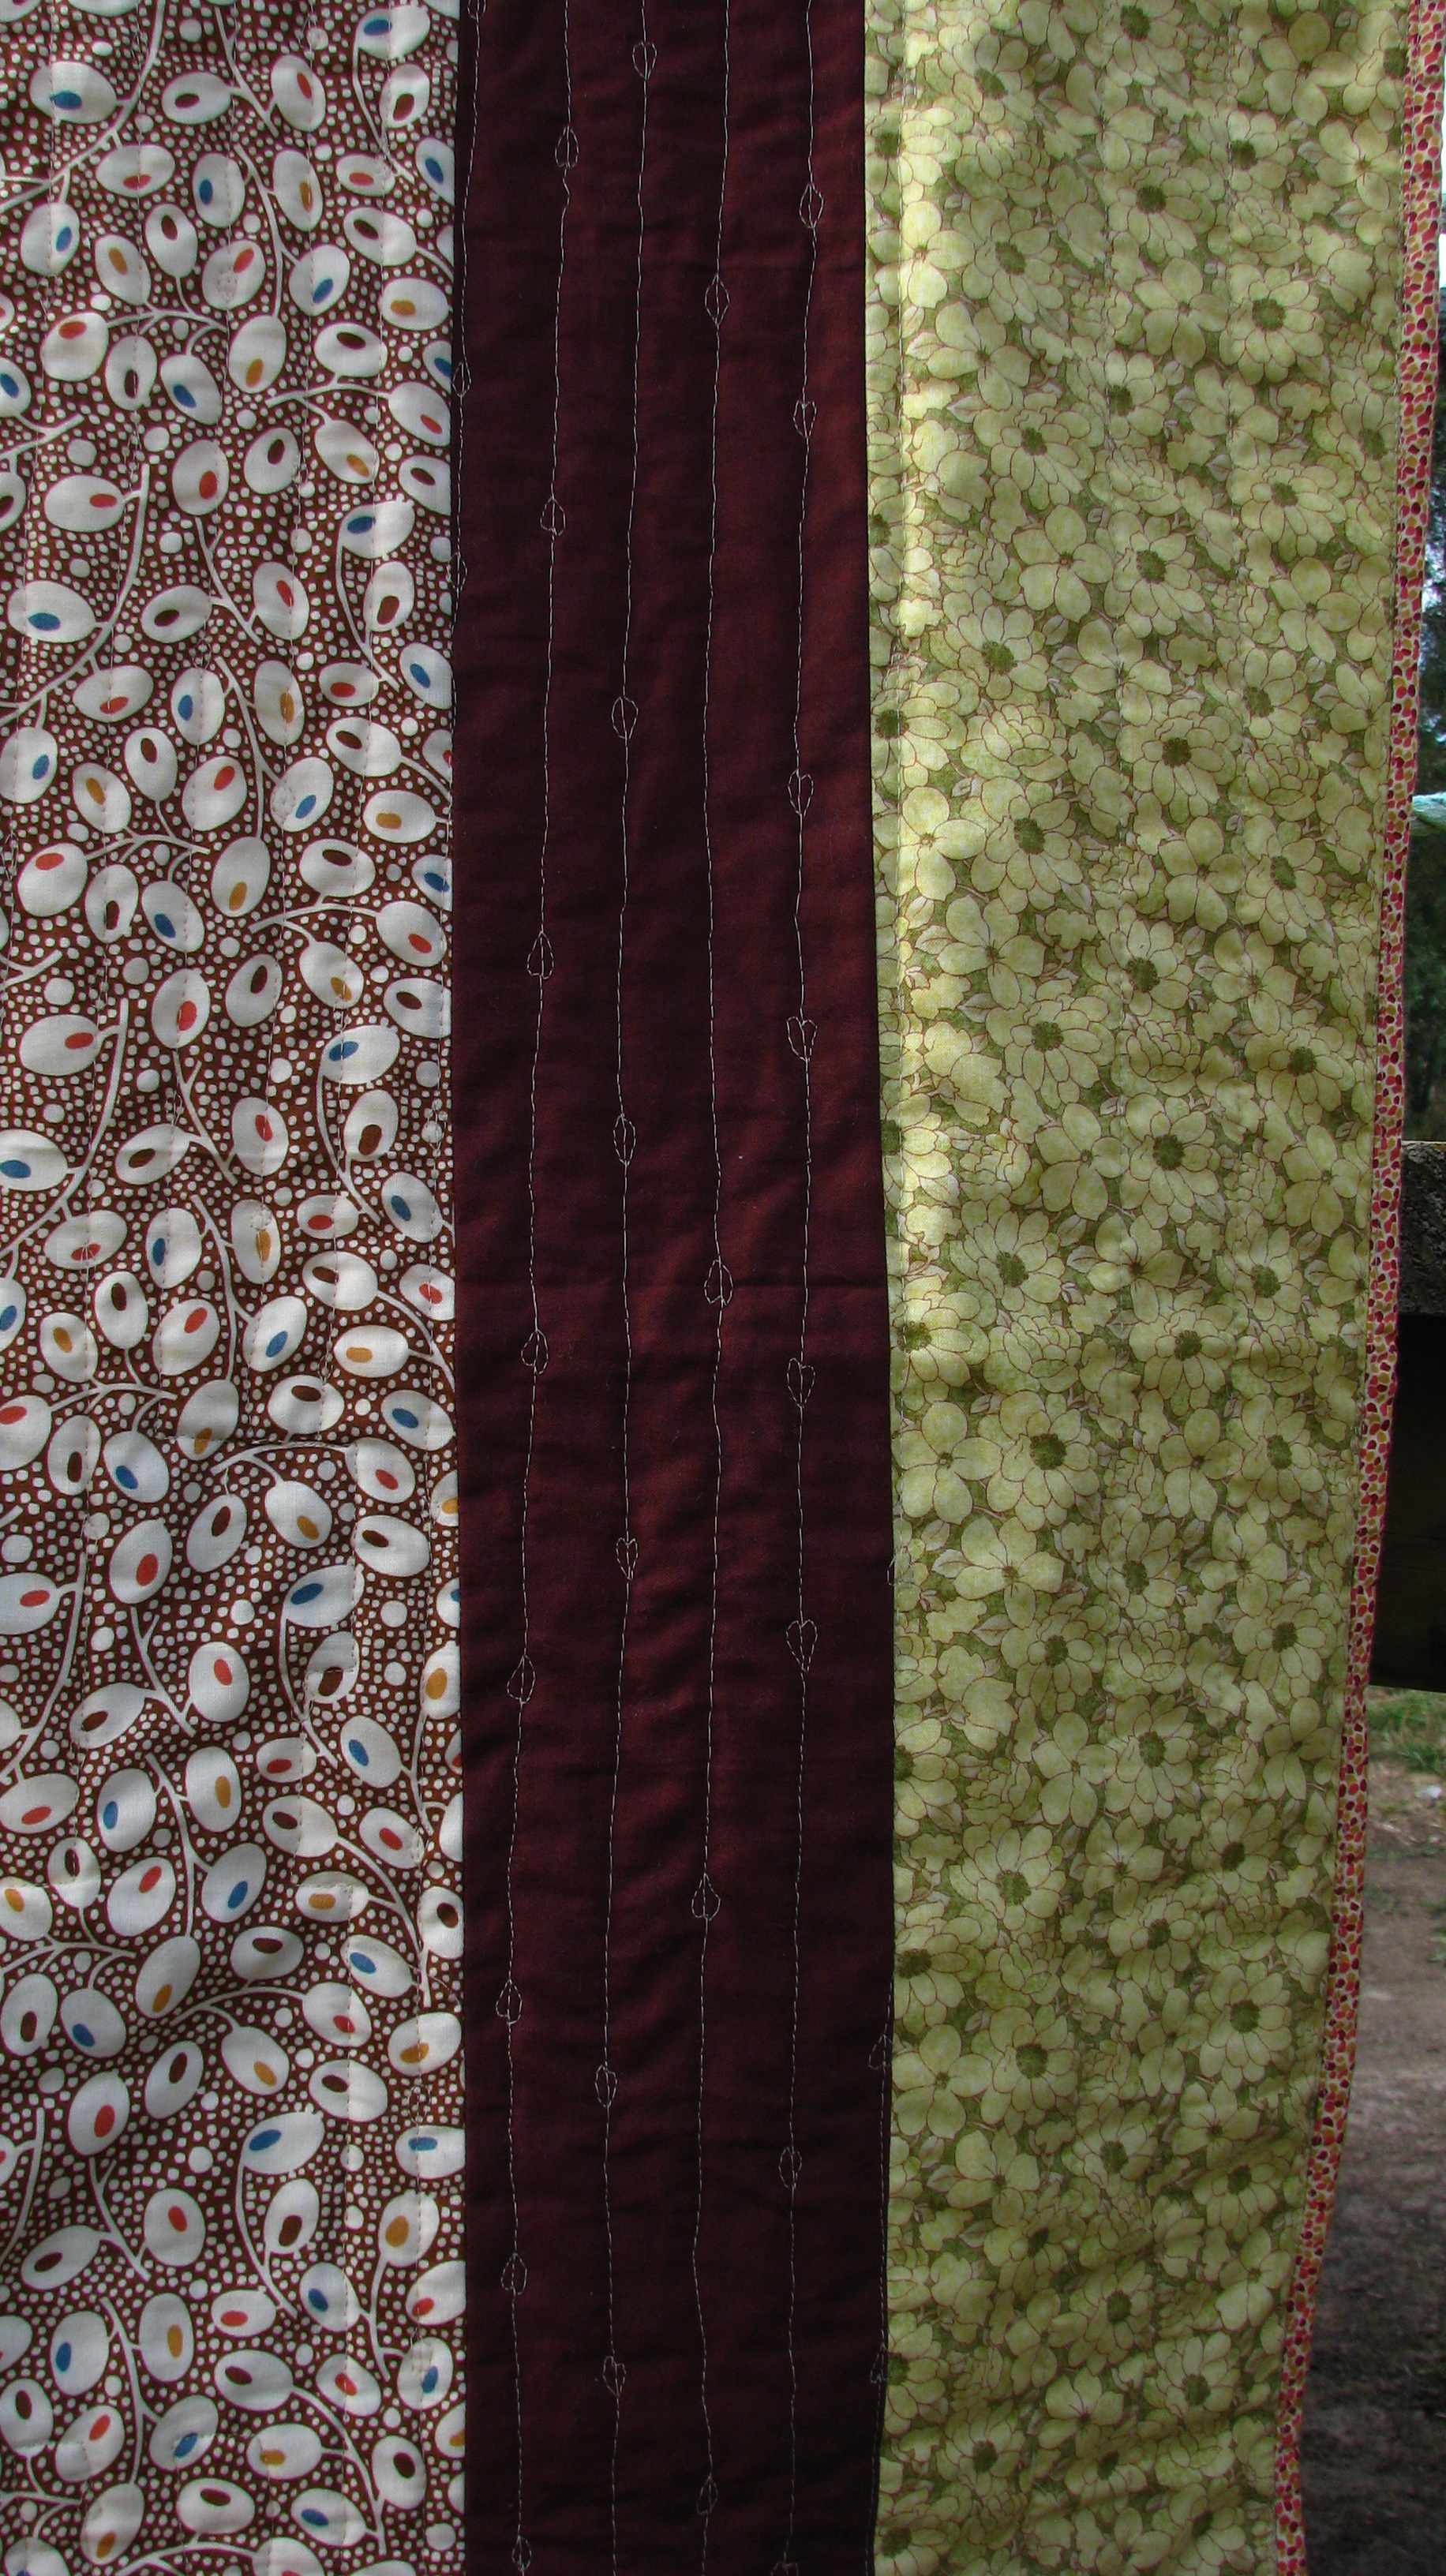
The inspiration for my free motion quilting came from Christina Cameli's leafy lines quilting design. I have loosely spaced each leafy line and quilted each leaf at random intervals. I think it's fitting for this quilt as it reminds me of the snails climbing up a leaf.

It is a beautiful design and easy to do even for beginners. I highly recommend you to click the link above to take a look Christina's original design.

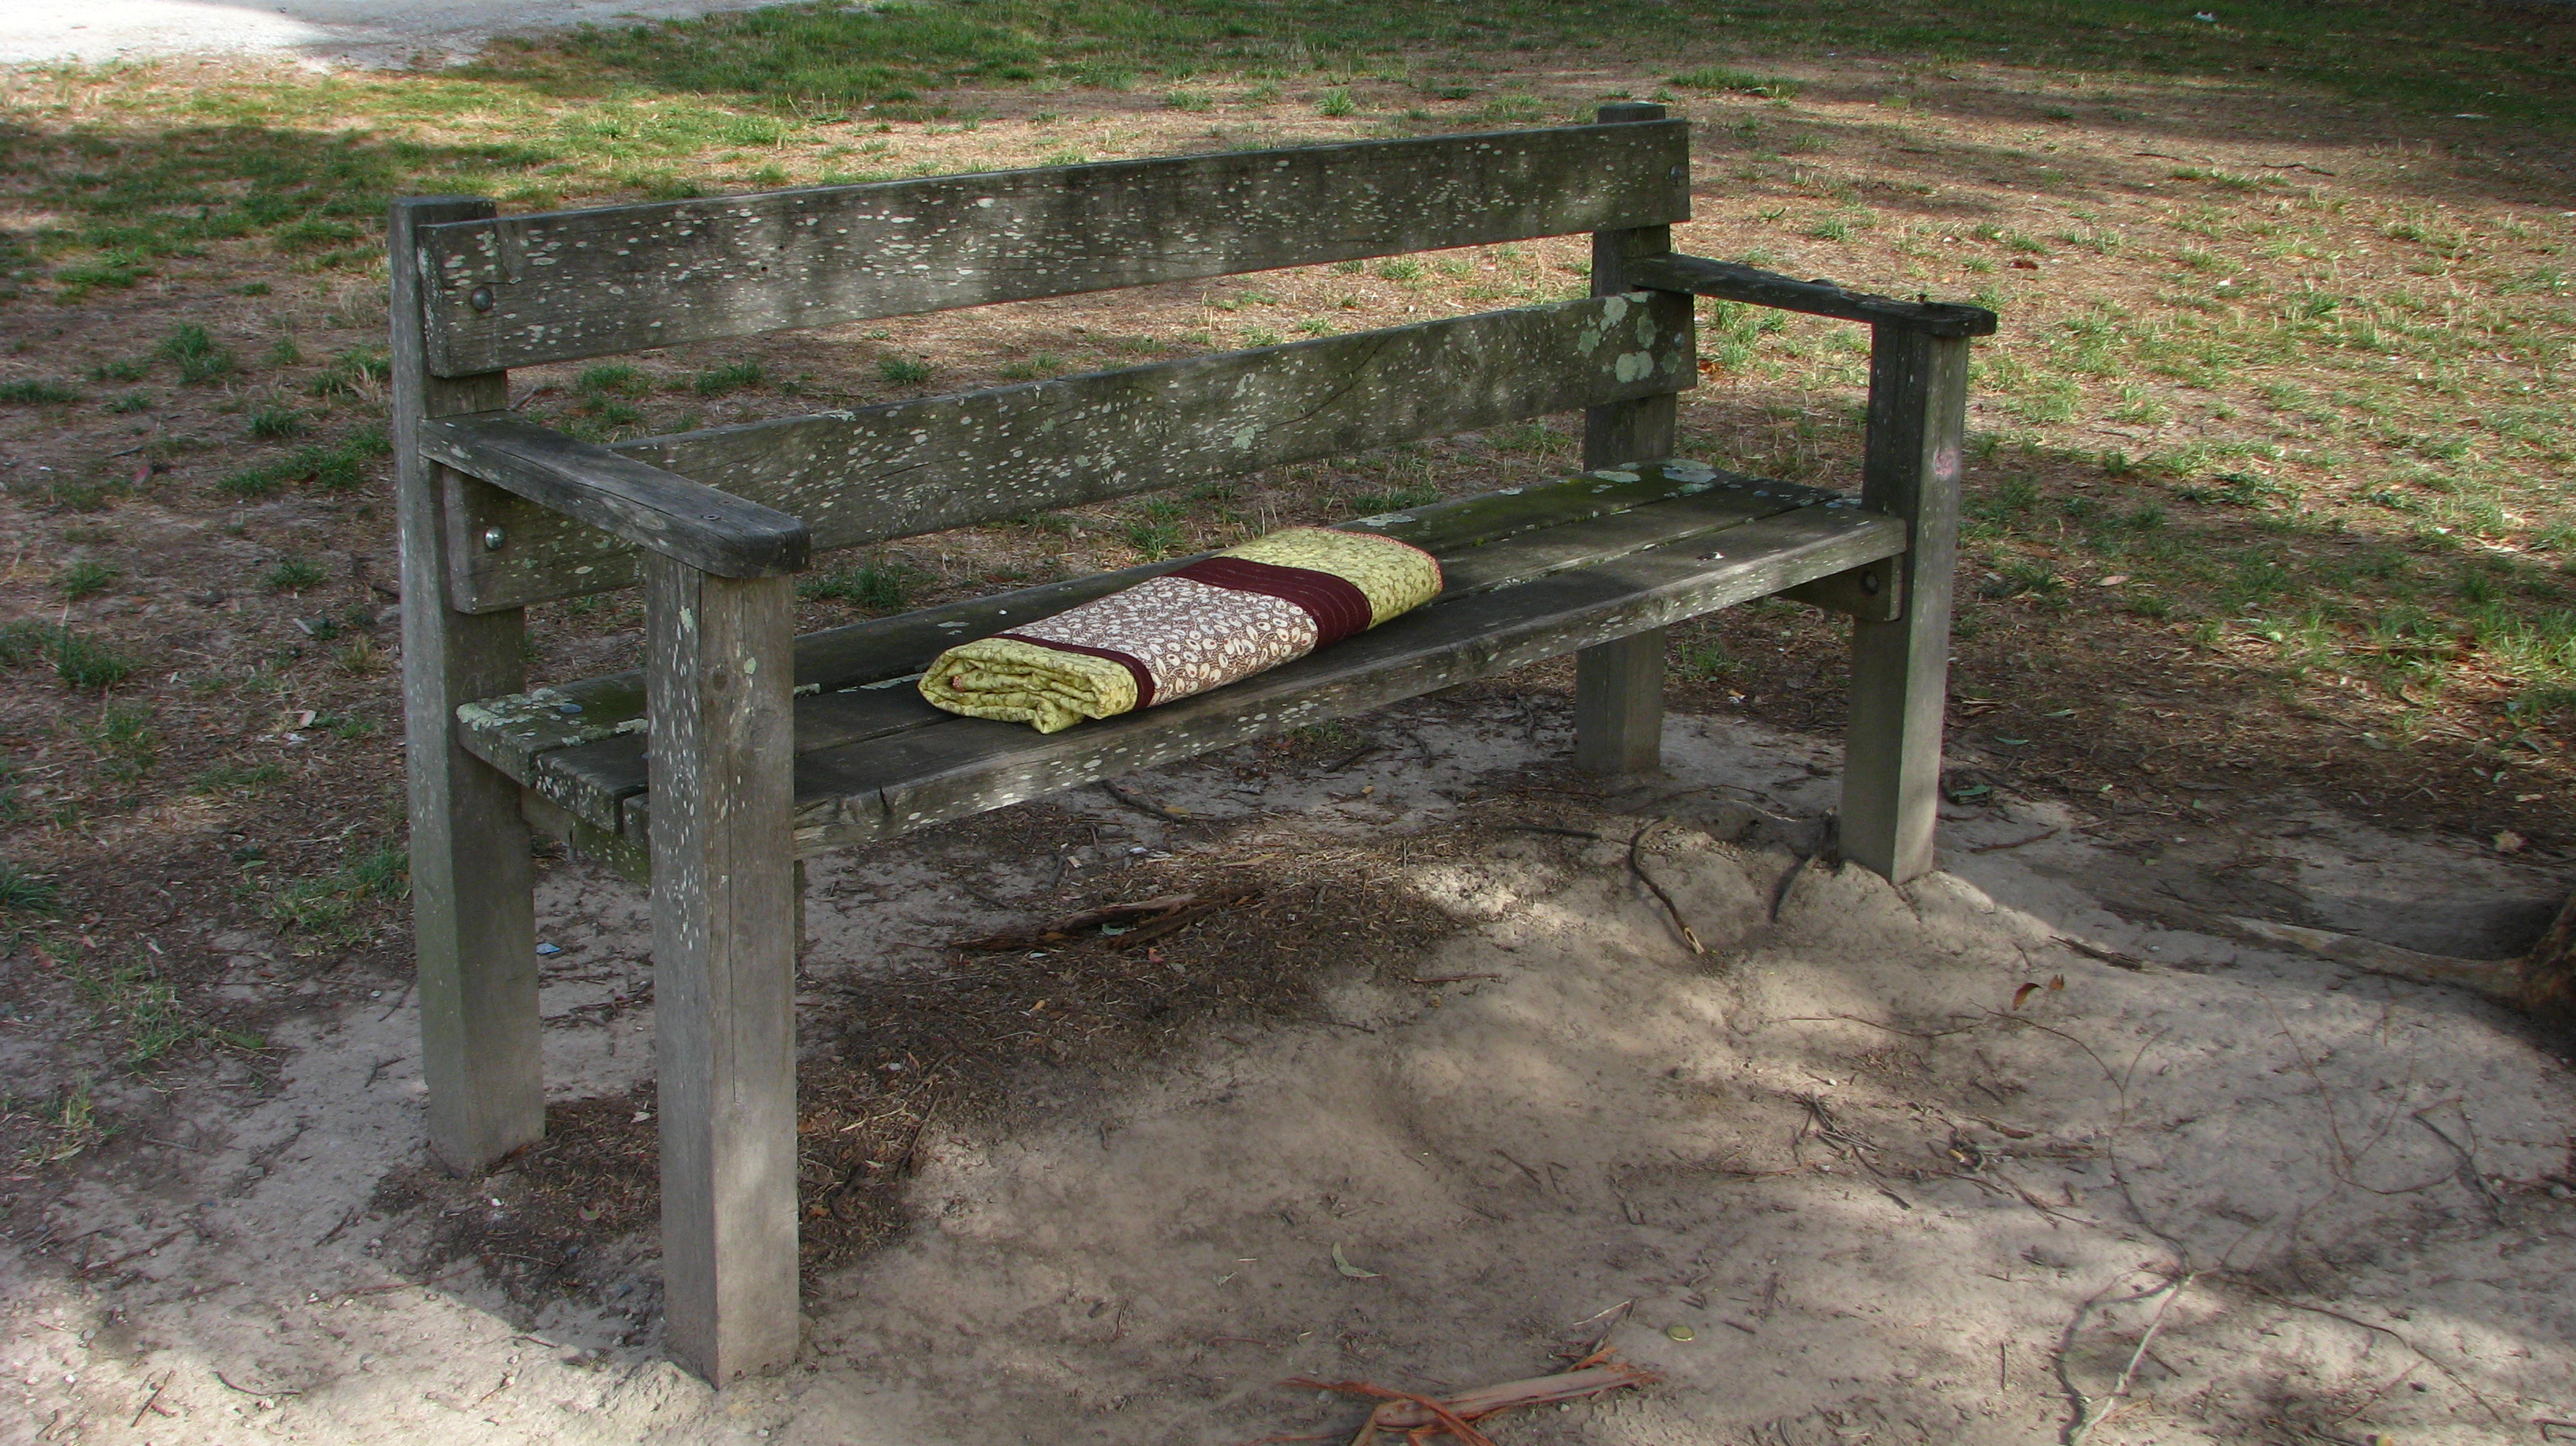
Last step is to give this quilt a good wash before I wrap it up and ready for gifting. I do prefer to wash my quilt before giving it away, especially baby quilts, so they are ready-to-use when they reach their final destination.  


Thank you for visiting!
Erica.


Sunday, 7 February 2016

Ironing board cover remake.

While working half way on a baby quilt I got really fed up with my ironing board, and it is time to give it a proper make over! I know, I should have tackle my ironing board many quilting projects before but....it was obviously more fun to make a quilt than an ironing board cover. And now, it has comes to this horrible state, the ugly cover is tearing up every where and because it has a plastic, shining coating on the fabric it is gluing onto the foam below.


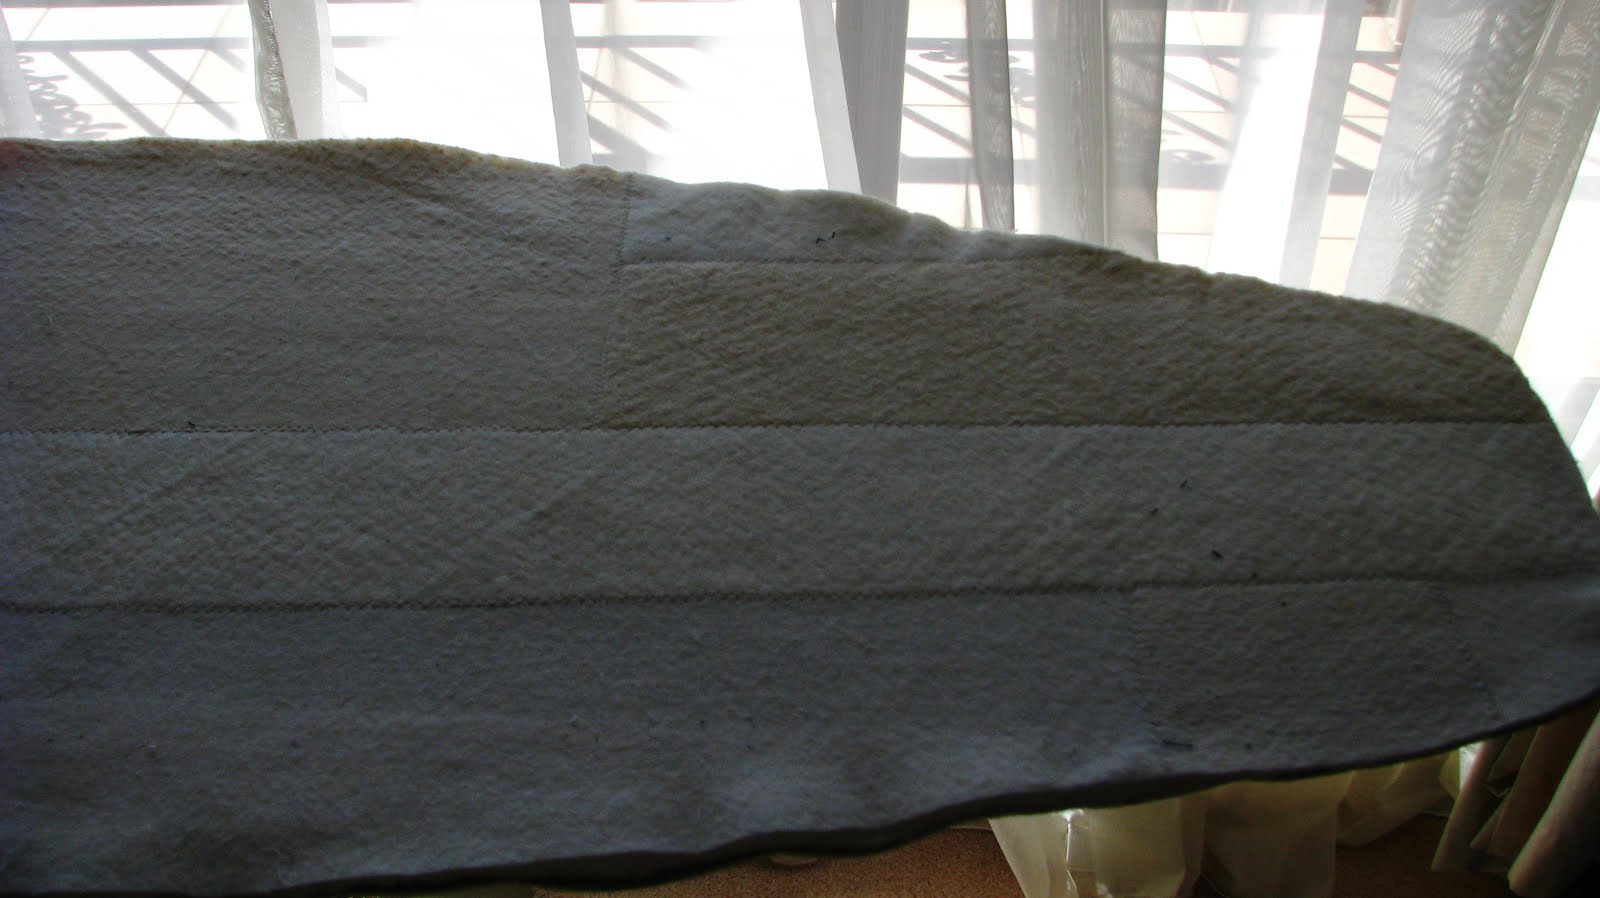
I did manage to salvage the thin foam layer as my template but this also gives me a chance to add two more layers of batting to give the ironing board the thickness I prefer. This is also a great opportunity to use up some of the left over batting from my previous projects. In no time I joined the strips of batting together using my sewing machine with zigzag stitch setting, and cut it to size.


Next I cut and place all the top layers for my ironing board: 1 cotton floral fabric, 2 layers of batting and 1 layer of original foam that I have salvaged. I have also cut and join 5 and 1/2 inches strip of matching cotton fabric which will be the 'skirting' that warps around the ironing board. 


5 and 1/2 inches strip may seem really wide, but consider you will need to hem 1/4 of an inch for the edge of the fabric and (in my case) fold it again for 3/4 of an inch to make the casing for the elastic band to go through. As my ironing board is rather large, I chose 1/2 of inch wide elastic band for this project. 

The tricky part is to figure out the length required for the skirting. I made the skirting strip long enough to go around the board but it ended up require an extra 11 inches when it was sewn on. To my own fault that I also did not foresee I will need to make many tiny pleats for the curved areas, and as a result I needed a much longer strip to complete the skirting. Next time I will treat this part similar to binding the quilt ---- sew the skirting on to the cover top and when the strip gets back to the beginning you can then work out where the beginning and end will meet more accurately.


And the end result --- no more of those plastic laminated fabric that melts each time you iron, plus a firm padding underneath to help me with a smooth, flat ironing finish!  


Thank you for stopping by.

Cheers,
Erica