Showing posts with label Baby Quilt. Show all posts

Sunday, 19 June 2016

Hugs and Kisses Quilt

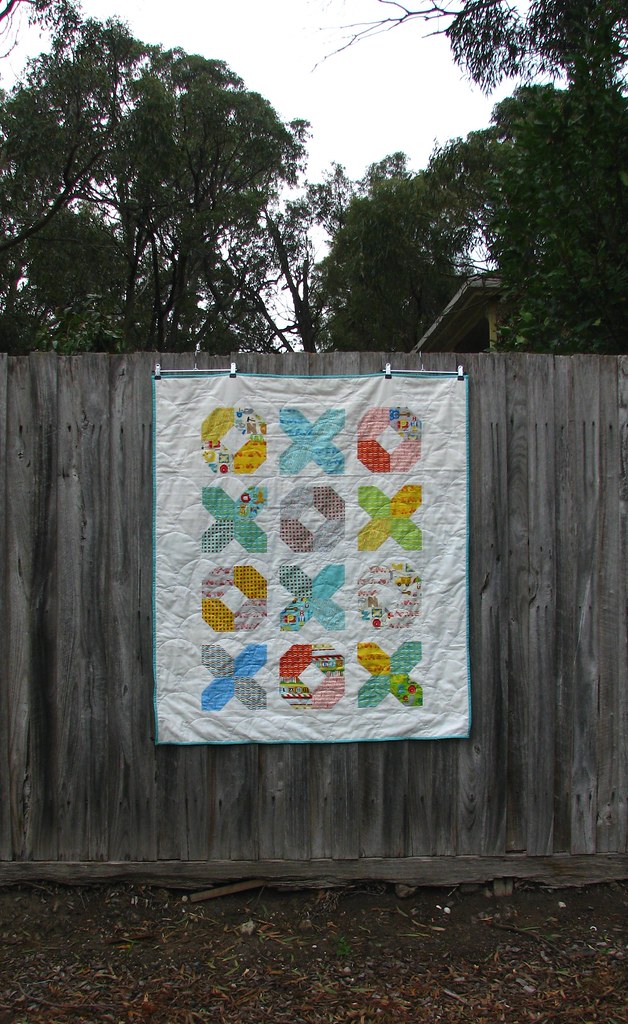
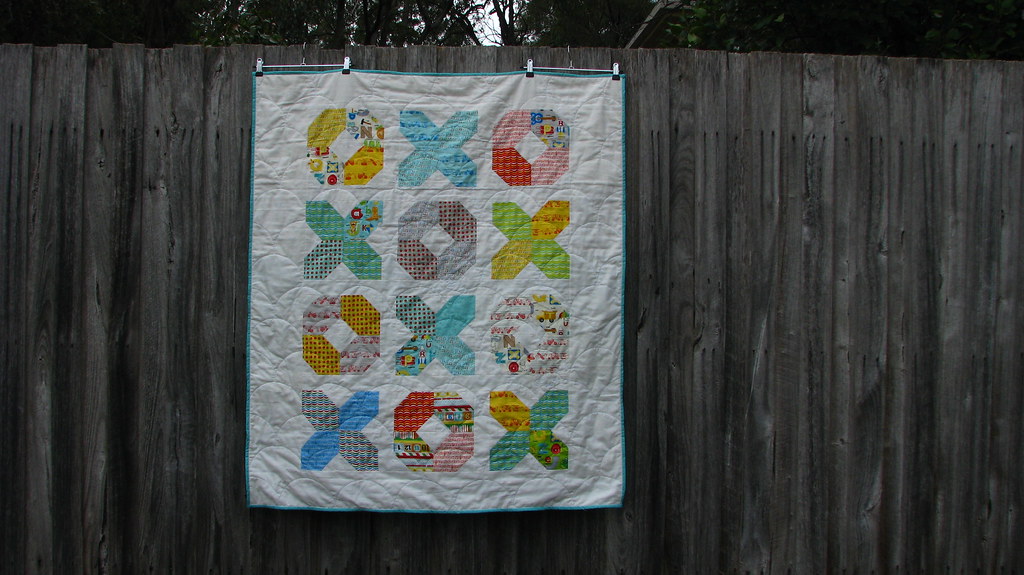
I made this quilt for a colleague who is about to give birth soon. Although I knew it for some time it always took me a long time to decide on a design that I like and suitable for the recipient. Once I have settled for a particular design, it also takes me some time to play around with the layout. I do think trying different layout is really fun but this project  do come with a deadline. I did made it in time and have already gift it. Unfortunately I did't take too many pictures, as I was rushed to give it a wash and dry it before gifting. Personally I prefer to wash the baby quilts before wrapping it up, so it is "ready to use" and one less thing for the expectant mum to do! 


For this quilt I used 10" layer cake and sliced it into 4 equal 5" squares. You will require 48 squares in total. I also added a 6" border on the outside and 2" sashing between the circles and crosses. 
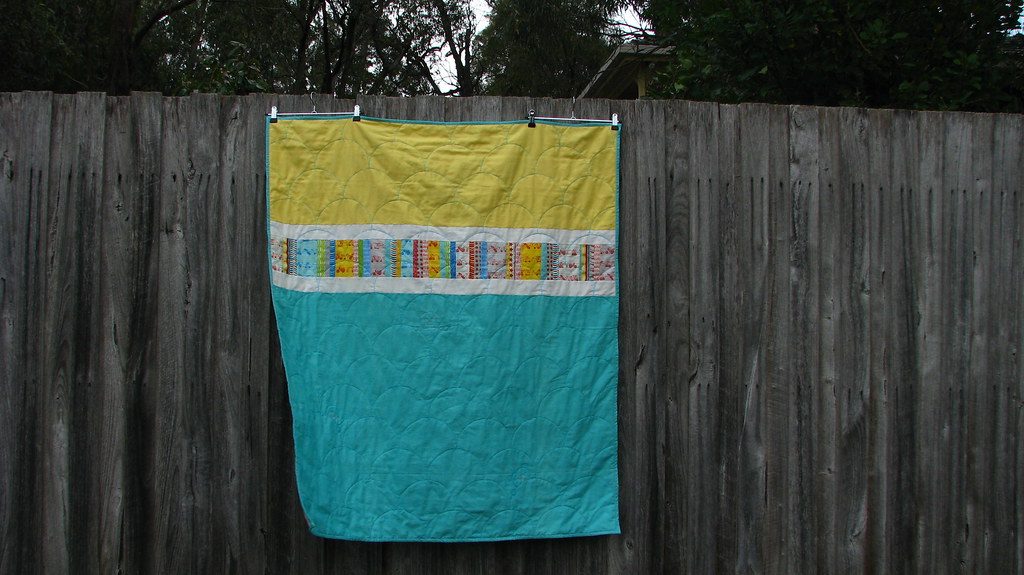

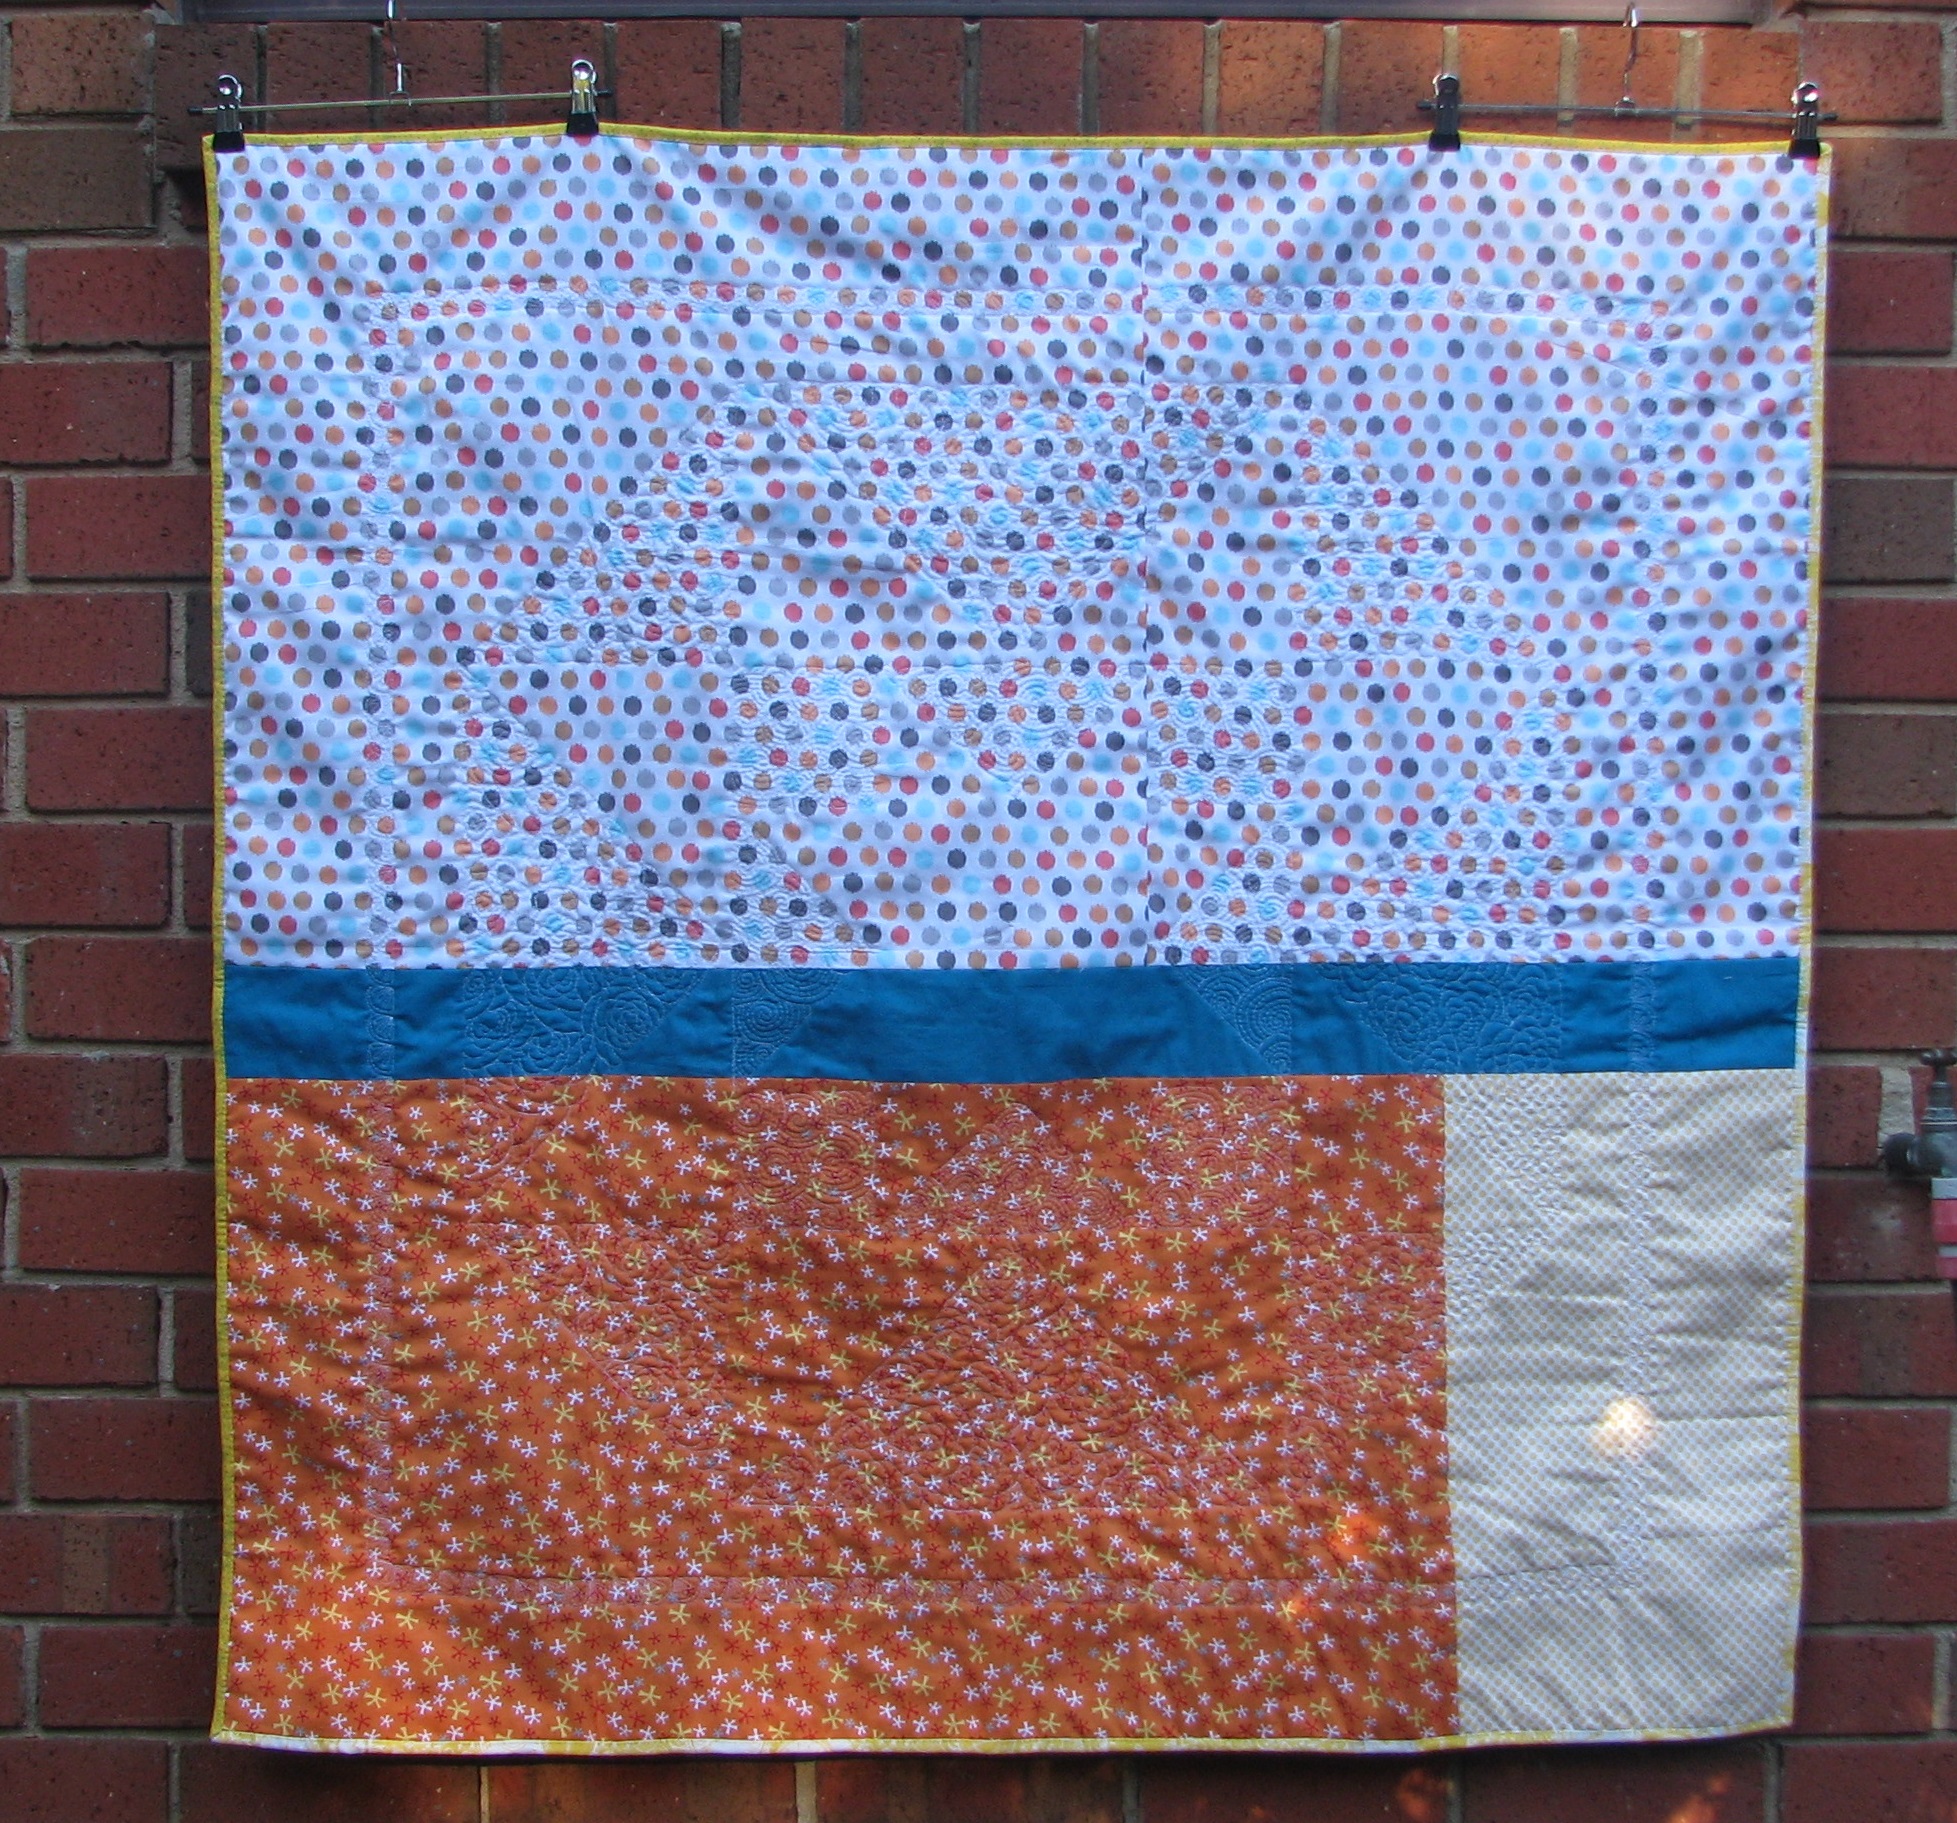
For the backing I sewed the left over prints together to reflect the quilt top, plus matching solids Moda Bella's Bermuda and 30's Yellow. I love these 2 color combination, the blue and yellow just go so well together! 


I didn't want to do dense quilting for this project, as I would like to keep it soft for the baby. After some thought I decided to give scallop a try. To create the scallop pattern I used a small dessert plate as template and the painter's tape as a guide to help me matching the top point and both sides. I drew the scallop on the back of the quilt and once it's done, machine stitch it row by row, from one end to the other. 
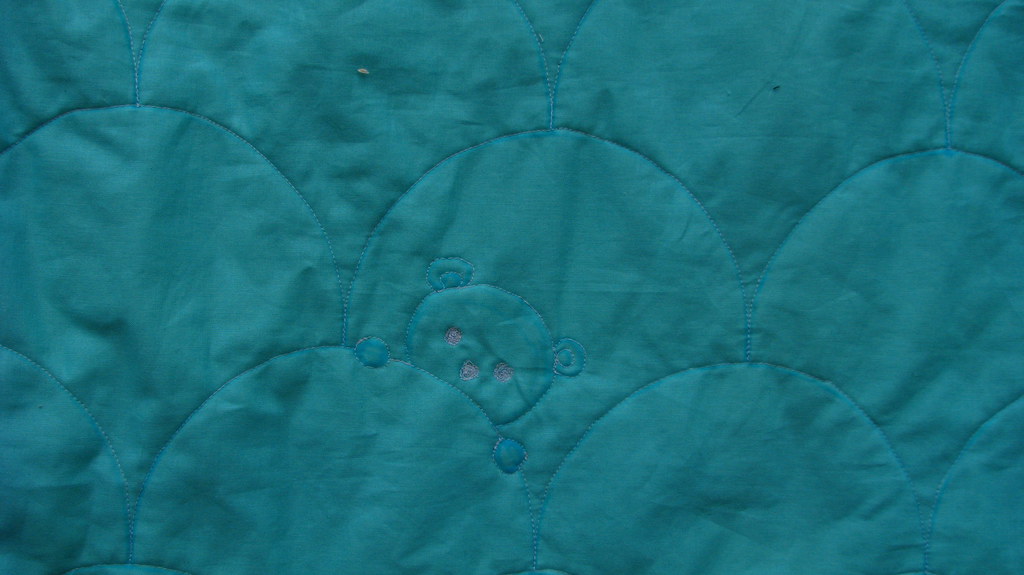
   
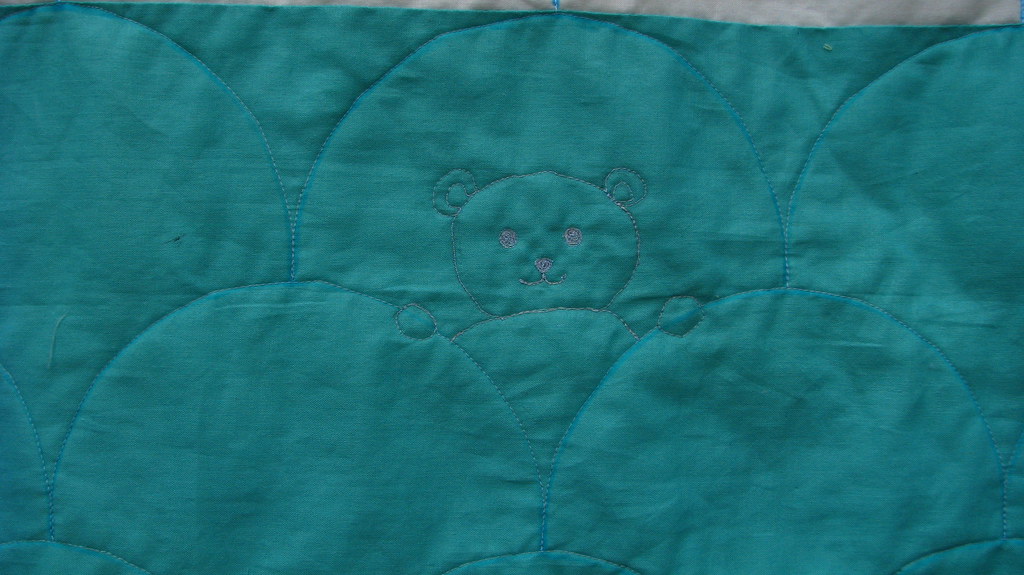
I also added a few teddy bears as if it is peeking out from the scallops. This was inspired by a quilt I saw on the internet. It
is hand drawn with water soluble pen and free motion quilting it on.

I am glad to report that my colleague like it, so it's a YAY for me!

Thank you for reading!

Cheers, Erica 

Sunday, 6 March 2016

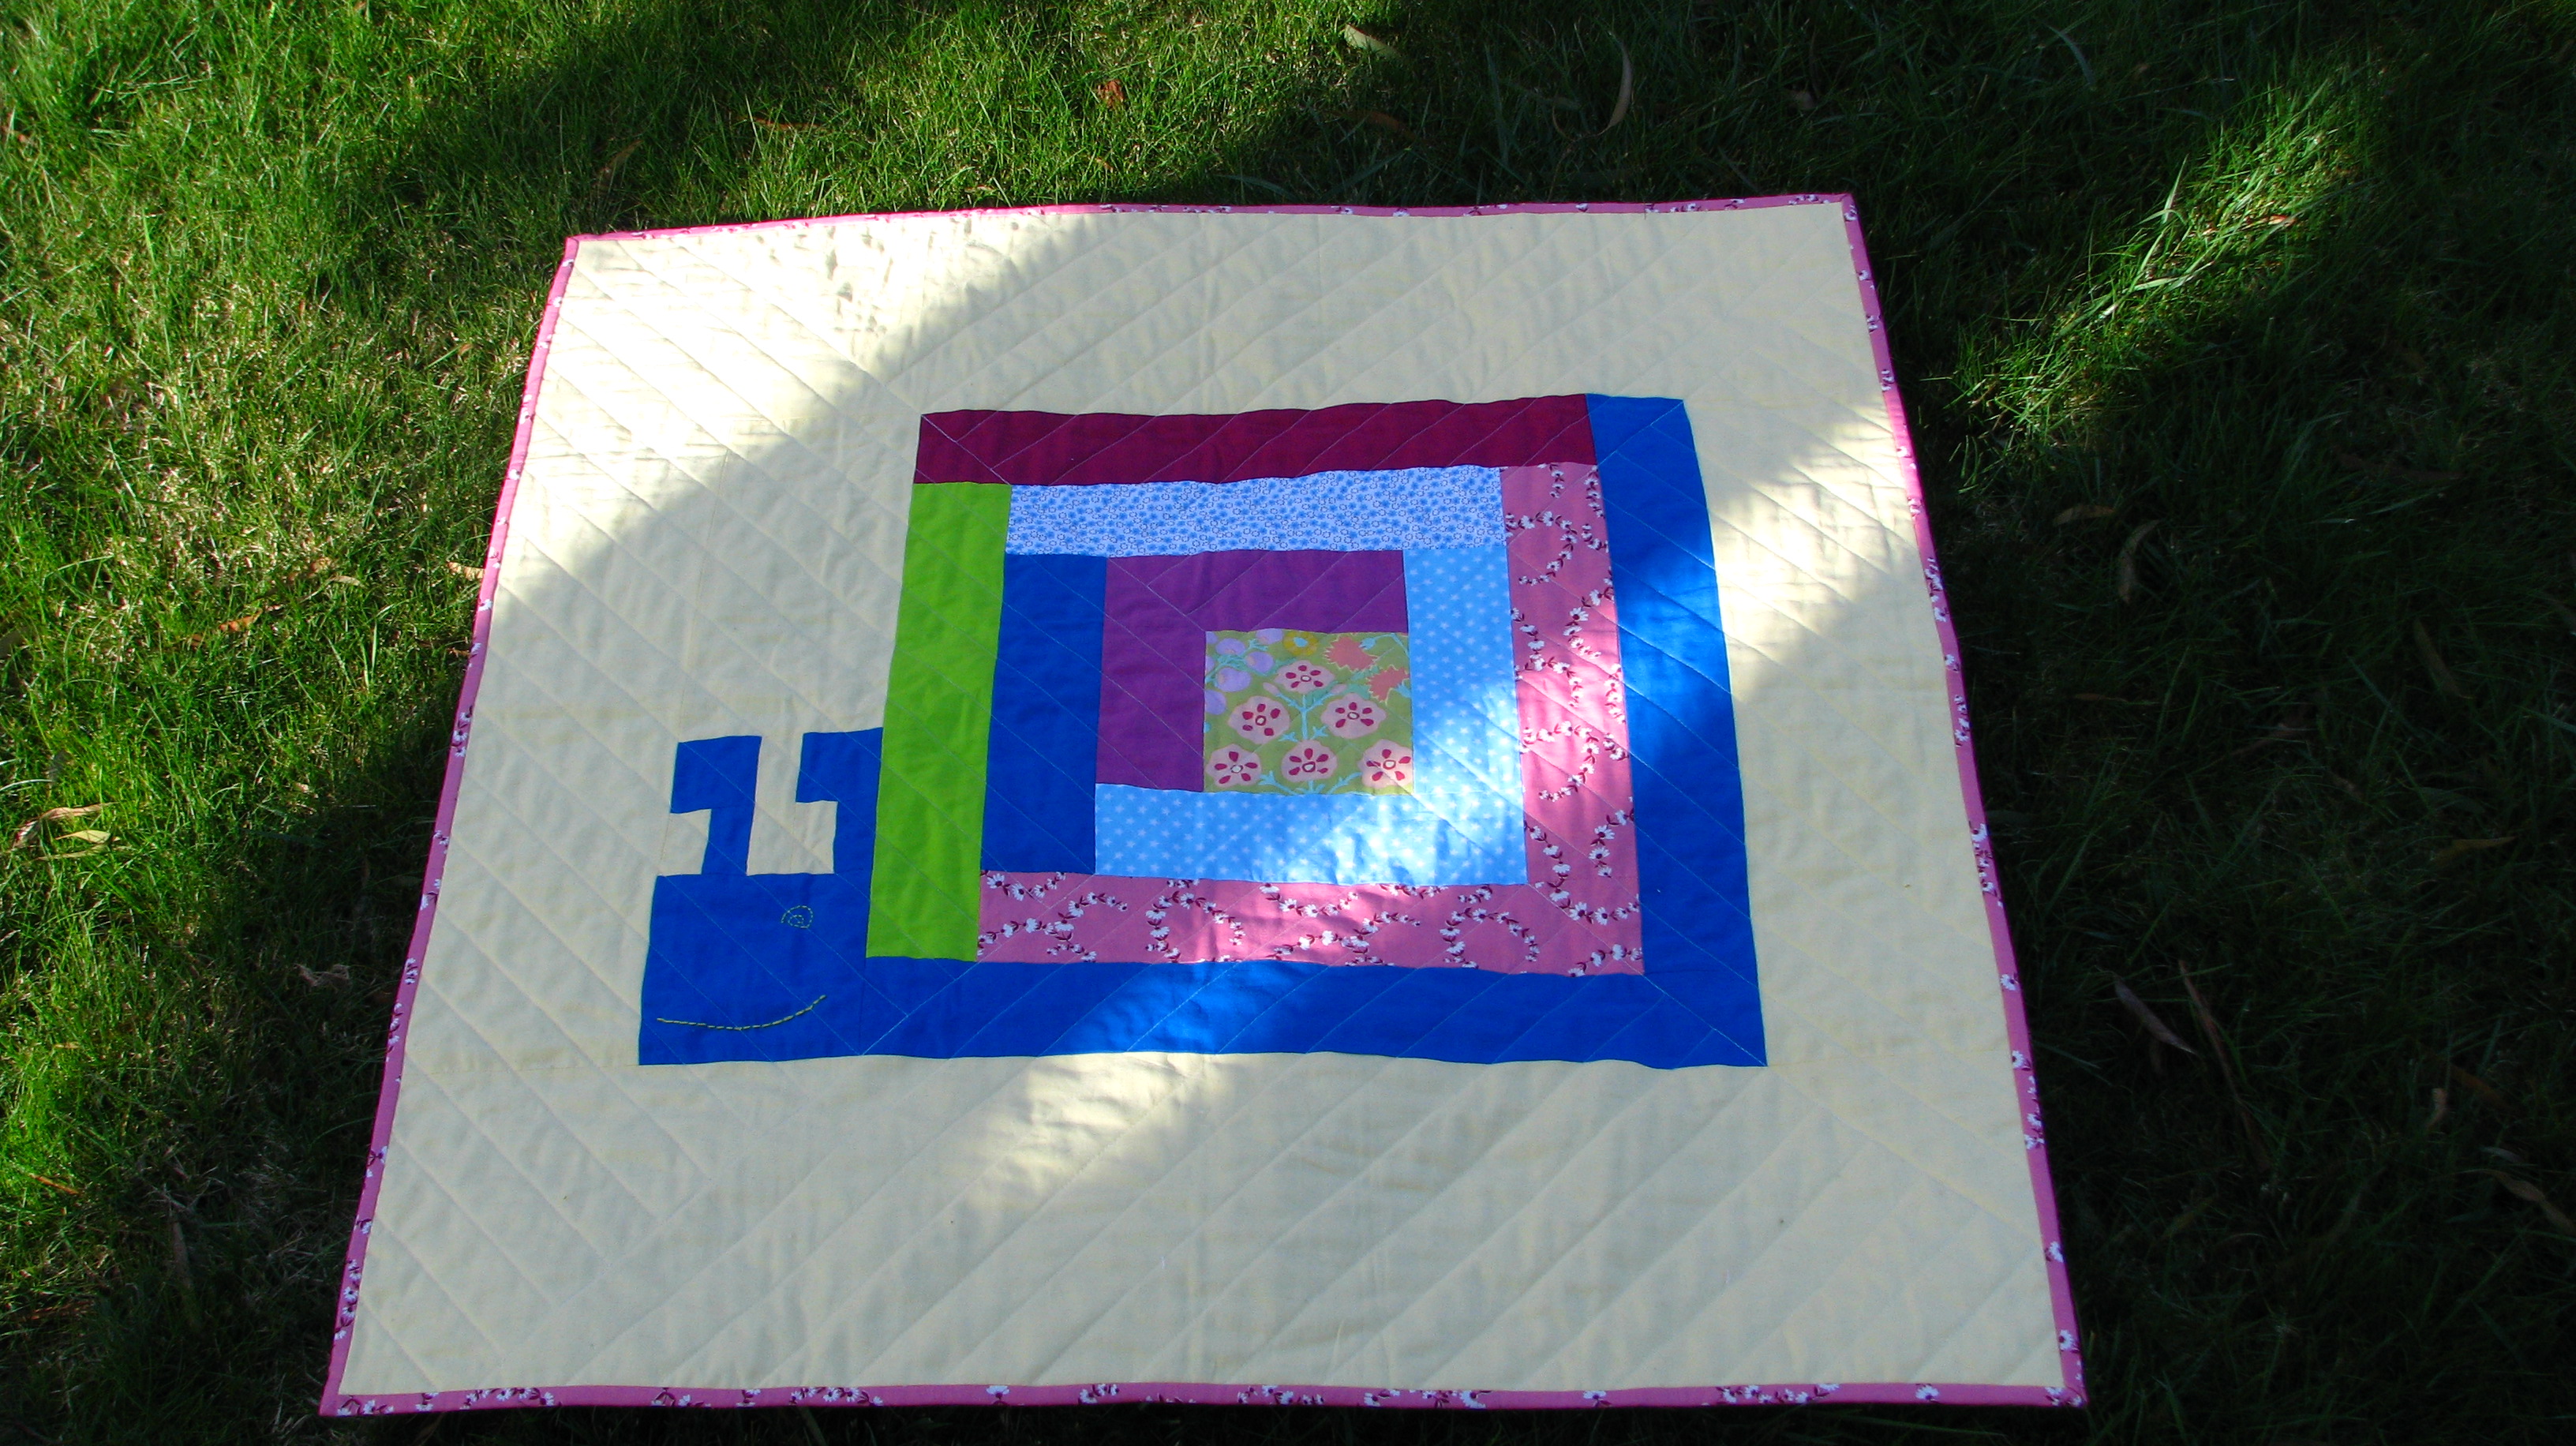
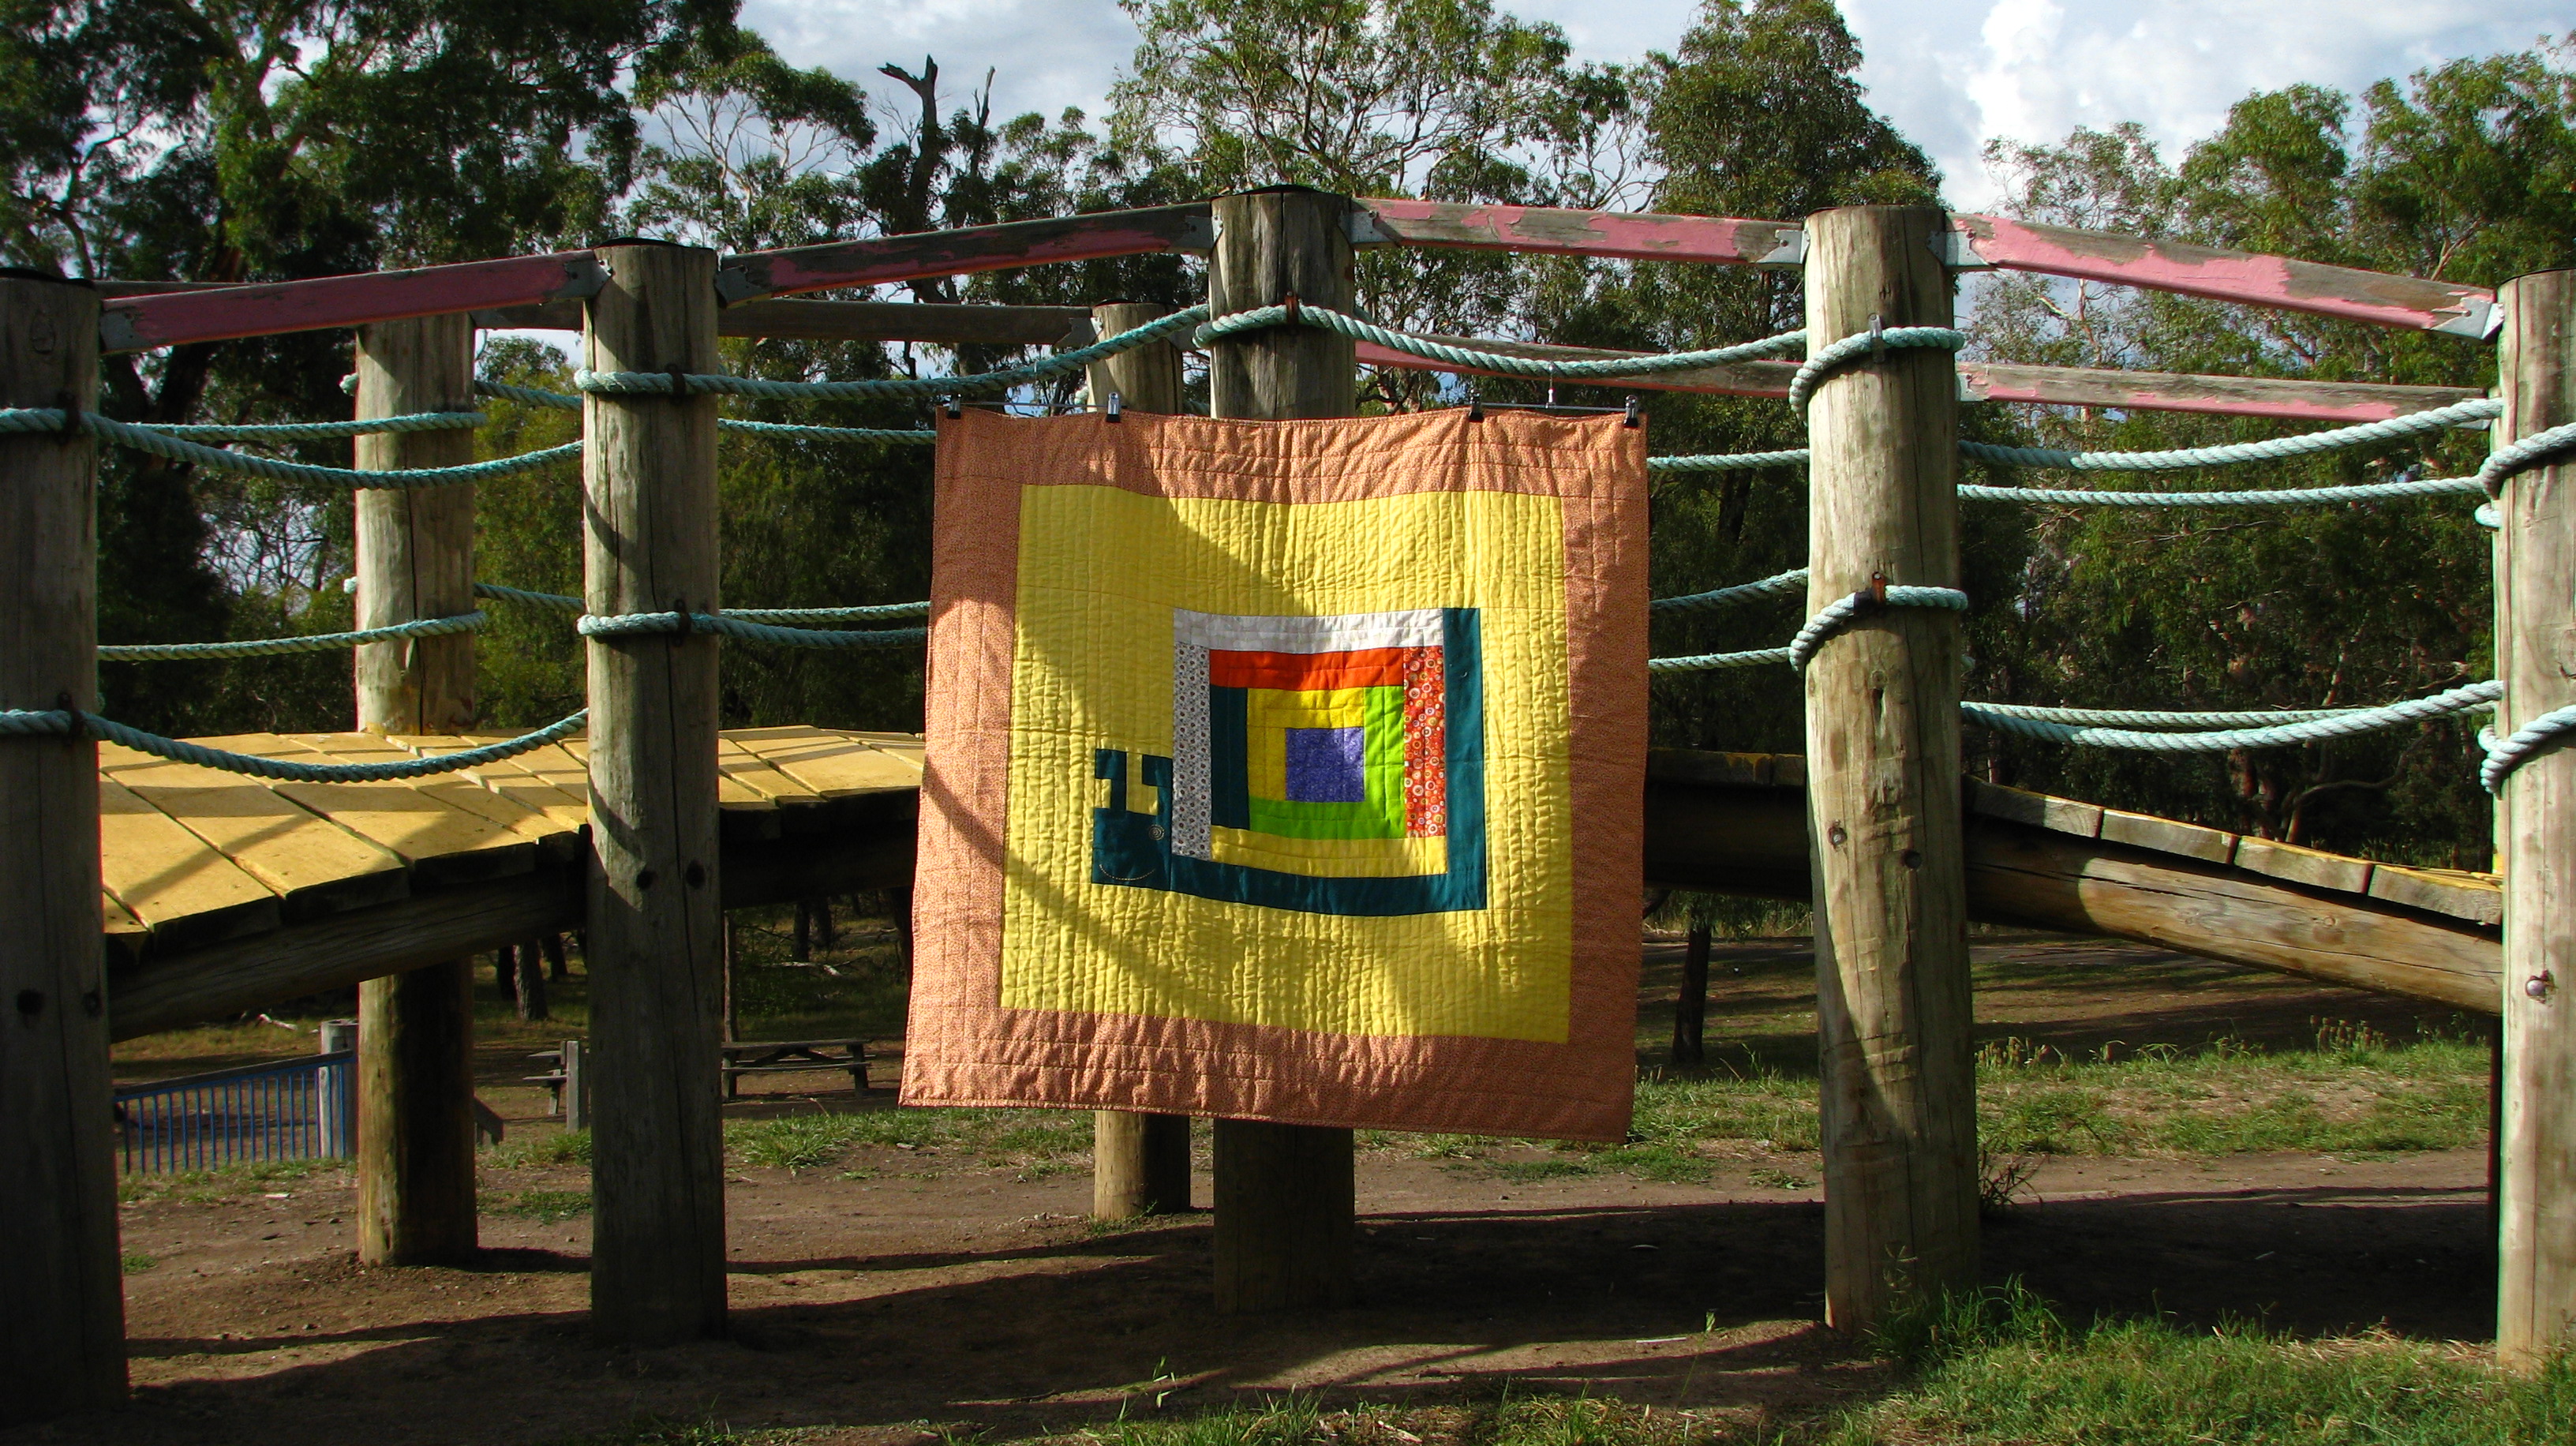
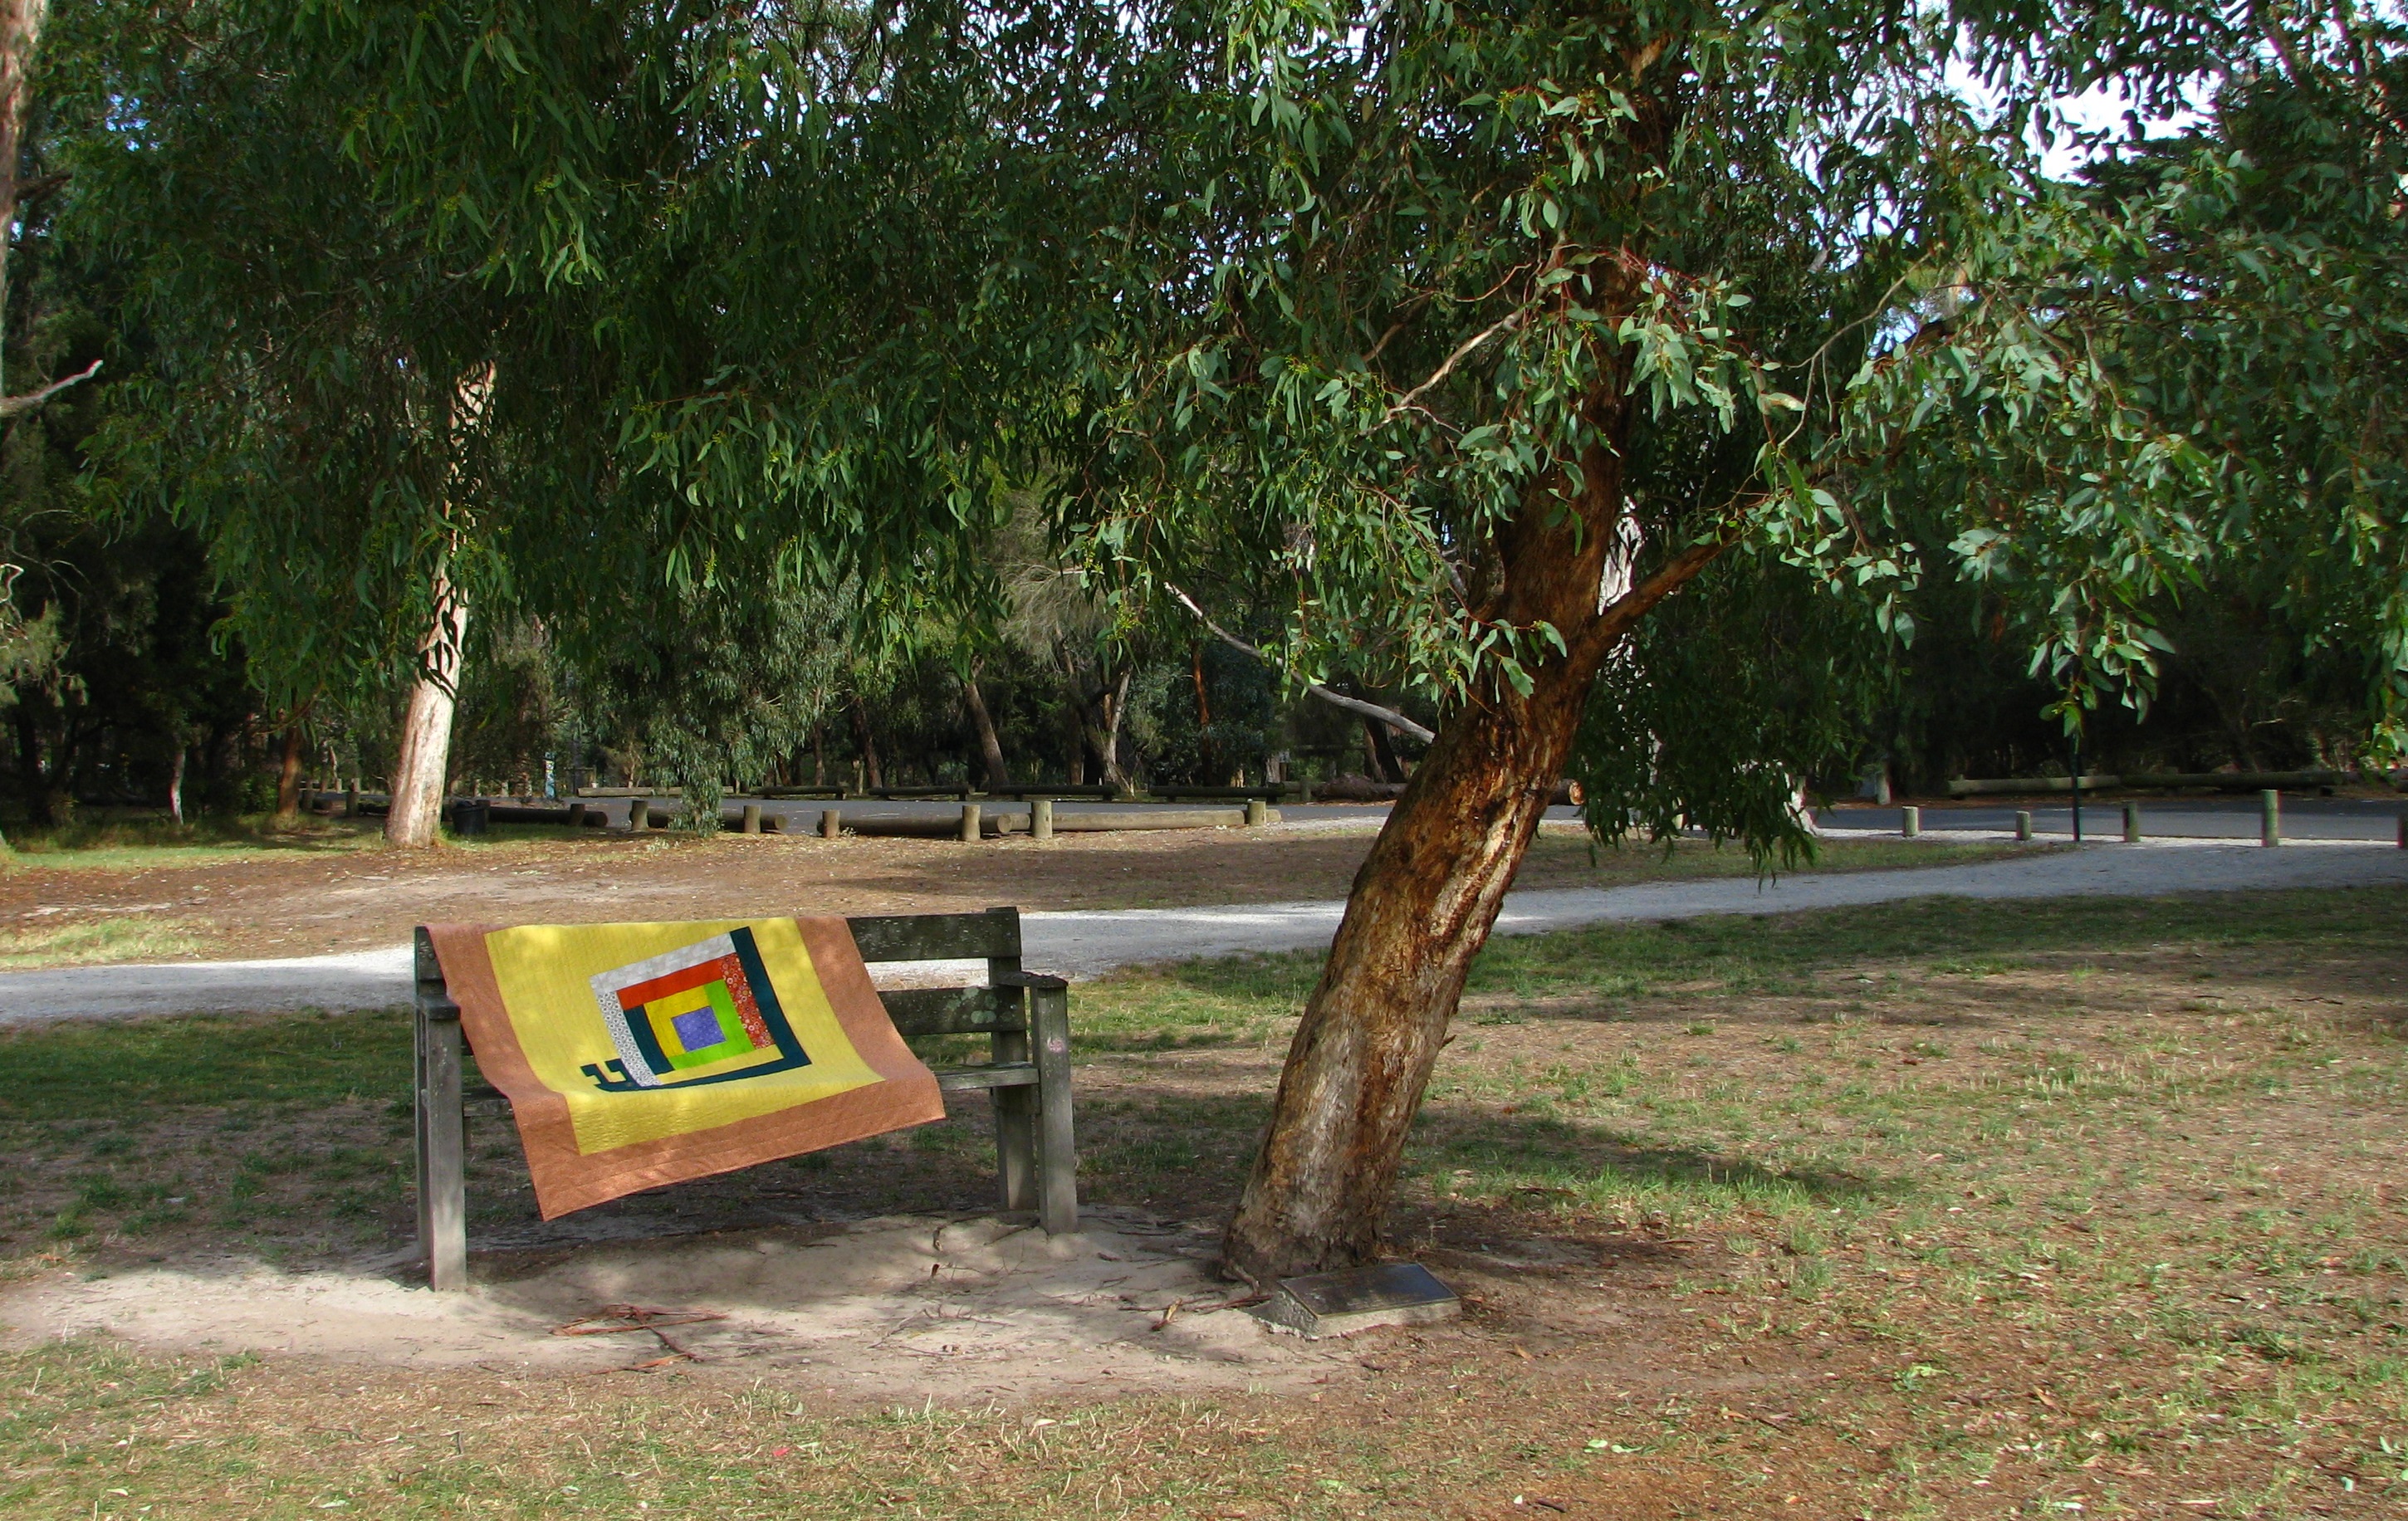
Pokey the Playmat - version 2.

This year I have a few quilting goals, which is another list of quilts that I would like to make for certain friends and babies arriving this year. I can sense my pile of UFOs will have to stay put for a bit longer...oh well!

So to start the year of 2016 I made another Pokey the Playmat quilt. The pattern is from the book Dare to Be Square by Boo Davis. The first time I made it was back in 2012 for a baby girl in it's original size 36" by 36". 


However this time I added an additional 6" border to make it into a larger quilt. My challenge is to keep the colour gender neutral, as we do not know the sex of the baby.   


This is always a fun quilt to make, especially in the early stages of pulling out fabric stash and audition different solids and print fabrics. Although simple in design, there are rooms to make changes and makes it a one of a kind quilt. As mentioned before in the second version I have added another border to its original design, plus I also free motion quilting the negative background. 

  
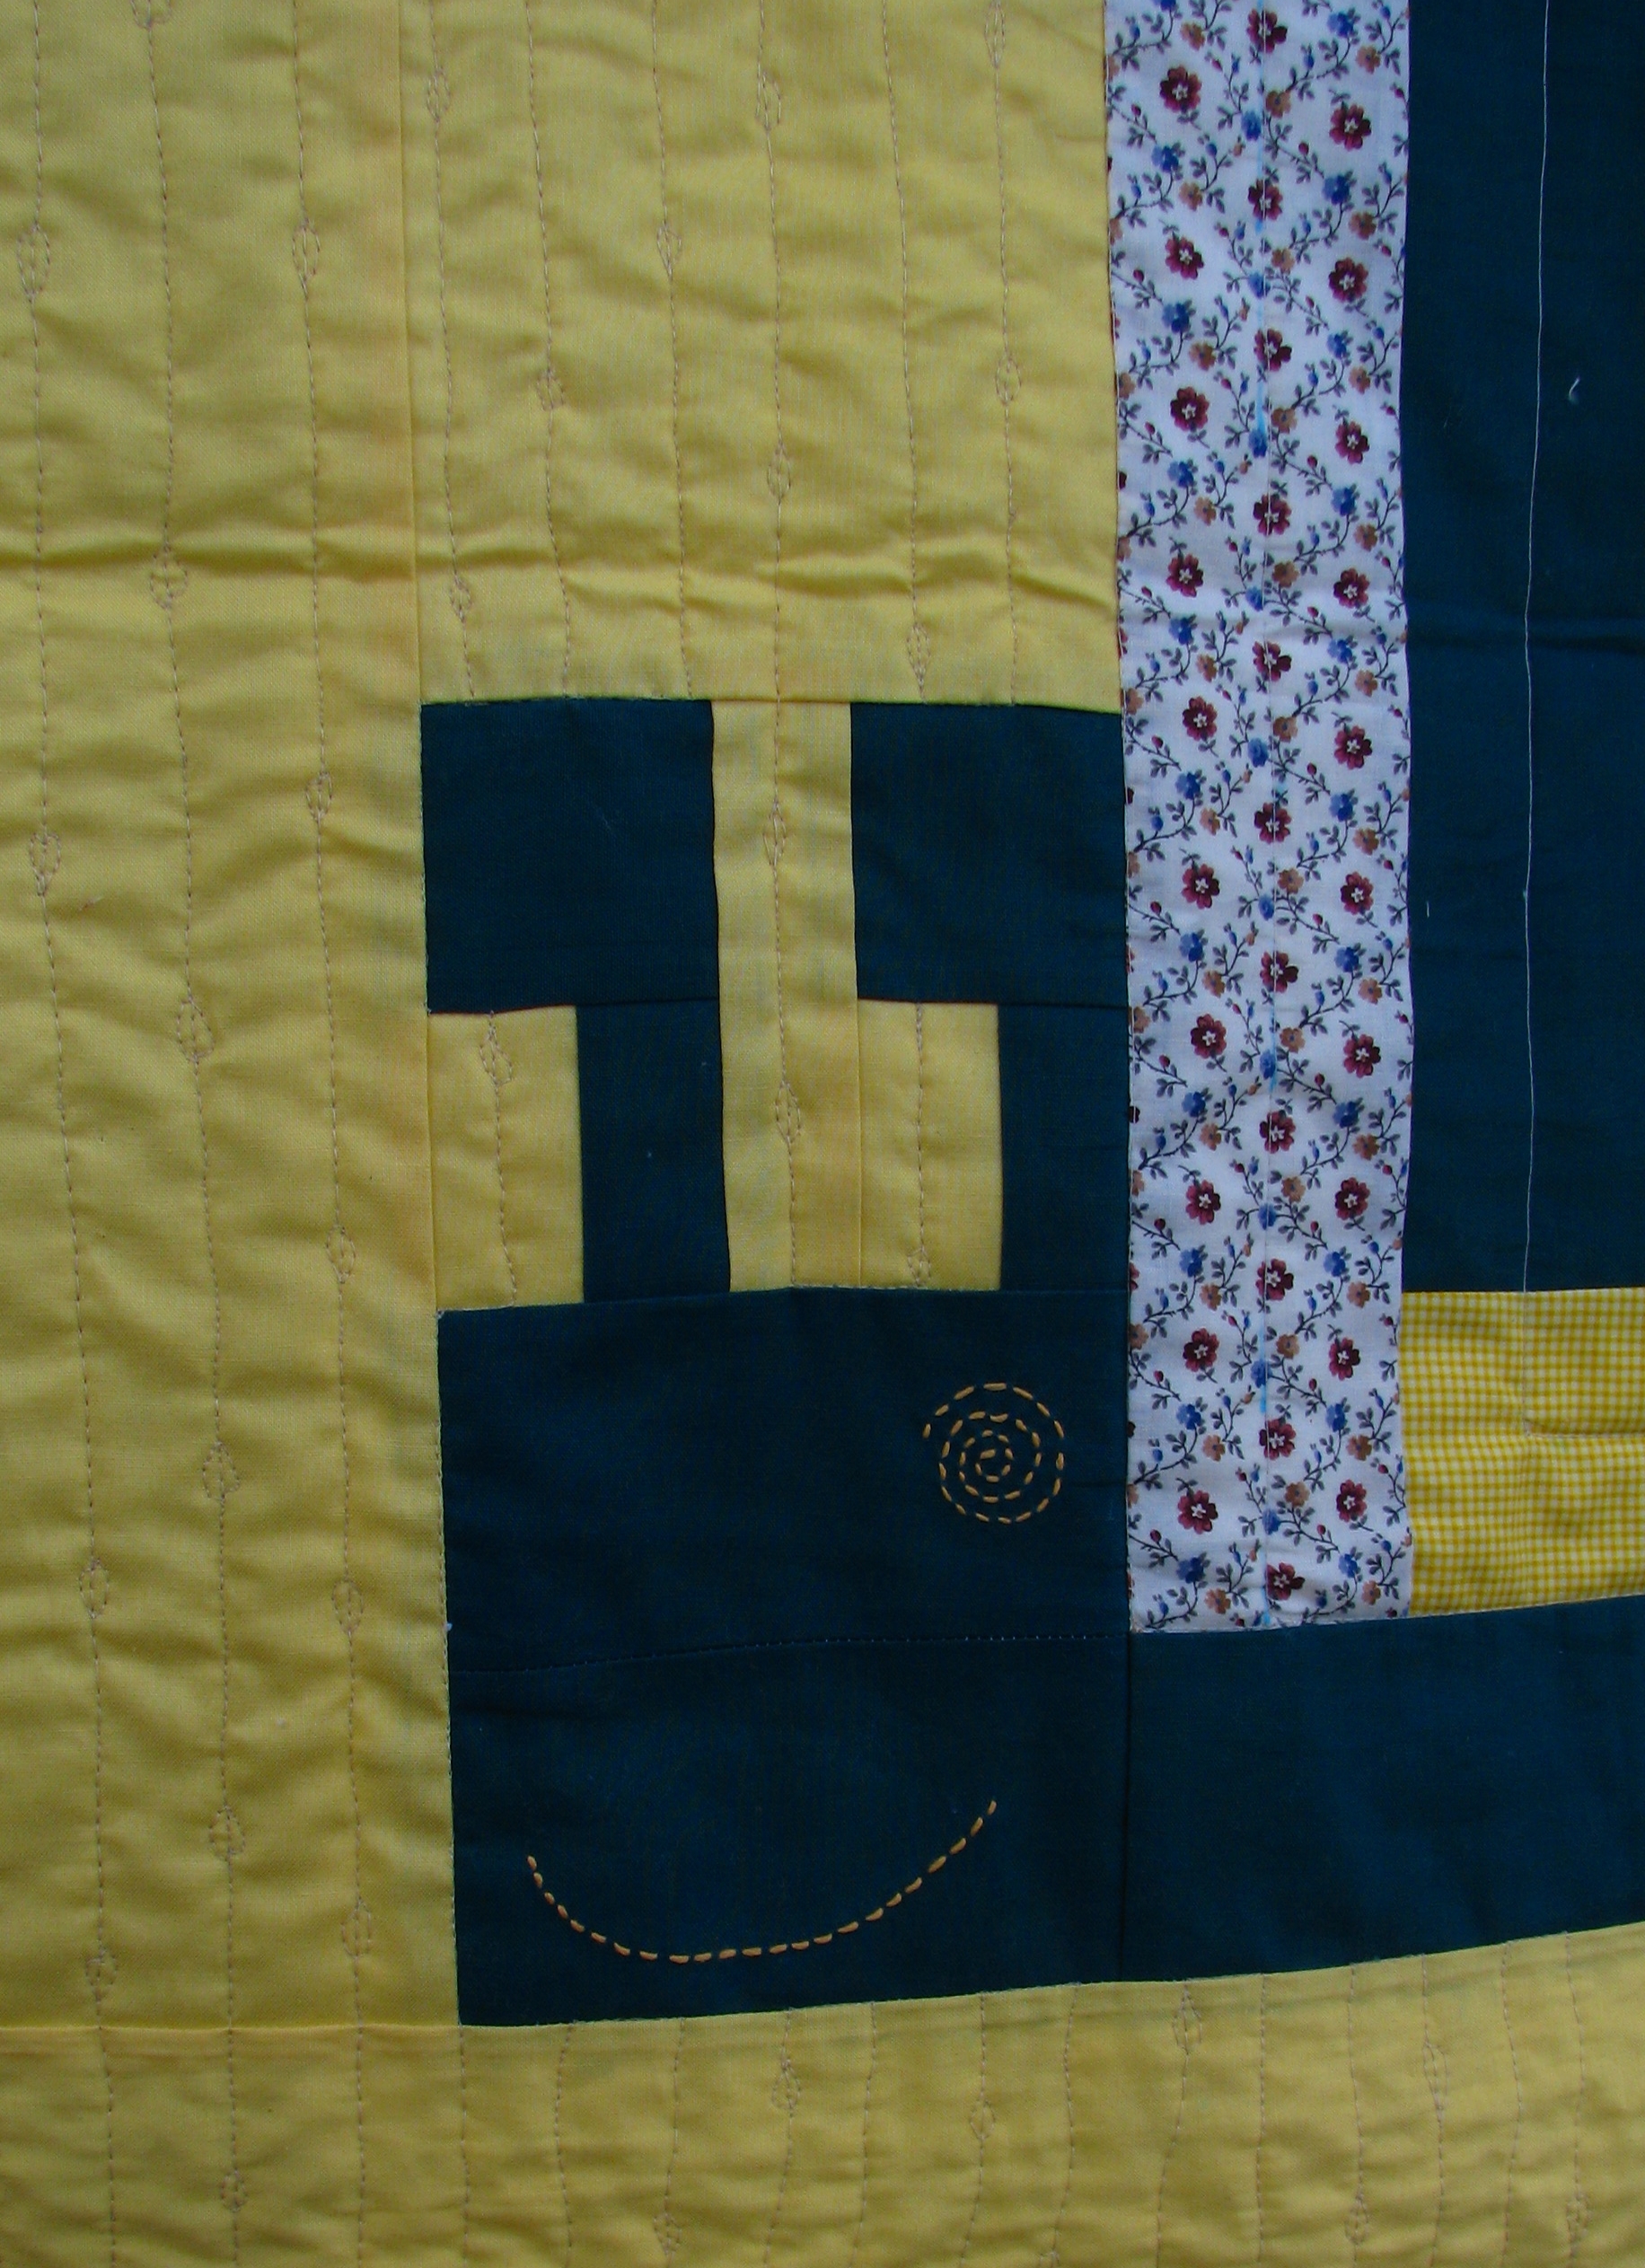
Other quilters who have made this quilt also have different ways to create Pokey's face. Here I have hand stitched it in orange perle cotton threads for the eye and smiles but I think raw edge applique will also work here. 


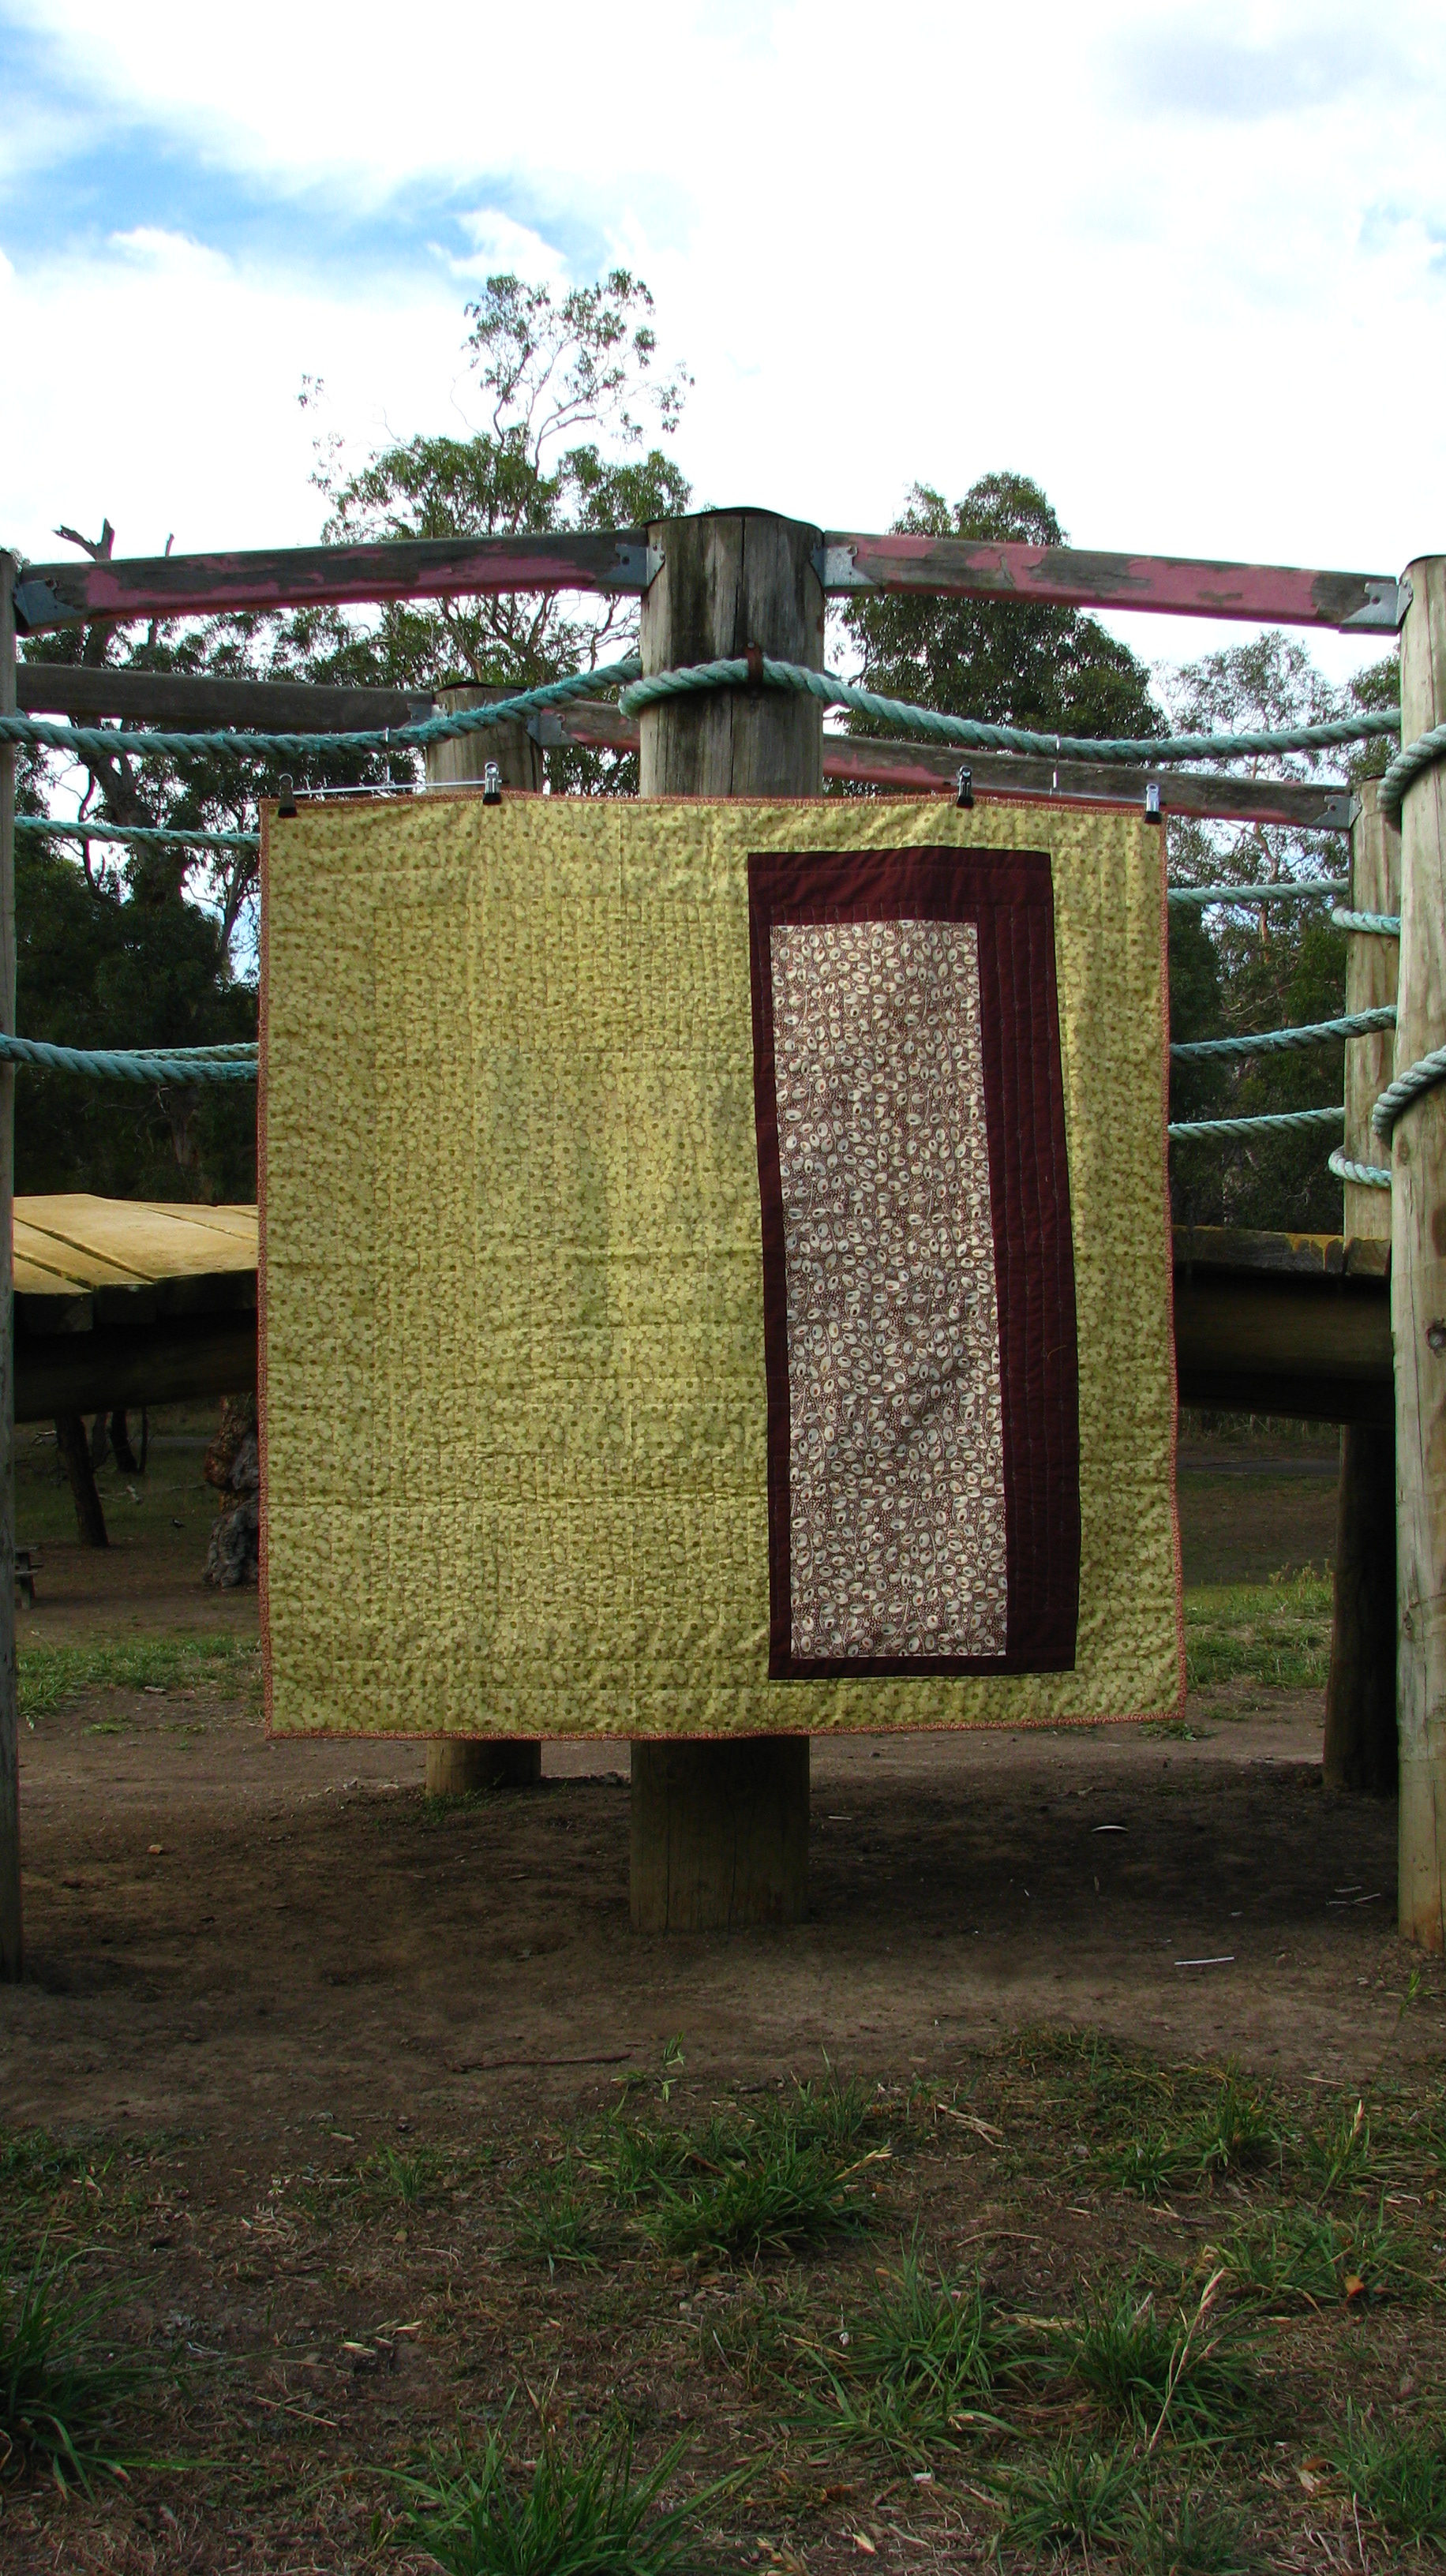
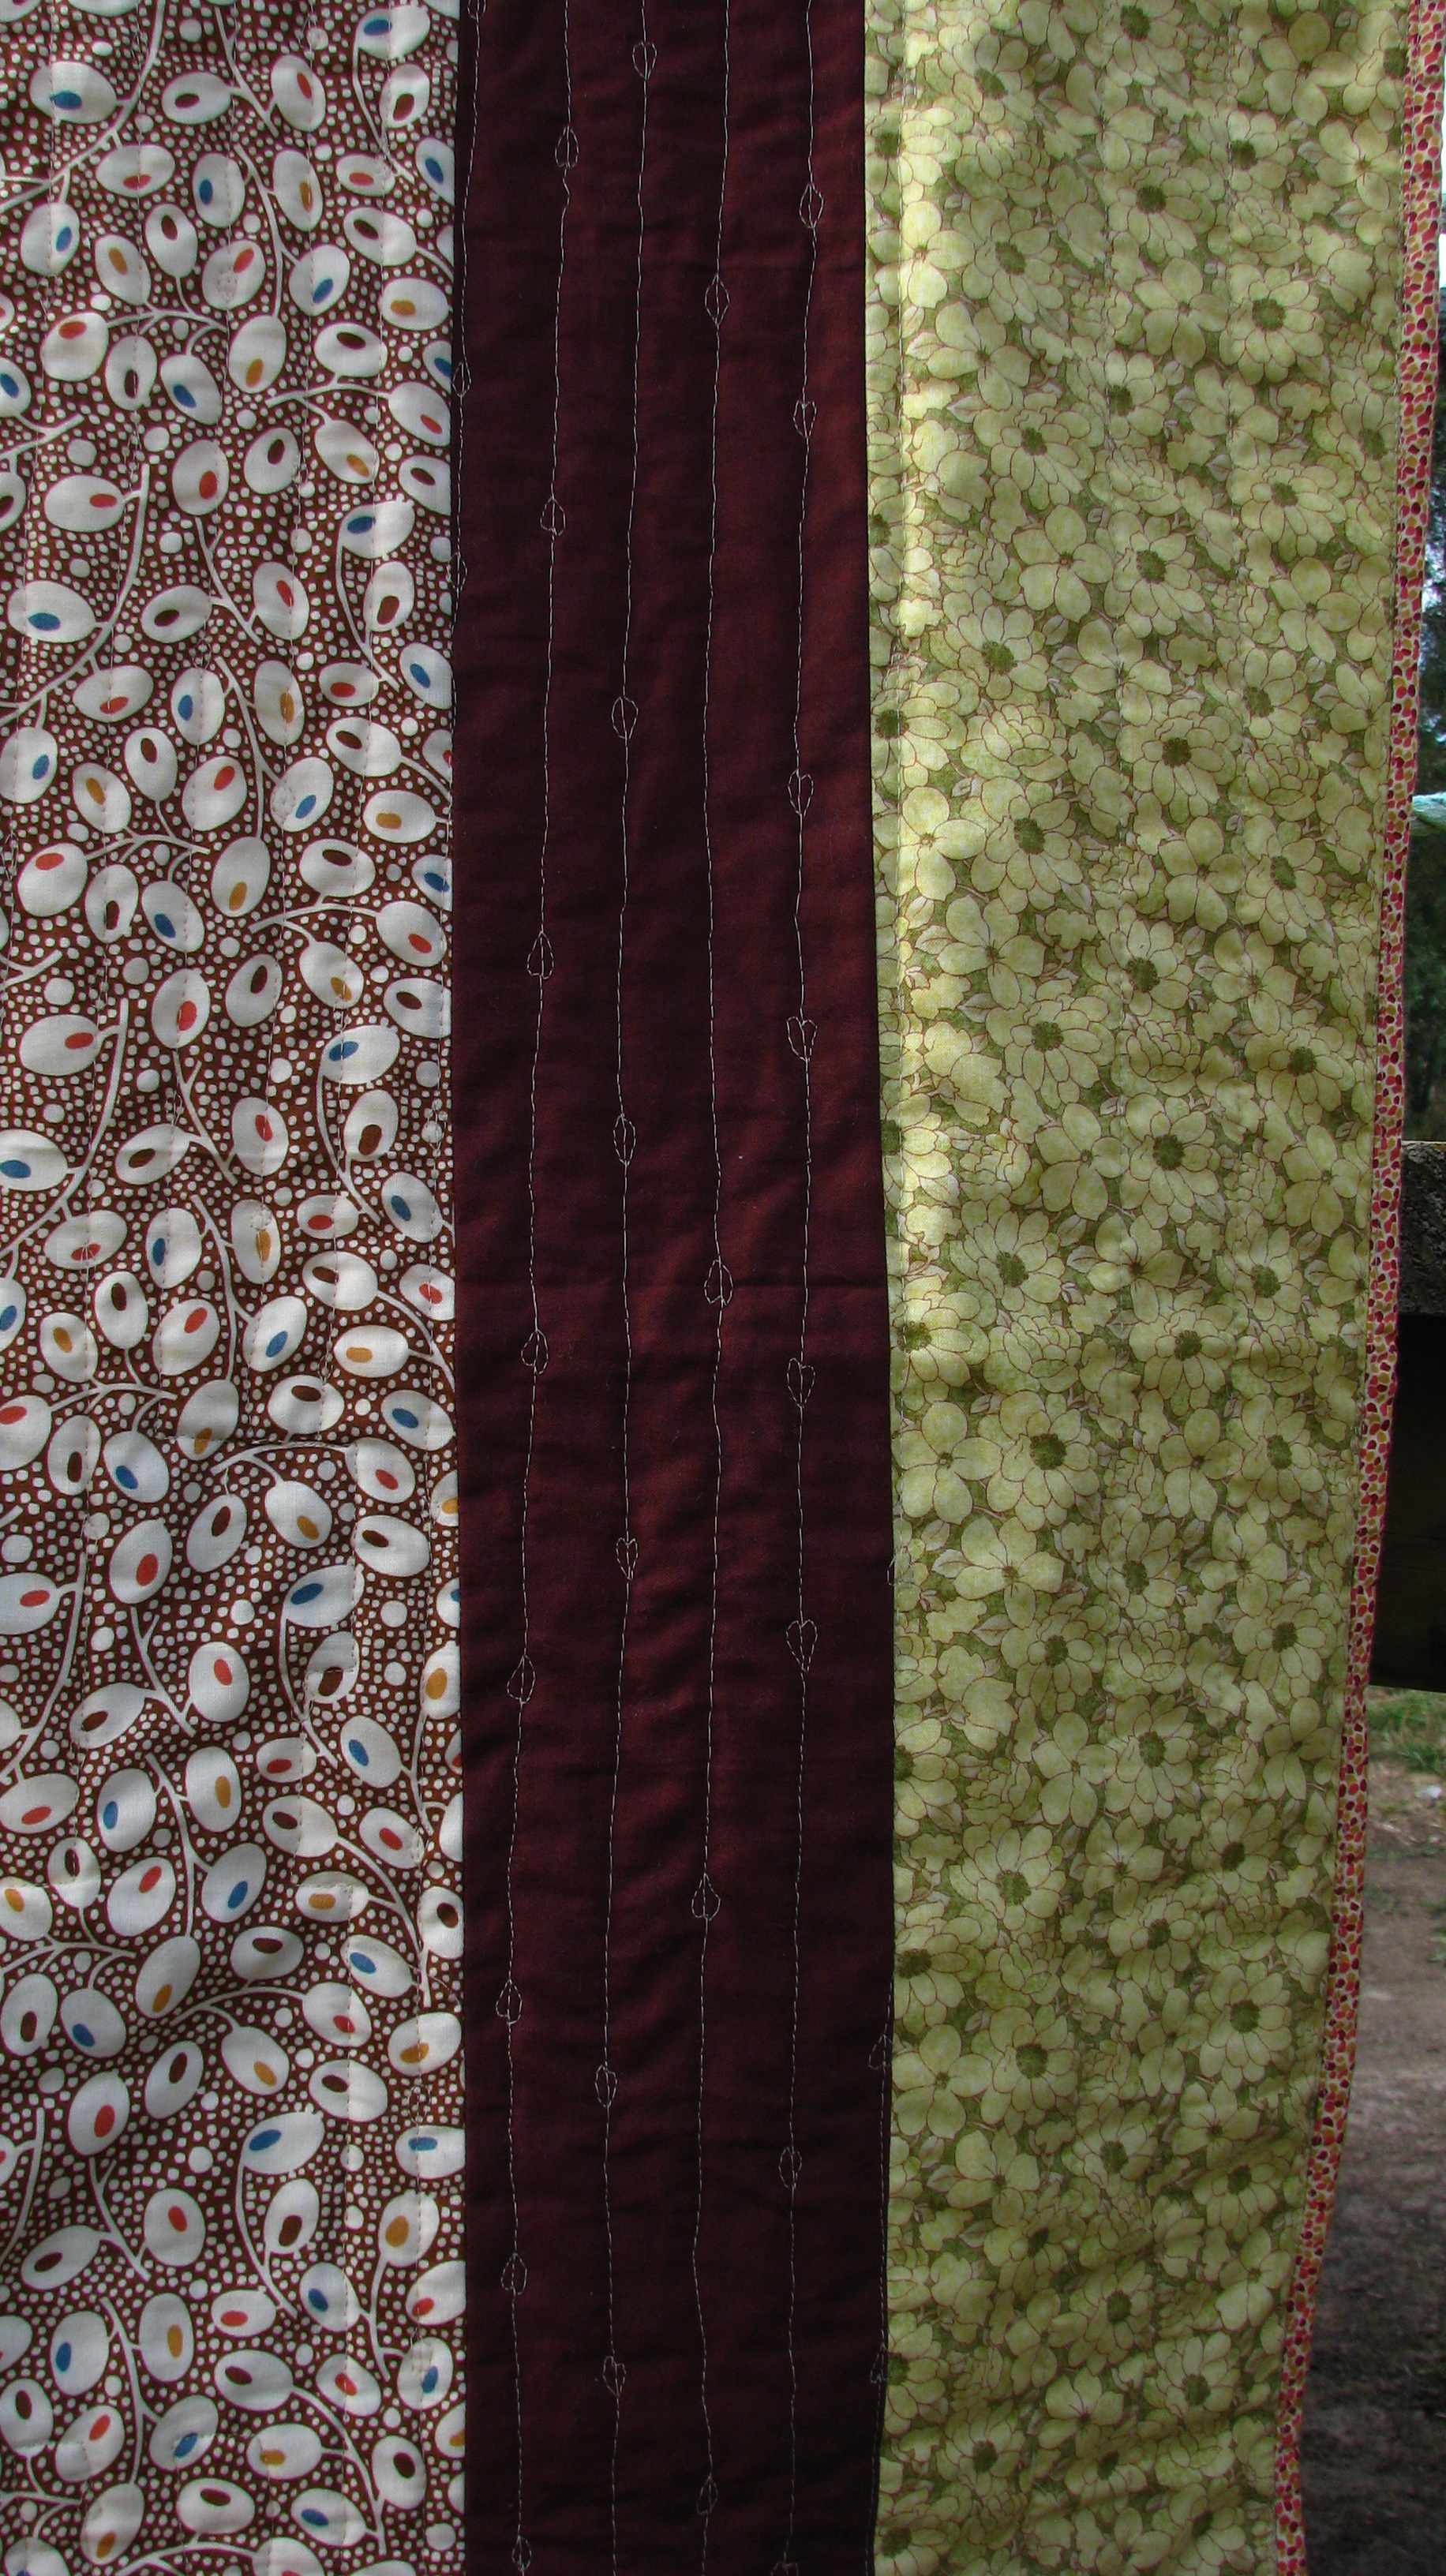
The backing of the quilt is another challenge that I enjoy a lot and I hope I have done this quilt justice. I do prefer the front and the back of my quilt work cohesively in terms of its theme, colour schemes and shape. For this quilt I have chosen green floral and brown leafy prints. I alsouse brown solid to differentiate the two prints while echoing the log cabin design of the snail.


The inspiration for my free motion quilting came from Christina Cameli's leafy lines quilting design. I have loosely spaced each leafy line and quilted each leaf at random intervals. I think it's fitting for this quilt as it reminds me of the snails climbing up a leaf.

It is a beautiful design and easy to do even for beginners. I highly recommend you to click the link above to take a look Christina's original design.


Last step is to give this quilt a good wash before I wrap it up and ready for gifting. I do prefer to wash my quilt before giving it away, especially baby quilts, so they are ready-to-use when they reach their final destination.  


Thank you for visiting!
Erica.


Tuesday, 31 March 2015

Baby Star Quilt (a.k.a. “Happy Birth Day, Baby” Mystery Quilt)

When I started making quilts I was really into making baby quilts, for the obvious reason of its size as it is easier for me to sew. As my son grow older, he gets a newer and larger quilts every couple of years. It became my little mission to make and sew baby/children's quilt as I think every child should have their own little unique quilt to cuddle with, and to celebrate their lives. This quilt is just that, my surprise birthday present to my son's classmates's little brother who is about to turn 1. He is absolutely adorable!! When we pick up our kids from school I would often chat to him and he would smile and tries to talk back to me by making different sounds. His gorgeous smile is just enough to make you melt!

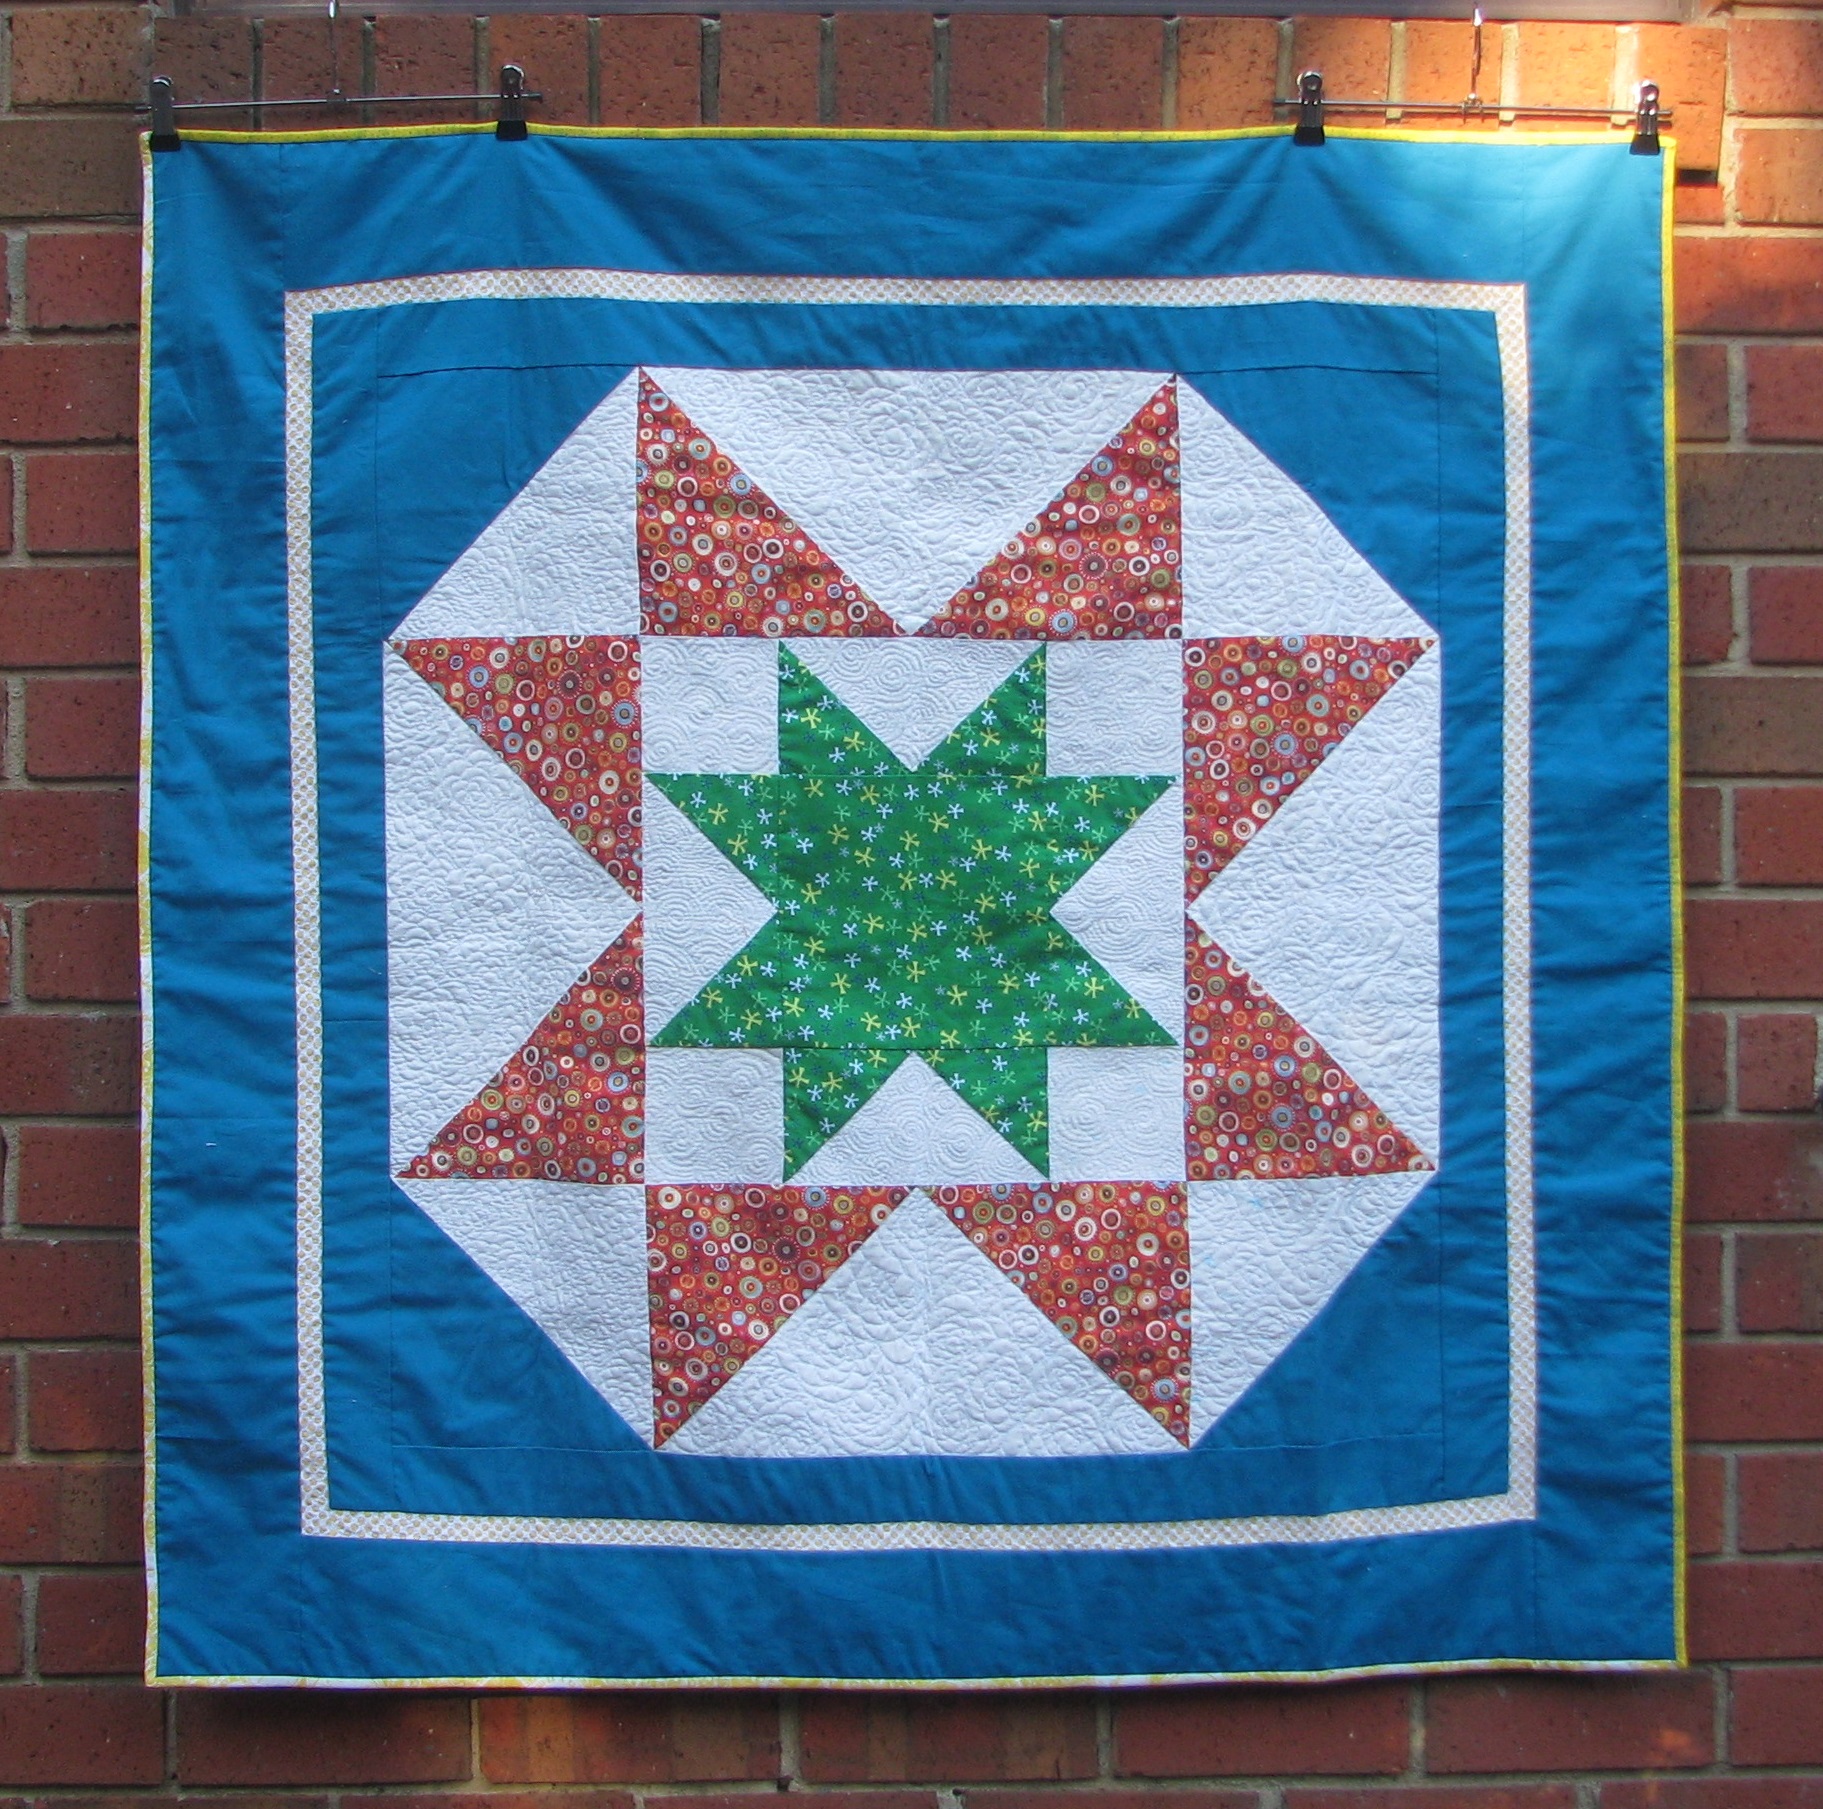
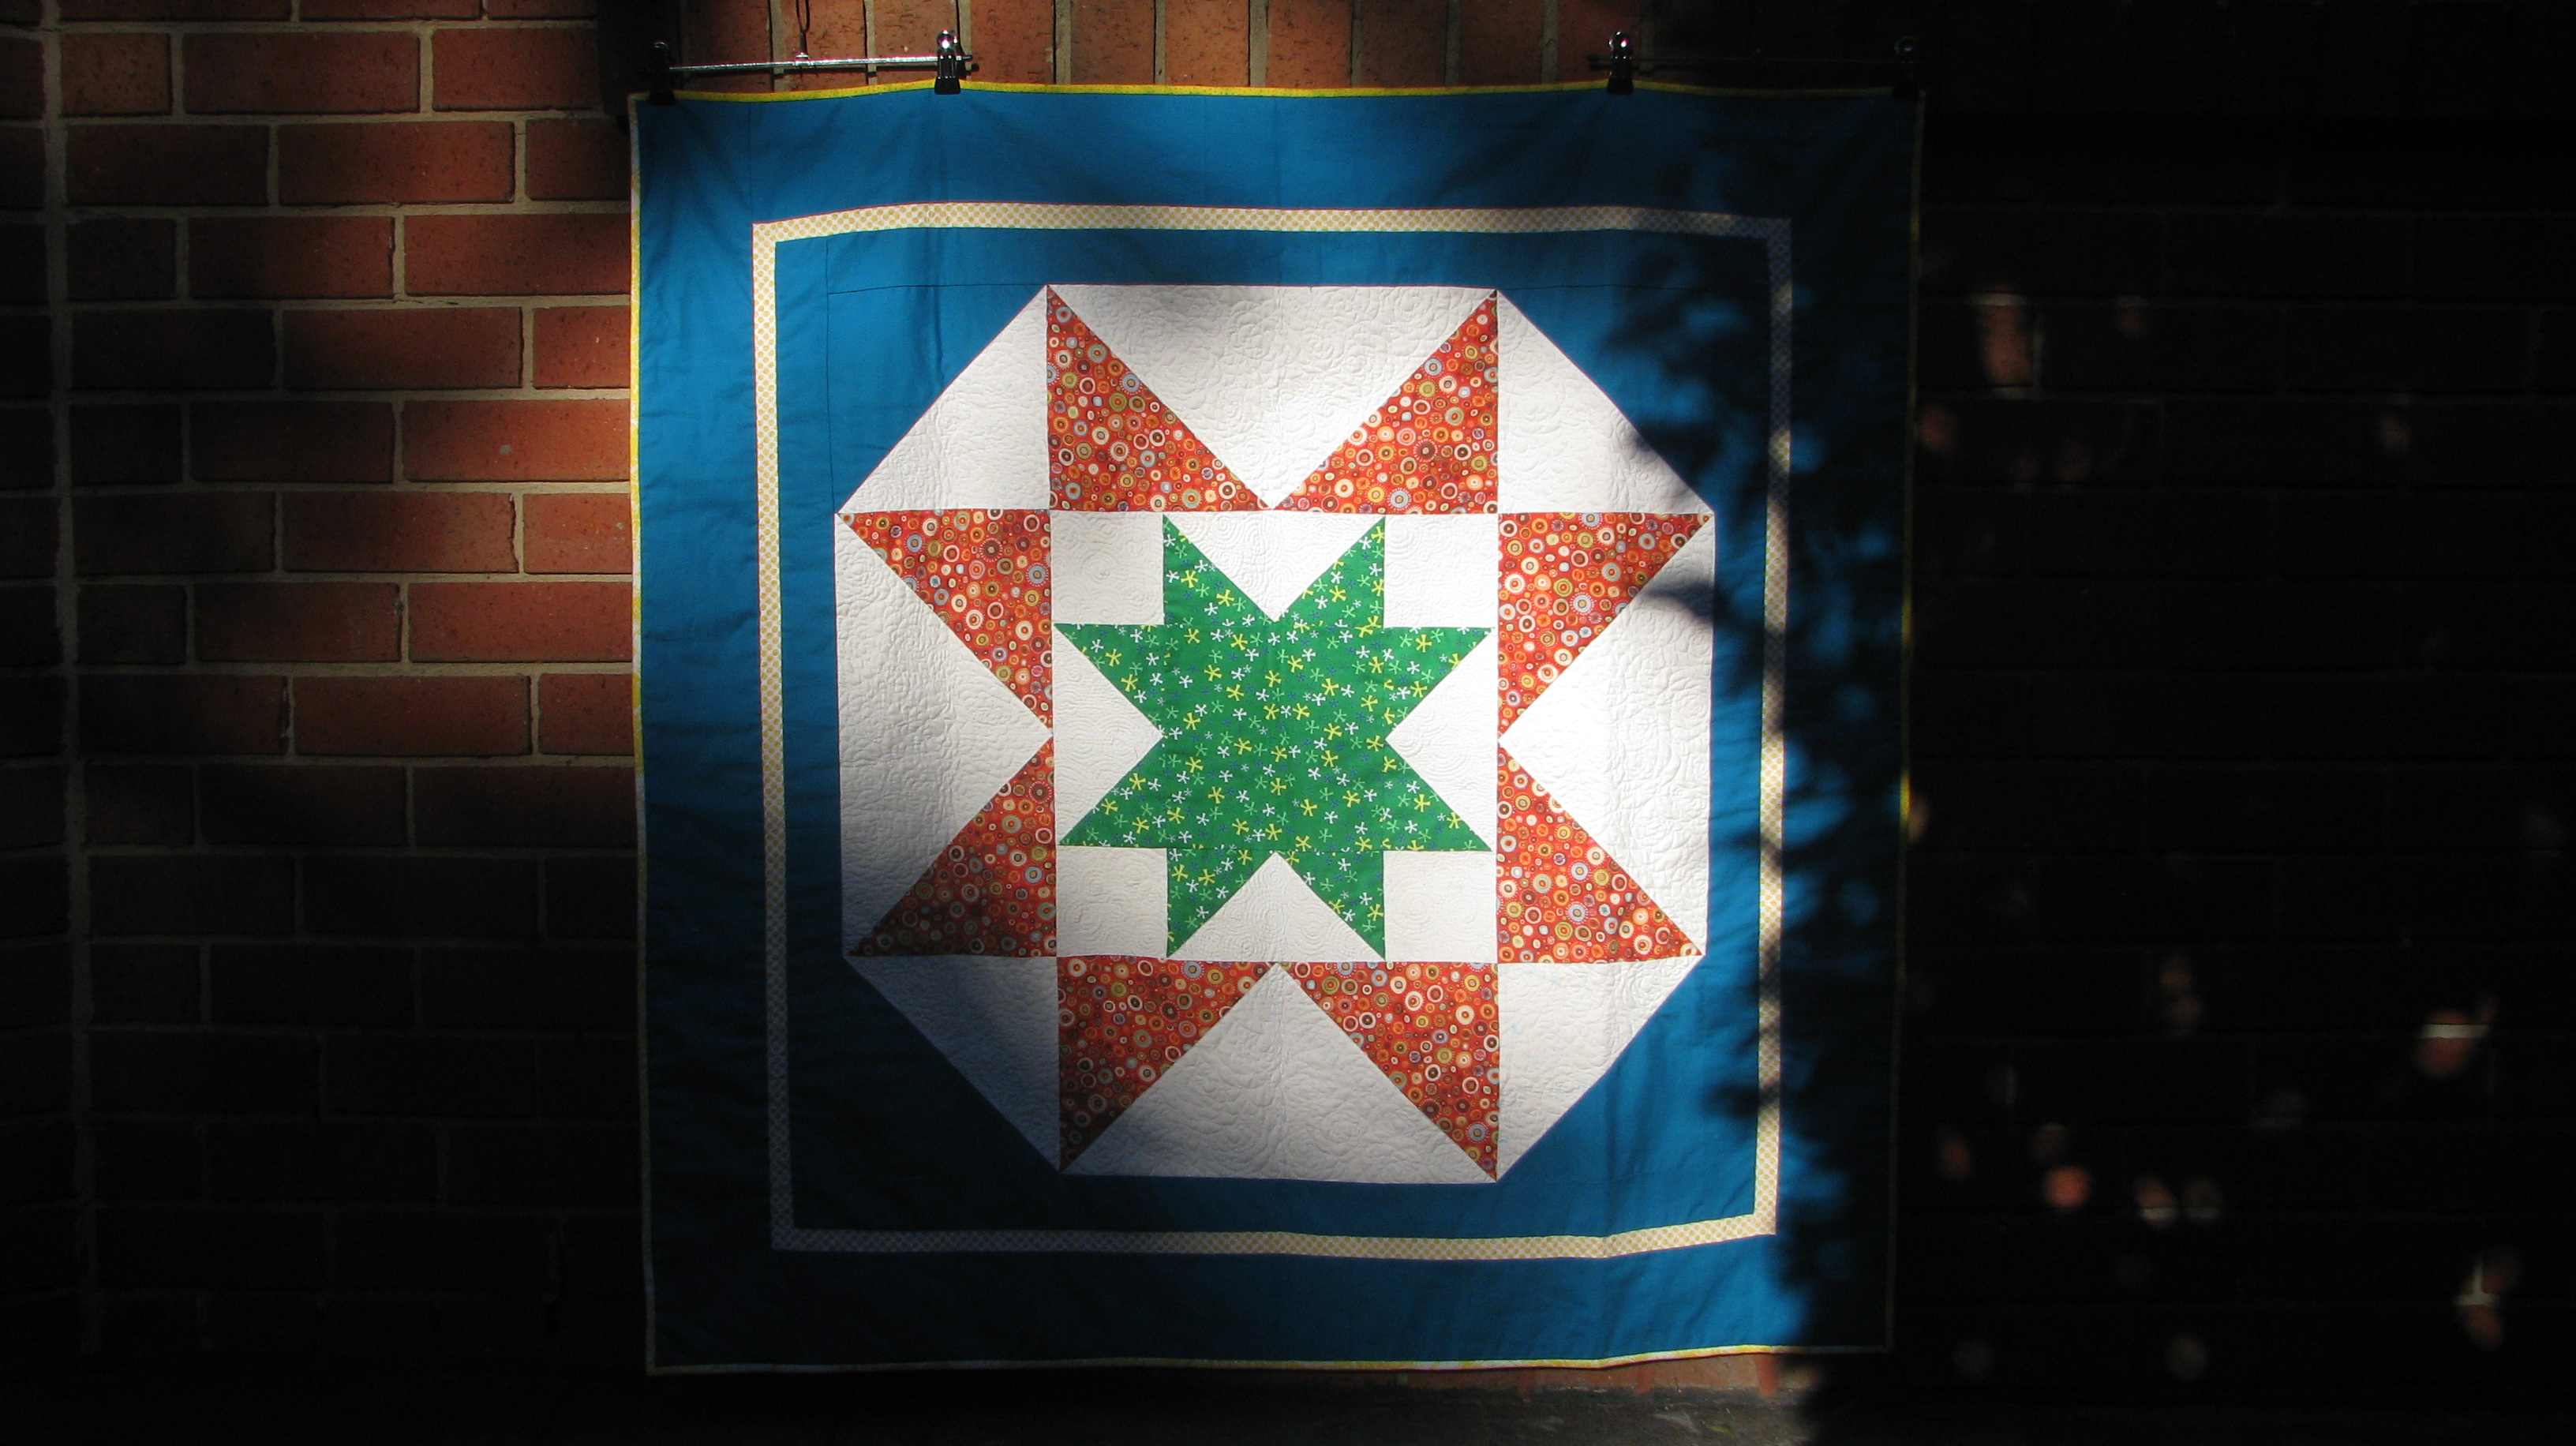
So I saw this quilt from Rachel's blog which lead me to the pattern. Coincidentally this pattern is called “Happy Birth Day, Baby Quilt" and without hesitation I went ahead and made it with a slight variation.

I add additional borders to frame the stars as I think it looks better for my quilt, braking up the solid dark teal with a 3/4 inch yellow border. 


I also had fun trying out free motion quilting on this quilt. I used Angela Walter's swirls and flower technique in the white negative space; and Lori Kennedy's "sand dollar" motif for the yellow border. Angela Walters' Craftsy class is really useful (my go-to lesson for FMQ), and there are so many techniques and patterns that are great for negative space quilting.

On the back you can get a clear look of the patterns where the solid strip is. It works like a treat adding another interest to the back of the quilt. I really like this and next time I might use only solid fabric for the backing so the FMQ patterns could stand out further.    


This is my last photo shot for the day, as the sun is about to go down. This is a simple and easy quilt to piece with many options to try out free motion quilt in the negative spaces.

I hope my receiver will enjoy this quilt! 


Now I am going to wash it before I wrap it up!

Cheers,
Erica
    

Thursday, 19 February 2015

I am back!! and with Charm Pack Cherry Quilt.

6 months ago I have decided to go back to school to study early childhood education. I really wasn't sure what to expect as the last time I actually studied was back in my early twenties. There were lots of assignments and many late night but to my surprise I was actually enjoying learning and making new friends young and old. But in order to concentrate on my studies I also decided to stop quilting until I finish my course and leave my blog for the past months.

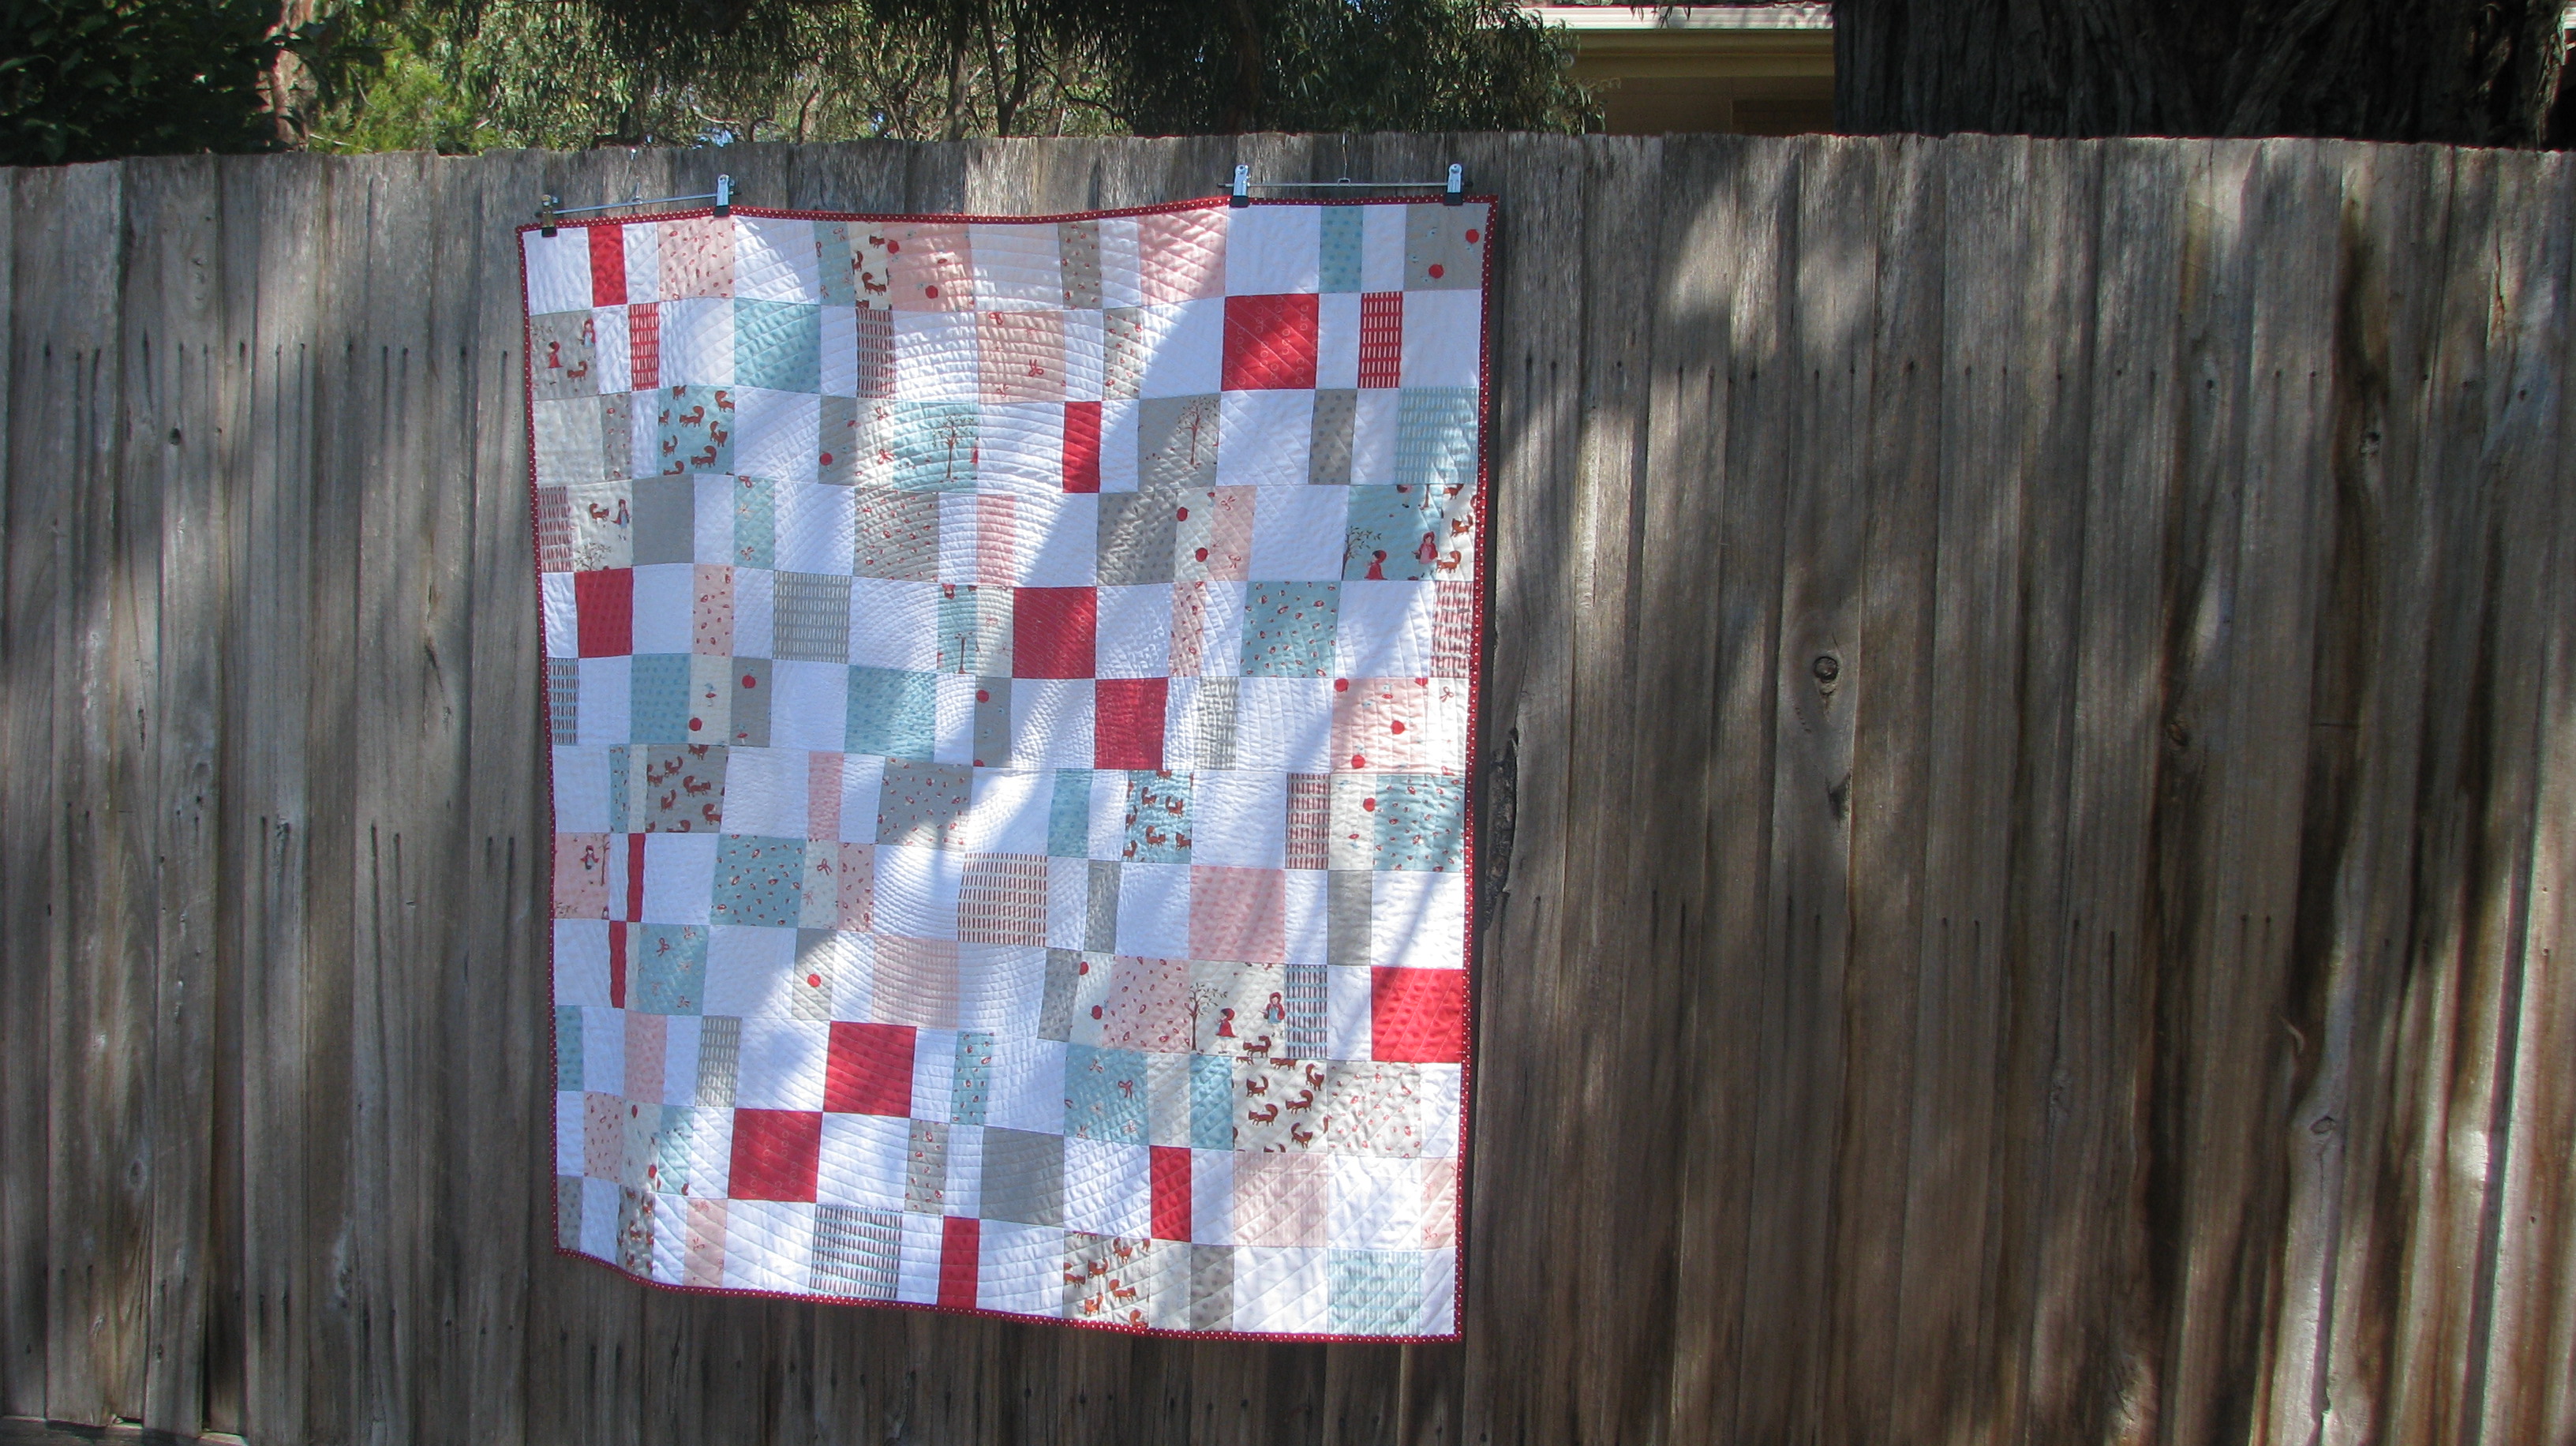
To get back into my 'quilting mood' I thought of starting a new but small project --- and this is where Charm Pack Cherry Quilt came about. The pattern is free and it can be found at Fat Quarter Shop. As suggested by the name of this quilt it is charm pack friendly, where you require 2 of each print and solid charm packs. 


As for the quilting I was inspired by Jacquie Gering's Craftsy class, "Creative quilting with your walking foot". Instinctively I knew I wanted to quilt it with continuous circle design. I think it worked well and I love how the circles create a second textural movement to the quilt.


I started with a quarter inch spacing and slowing extend the spacing to 1/2 inch; 1 inch and about 1 and 1/2 inches as it gets closer to the edge of the quilt, giving it a rippling effect. I had fun quilting it and I love the texture when I ran my hands across the quilt!


Now it is ready to meet its new own, a little angel who is expected to arrive in April!

Cheers,
Erica
Tuesday, 22 April 2014

Double sided quilt --- Monsterz number 2.

I have a soft spot for children's illustration print. My favourite is Sarah's from Sarah Jane Studio but I also love this Monsterz collection from Cloud 9.


It's an old collection, but it's beautiful! Previously I used this collection and made a quilt with the intention of leaving out the pink fabrics to make it a gender neutral quilt. But this time I slice up the picks and made it double sided.

Much of the April weather in Melbourne is rain and grey sky. I tried to snap some shots on one of the few sunny days we have and much was unsuccessful, especially the colour in this quilt is really soft with some low volume. But we really needed the rain; it’s so nice to see the grass in my backyard turned into green, but more so for the Australian farmers who have been suffered from drought.

So I tried my luck indoor, with a nice ray of sun from my window. This time it’s better and best of all you don’t have to worry about the wind.
  

On one side I cut up my lovely fabrics into 5 inch tumblers and had a blast playing with the layout. I took the next shot upside down by accident but it's also interesting.


The inspiration on the other side of this quilt came from Elizabeth's (of Oh, Fransson!) charm square baby quilt pattern. It's a very simple but effective way to showcase those cute monsters print. This is a free pattern downloadable from Elizabeth. It's a great pattern to whip up as a last minute baby gift using charm pack, layer cake or any fabric that you just don't want to cut it down to small bits!


Now it's all rolled up and ready to find a nice home!

Thank you for stopping by!

Erica.

Thursday, 6 March 2014

Pile of Sheep Quilt.

When I began my quilting journey 4 years ago I was amazed by Kellie Wulfsohn's (from Don't look now!) applique skill and her densely quilted background to make the applique stand out. So I wanted to gave it a try, but I didn't even realise that I do not have the correct sewing foot nor skill set to complete it. So the quilt top sat in my cupboard for the past years until now.


The pattern of the sheep came from the book Quilts, Bibs, Blankies...Oh My! by Kim Schaefer. It was patterned for growth chart but it works equally well on a quilt. I use Lite Steam-A-Seam 2 fusible web for the sheep, flower and butterflies to hold the shape in place. It's light and very easy to use. It also stops the fabrics from fraying while I was playing around positioning the objects onto the quilt. 


To be able to finish this quilt is a little triumph for me to become a more confident quilter. Taking Angela Walter's Craftsy lesson on free motion quilting negative spaces really help me achieve the skill to complete this quilt. It's not so scary anymore! Rather it's quite fun actually.

Thank you for stopping by. 

Cheers, Erica 
Monday, 27 January 2014

Tribute Star Quilt.

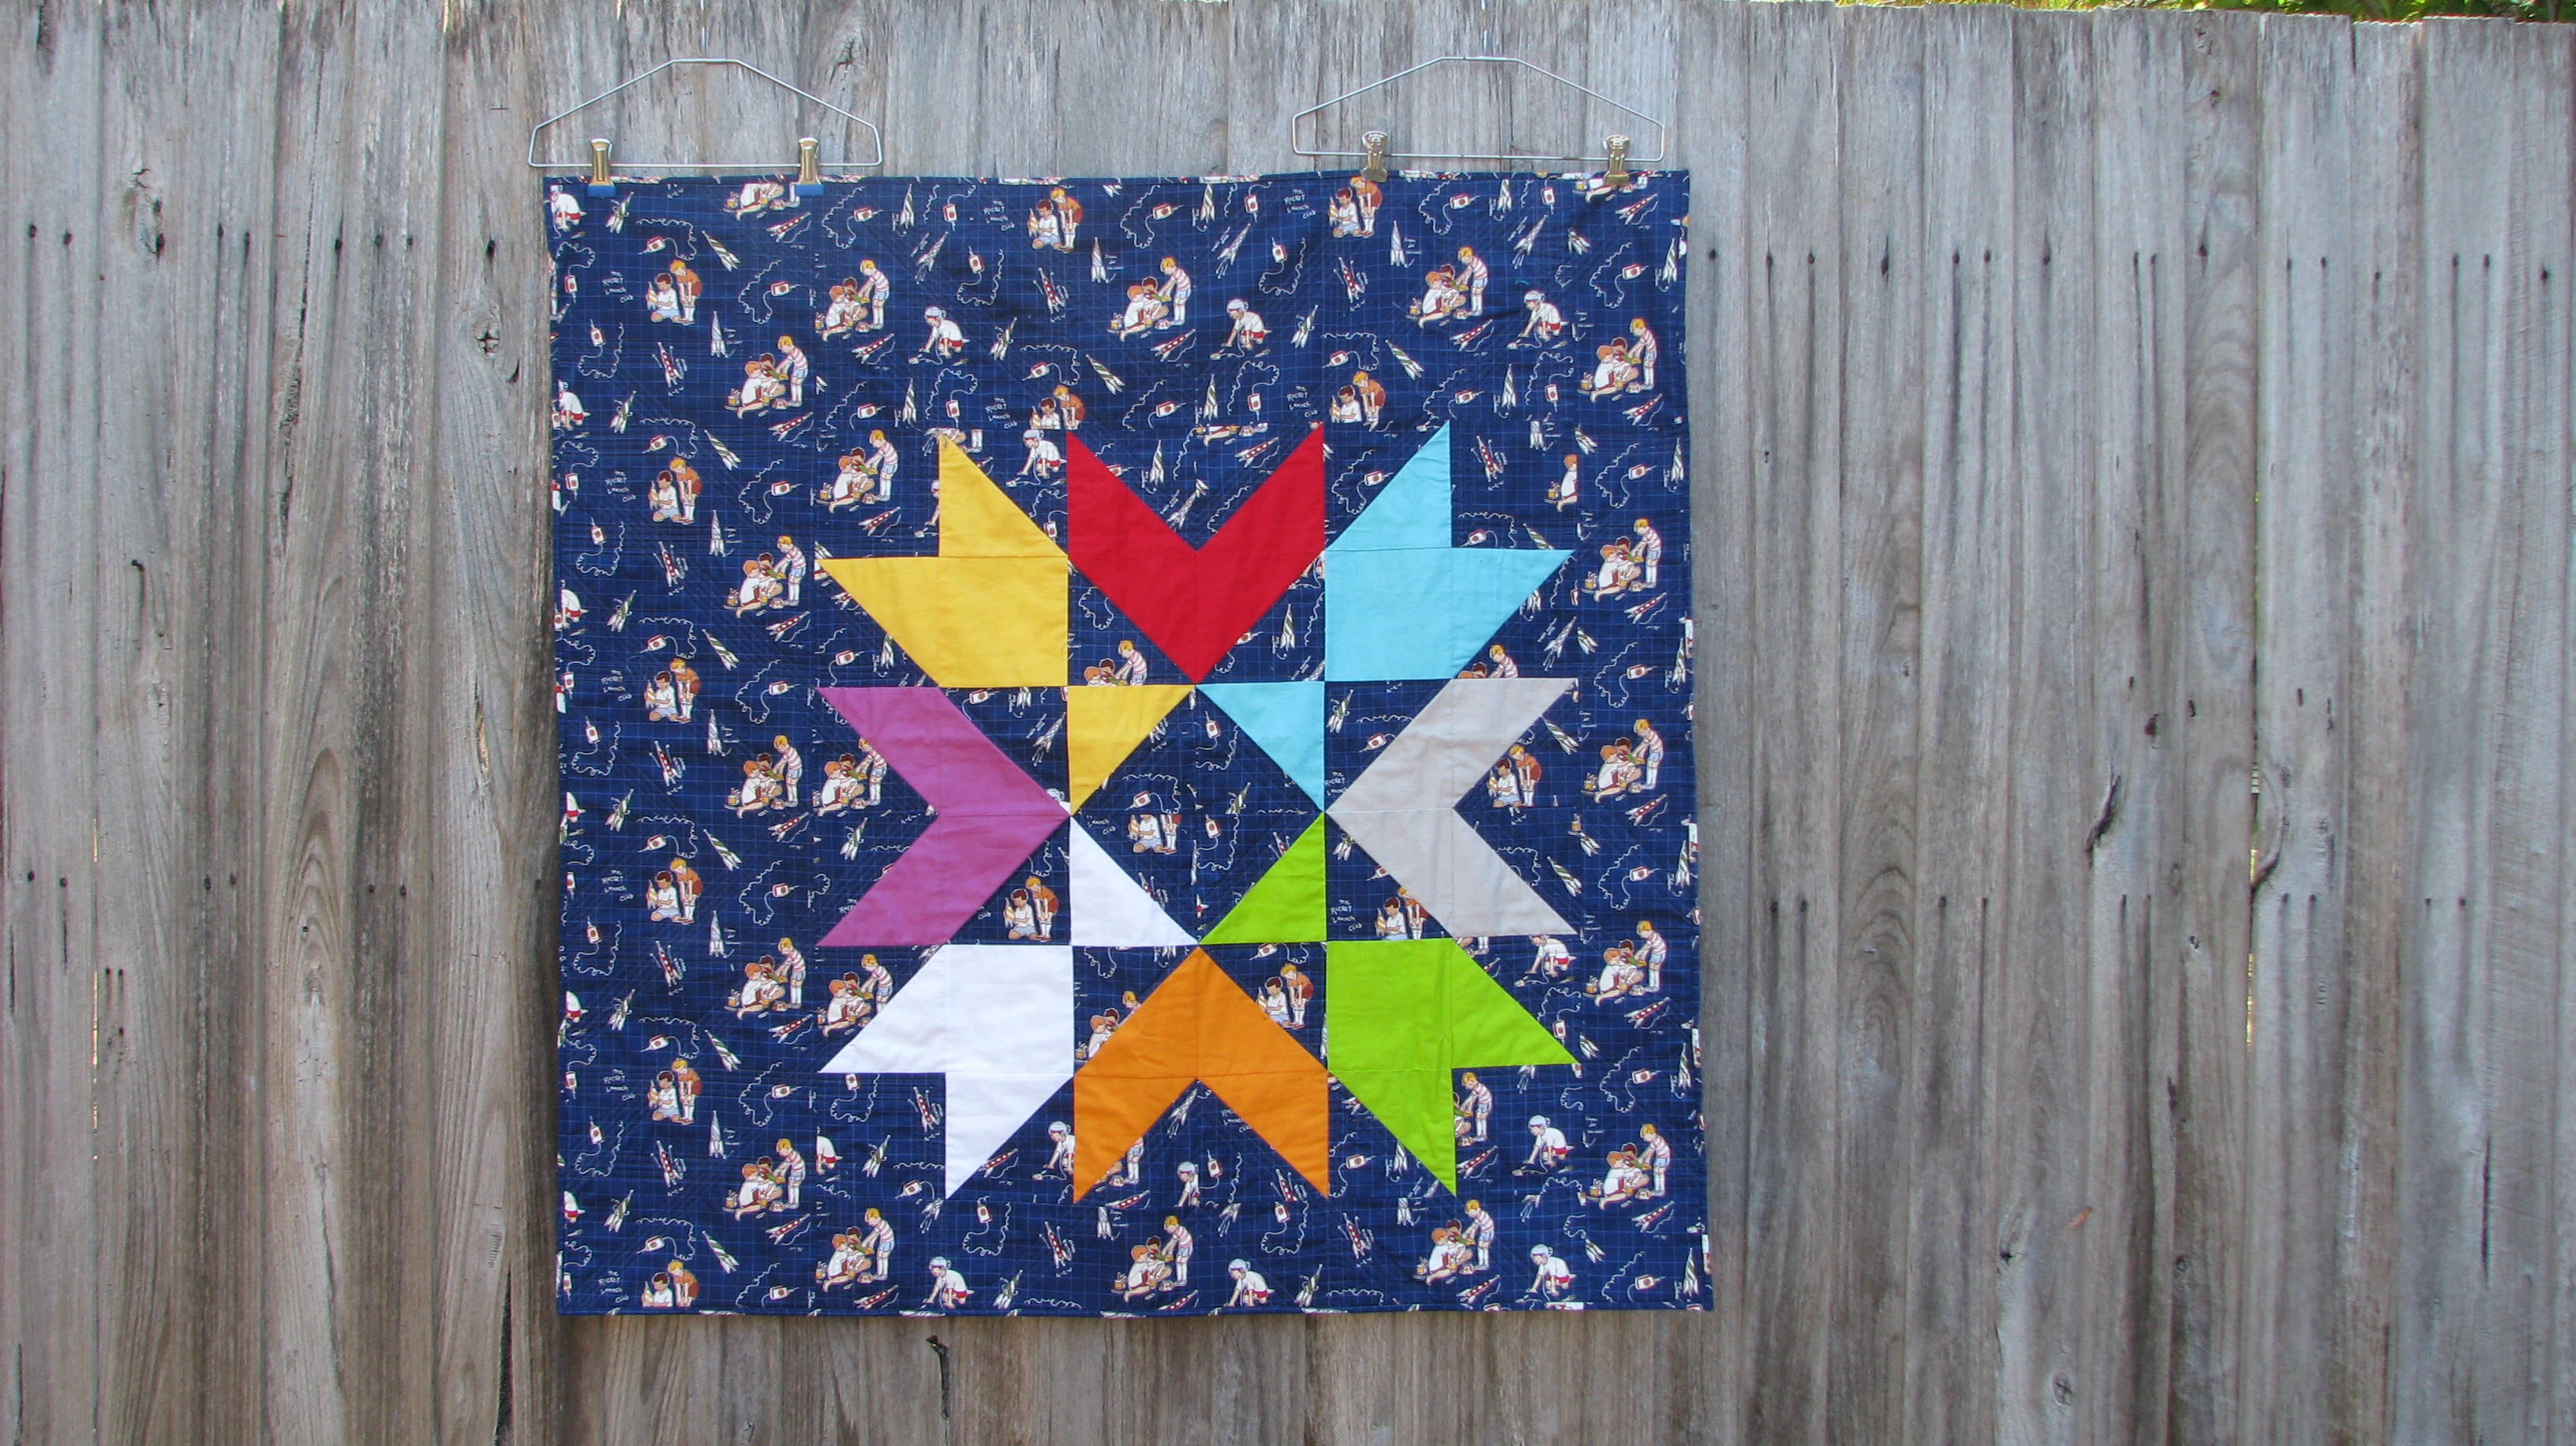
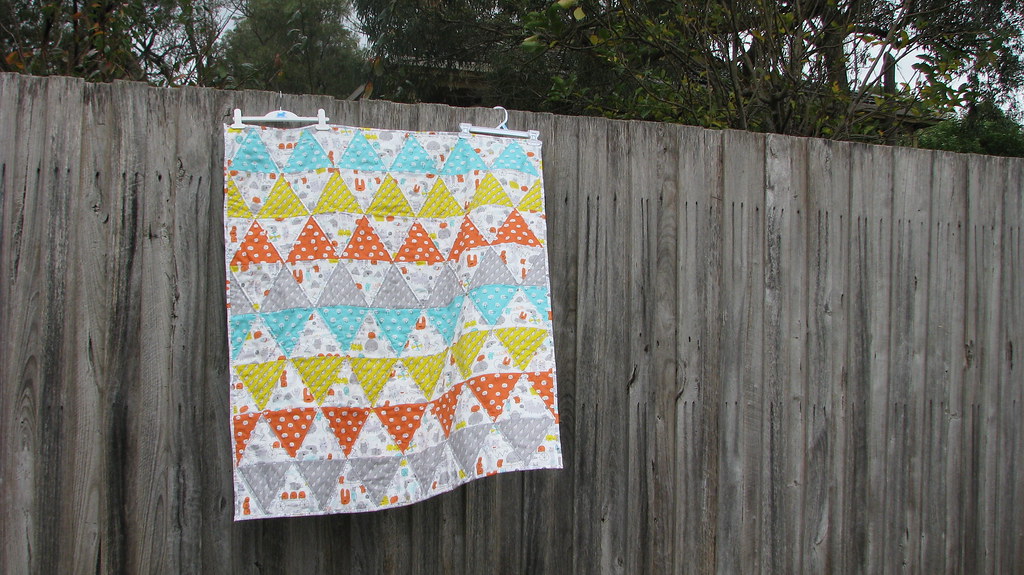
I first came across this pattern from a post in my guild, the Melbourne Modern Quilt Guild. I felt in love with it instantly and it has been on my mind since. It is a free pattern designed by Becca Bryan of Bryan House Quilt, using Denyse Schmidt's fabric line Florence. I love the simplicity of it and yet it produce a stunning result.
I have kept the 'star' in its original size but altered the border as this is going to be a baby quilt. The final quilt is approx. 40 by 41 inches, using Sarah Jane's fabric that I have kept for something special. 


As for quilting the quilt, I follow and extend the outline of the star with straight line quilting. The lines looks like arrows pointing towards the star, drawing the eyes to the focus of this quilt. 


If you have a chance, do check out Becca Bryan's quilting on this quilt. Her free form quilting is simply brilliant and creating a flow of line movement that really adds dimension to the solid background.

Thank you for stopping by!

Sunday, 19 May 2013

Monsterz baby quilt.

Recently I have been told of a great news and that is my friend is pregnant. Although the baby is expecting to arrive in October I am already eager to make baby quilts. Since we also don't know the sex of the baby I want to make quilts that are suitable for both sexes.

I use Cloud 9 Fabric - Monsterz designed by Michele Brummer-Everett. It's one of my favourite fabric line for children, and I just love the illustrations of those little cute monsters!


Monday, 15 April 2013

Start from the beginning...


To start a blog (or a quilting journal) have been on my mind for a while, but I have been putting it off for months --- just not sure where to start. Then I thought let's just start from the beginning, or rather the beginning of this year where I took my first quilting class.

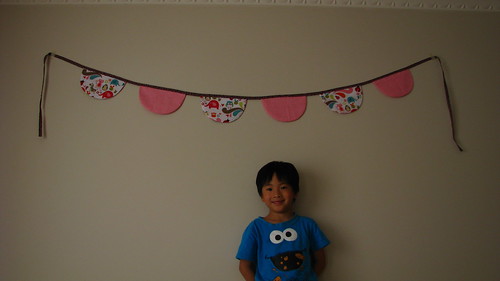
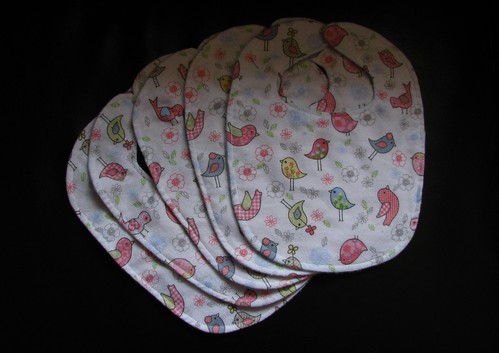
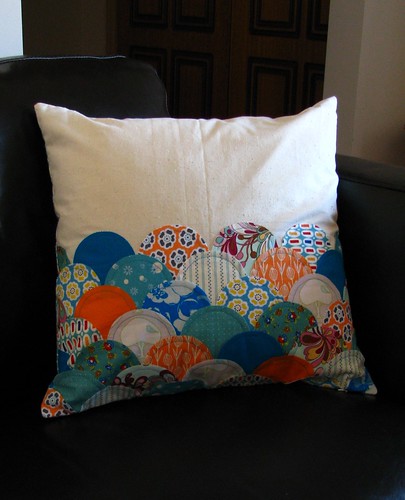
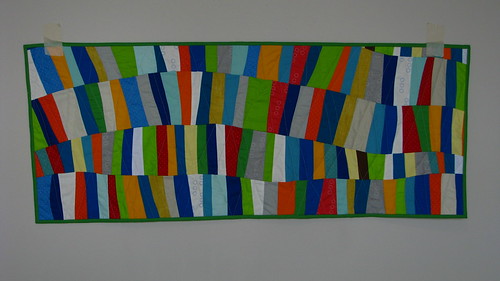
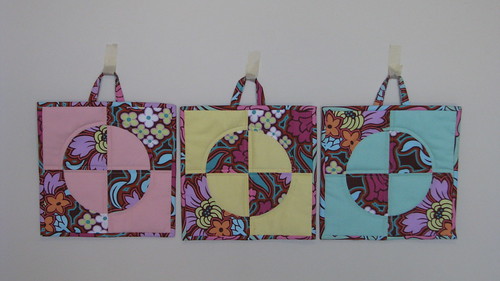
So rewind to January I took a Curve Class with Rachel from Stitched in Color. I have been following Rachel's blog for quite some time. Apart from making modern quilts she's also very crafty in making all sorts of sewing projects. As you can see not only we learned how to make quilts in our Curve Class she also taught us how to make buntings, bibs, cards, floor mat and hot pot holder. It was not only fun but I learn so much about sewing curves.


It is additive to make theses baby bibs, and rather easy, once you know how!

This would be a perfect present for my son's carer from child care.


Another great gift idea!


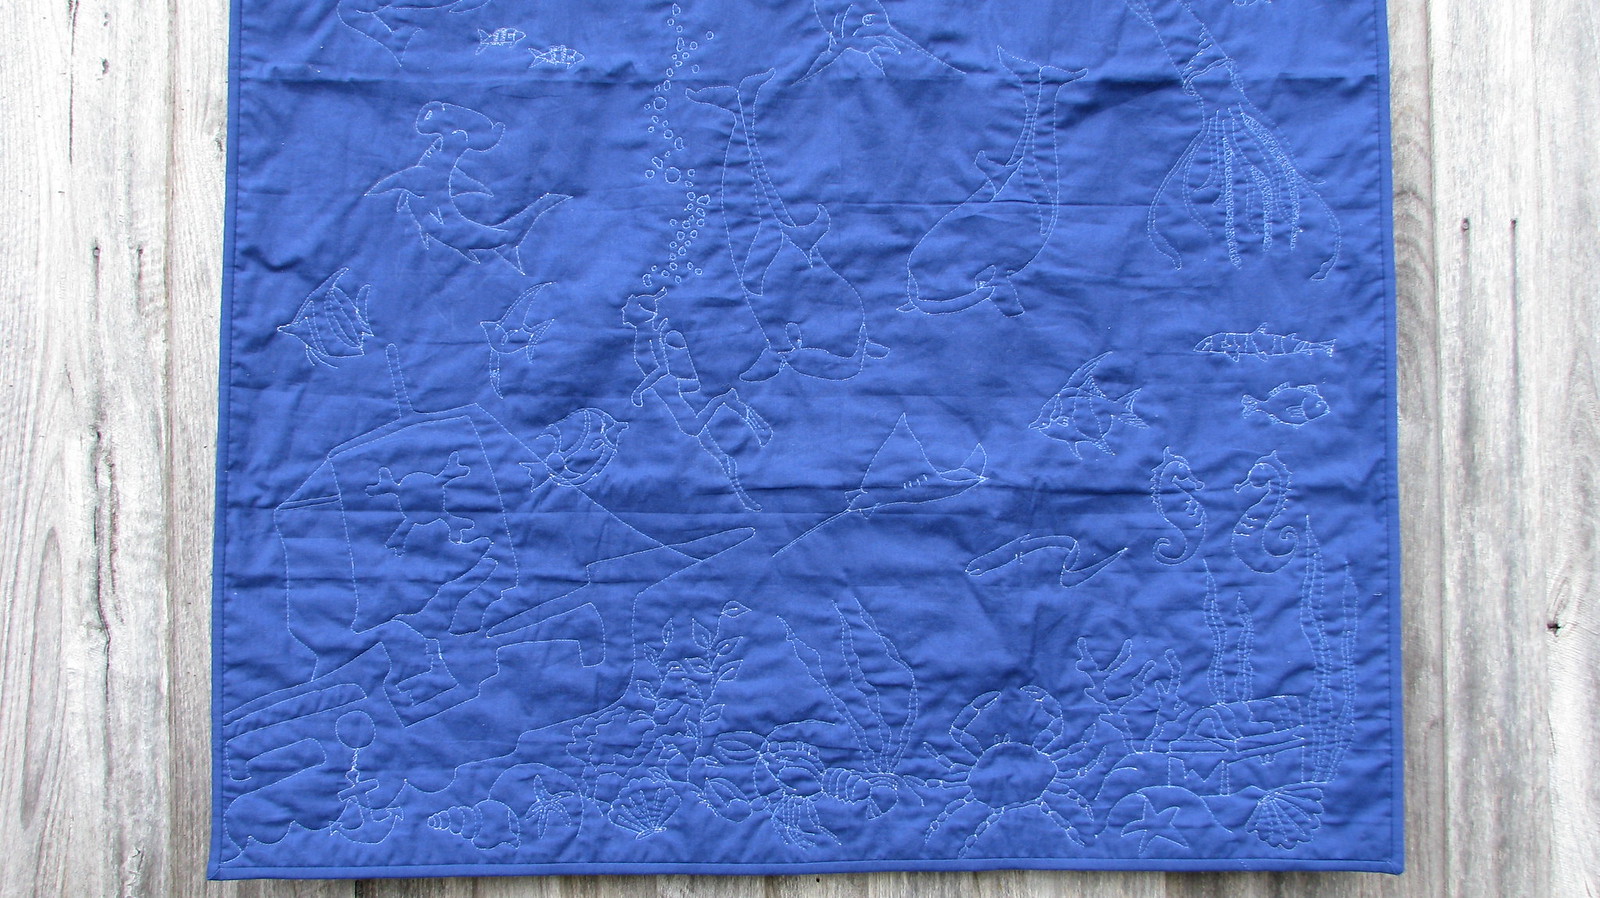
The main reason for me to take Rachel's class is because of this quilt. My son has outgrew his baby quilts so I decided to make him another one. He loves sea creatures so much I thought this would be a perfect pattern for it.

The actual challenge for me with this quilt is the quilting. This is my first quilt with large 'negative' space and although I know I want the underwater scenery I have to figure out what and how to arrange it. A lot of research is done to find images of ship rack and sea creatures, and then I drew it on with water soluble pencil as a guide to help me sew.


And the end result is this. Ta da!! I am happy how it turn out.

Rachel is also a great teacher, the video demonstrations are clear and she also answers any questions we have. I am really tempting to take her Handstitched Class if she's offering again.